
The Basics of Laser Levels
Understanding 3D Laser Levels
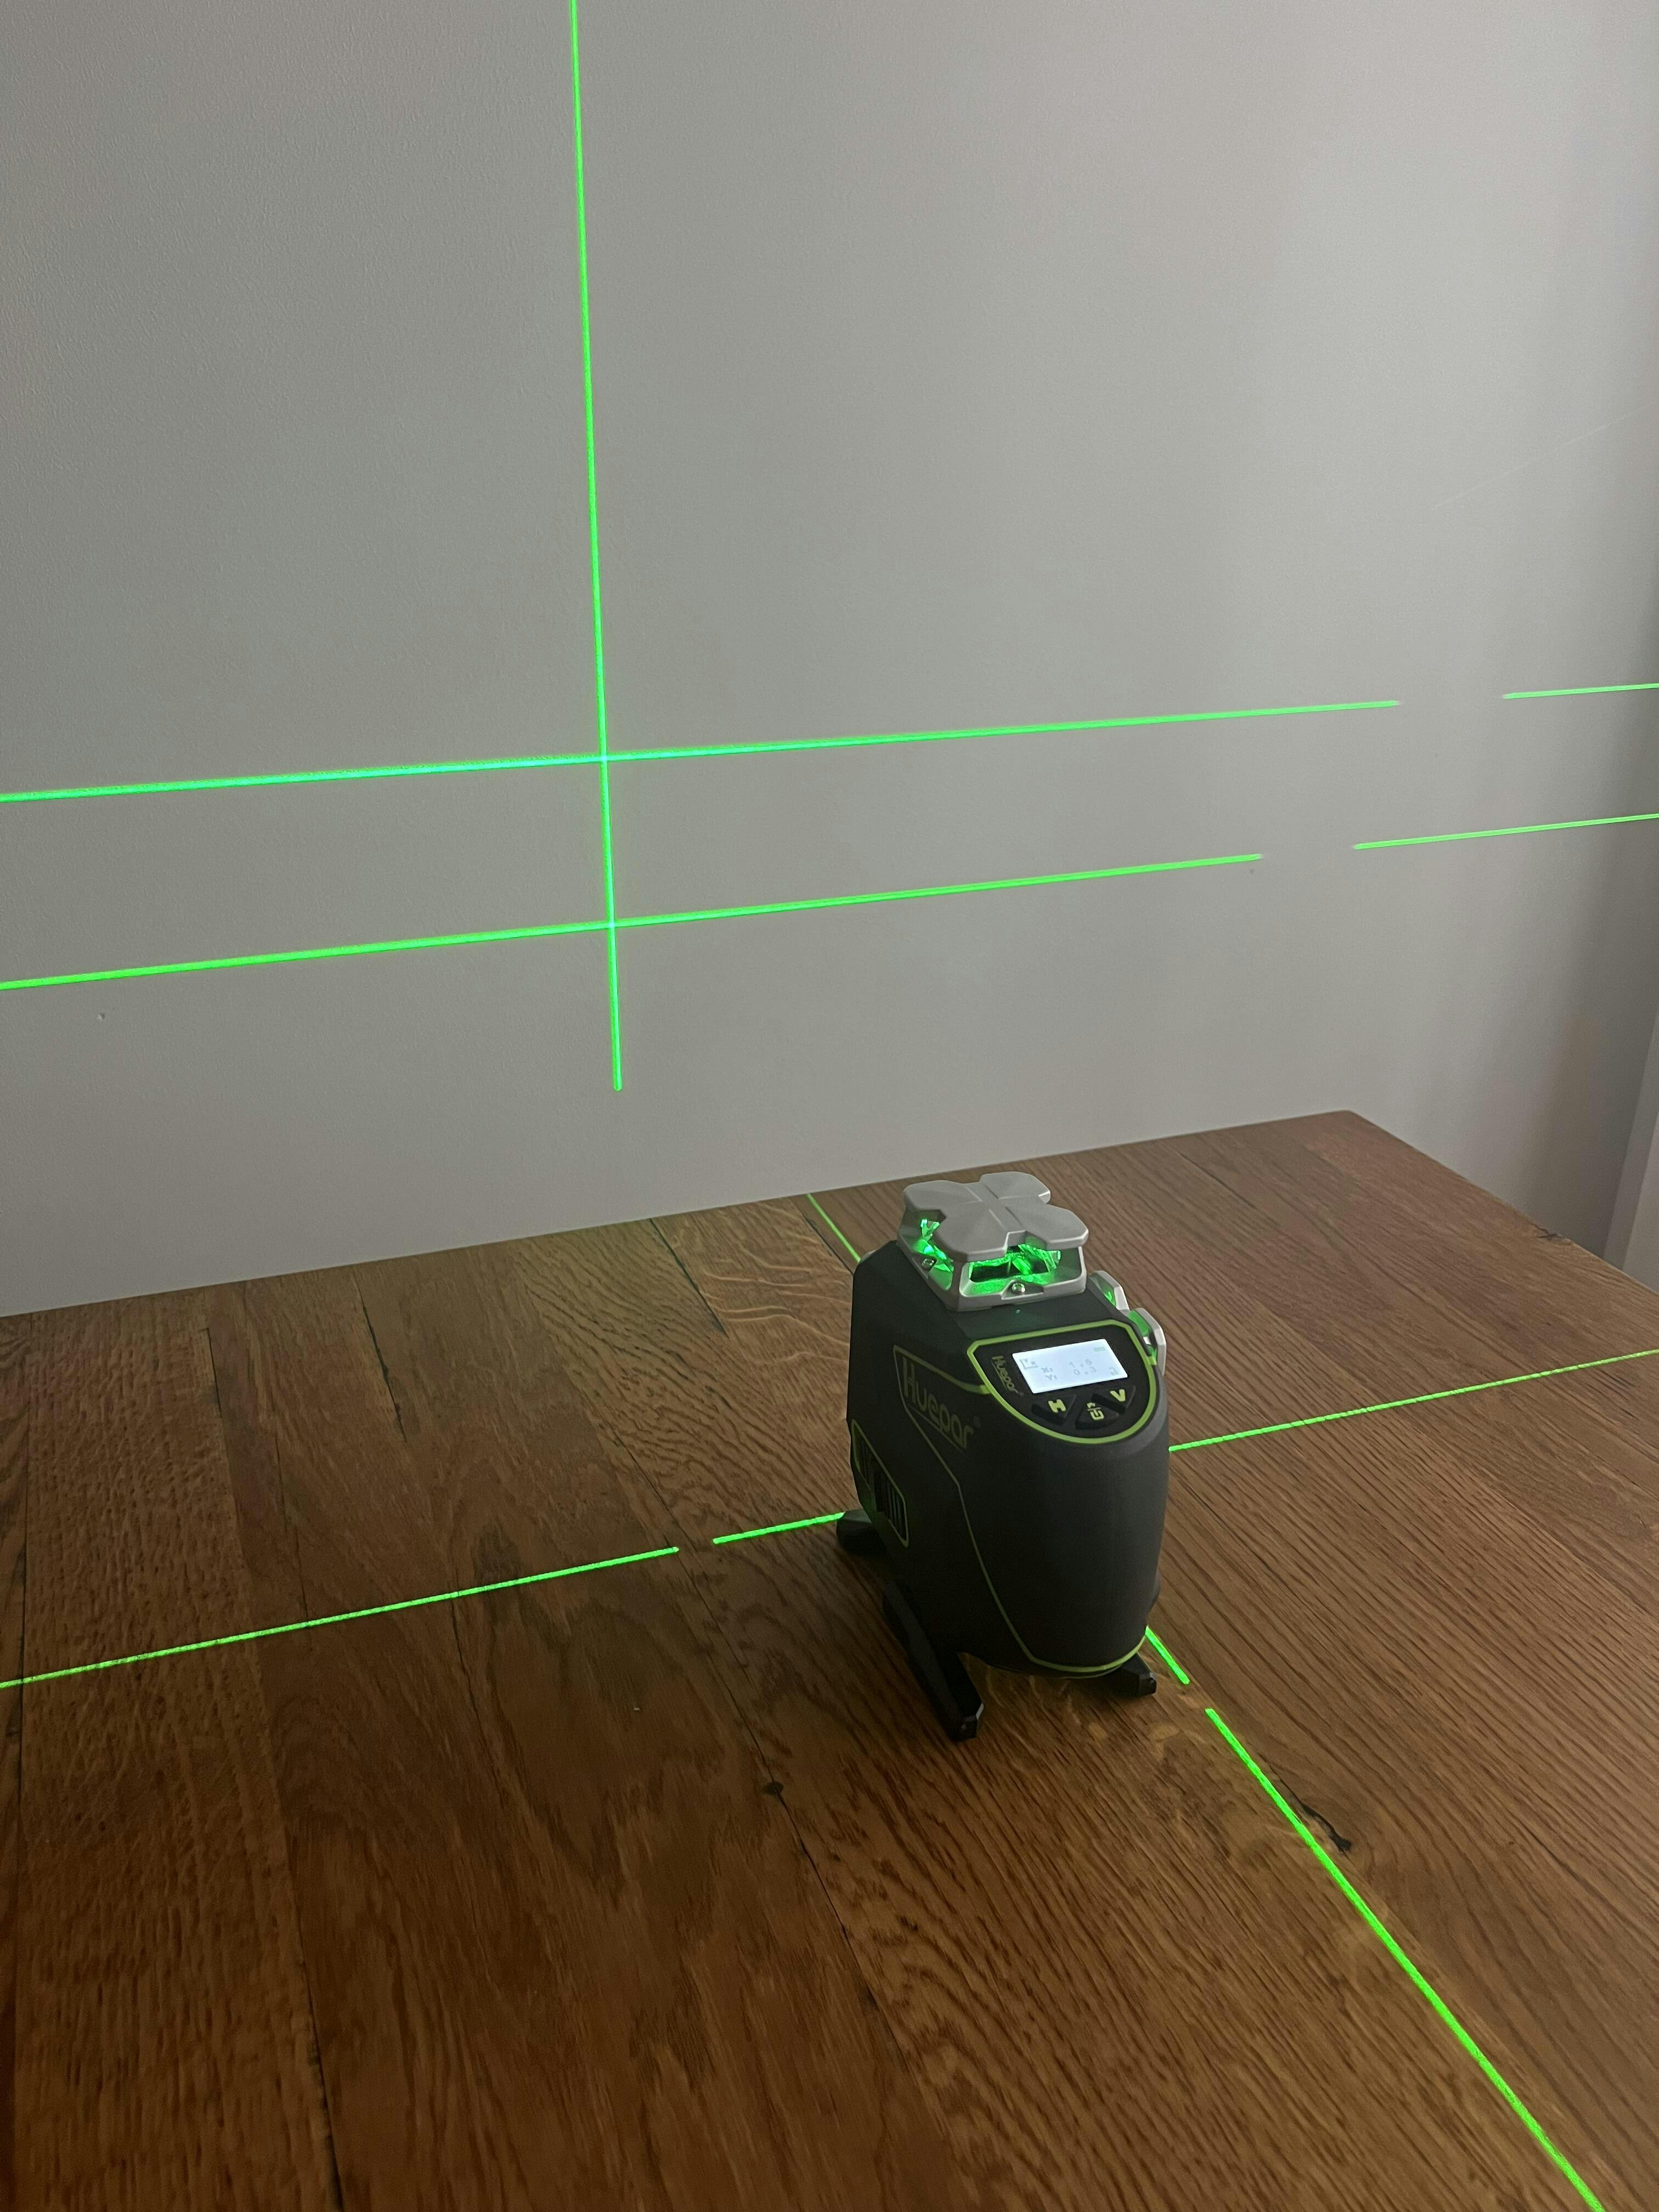
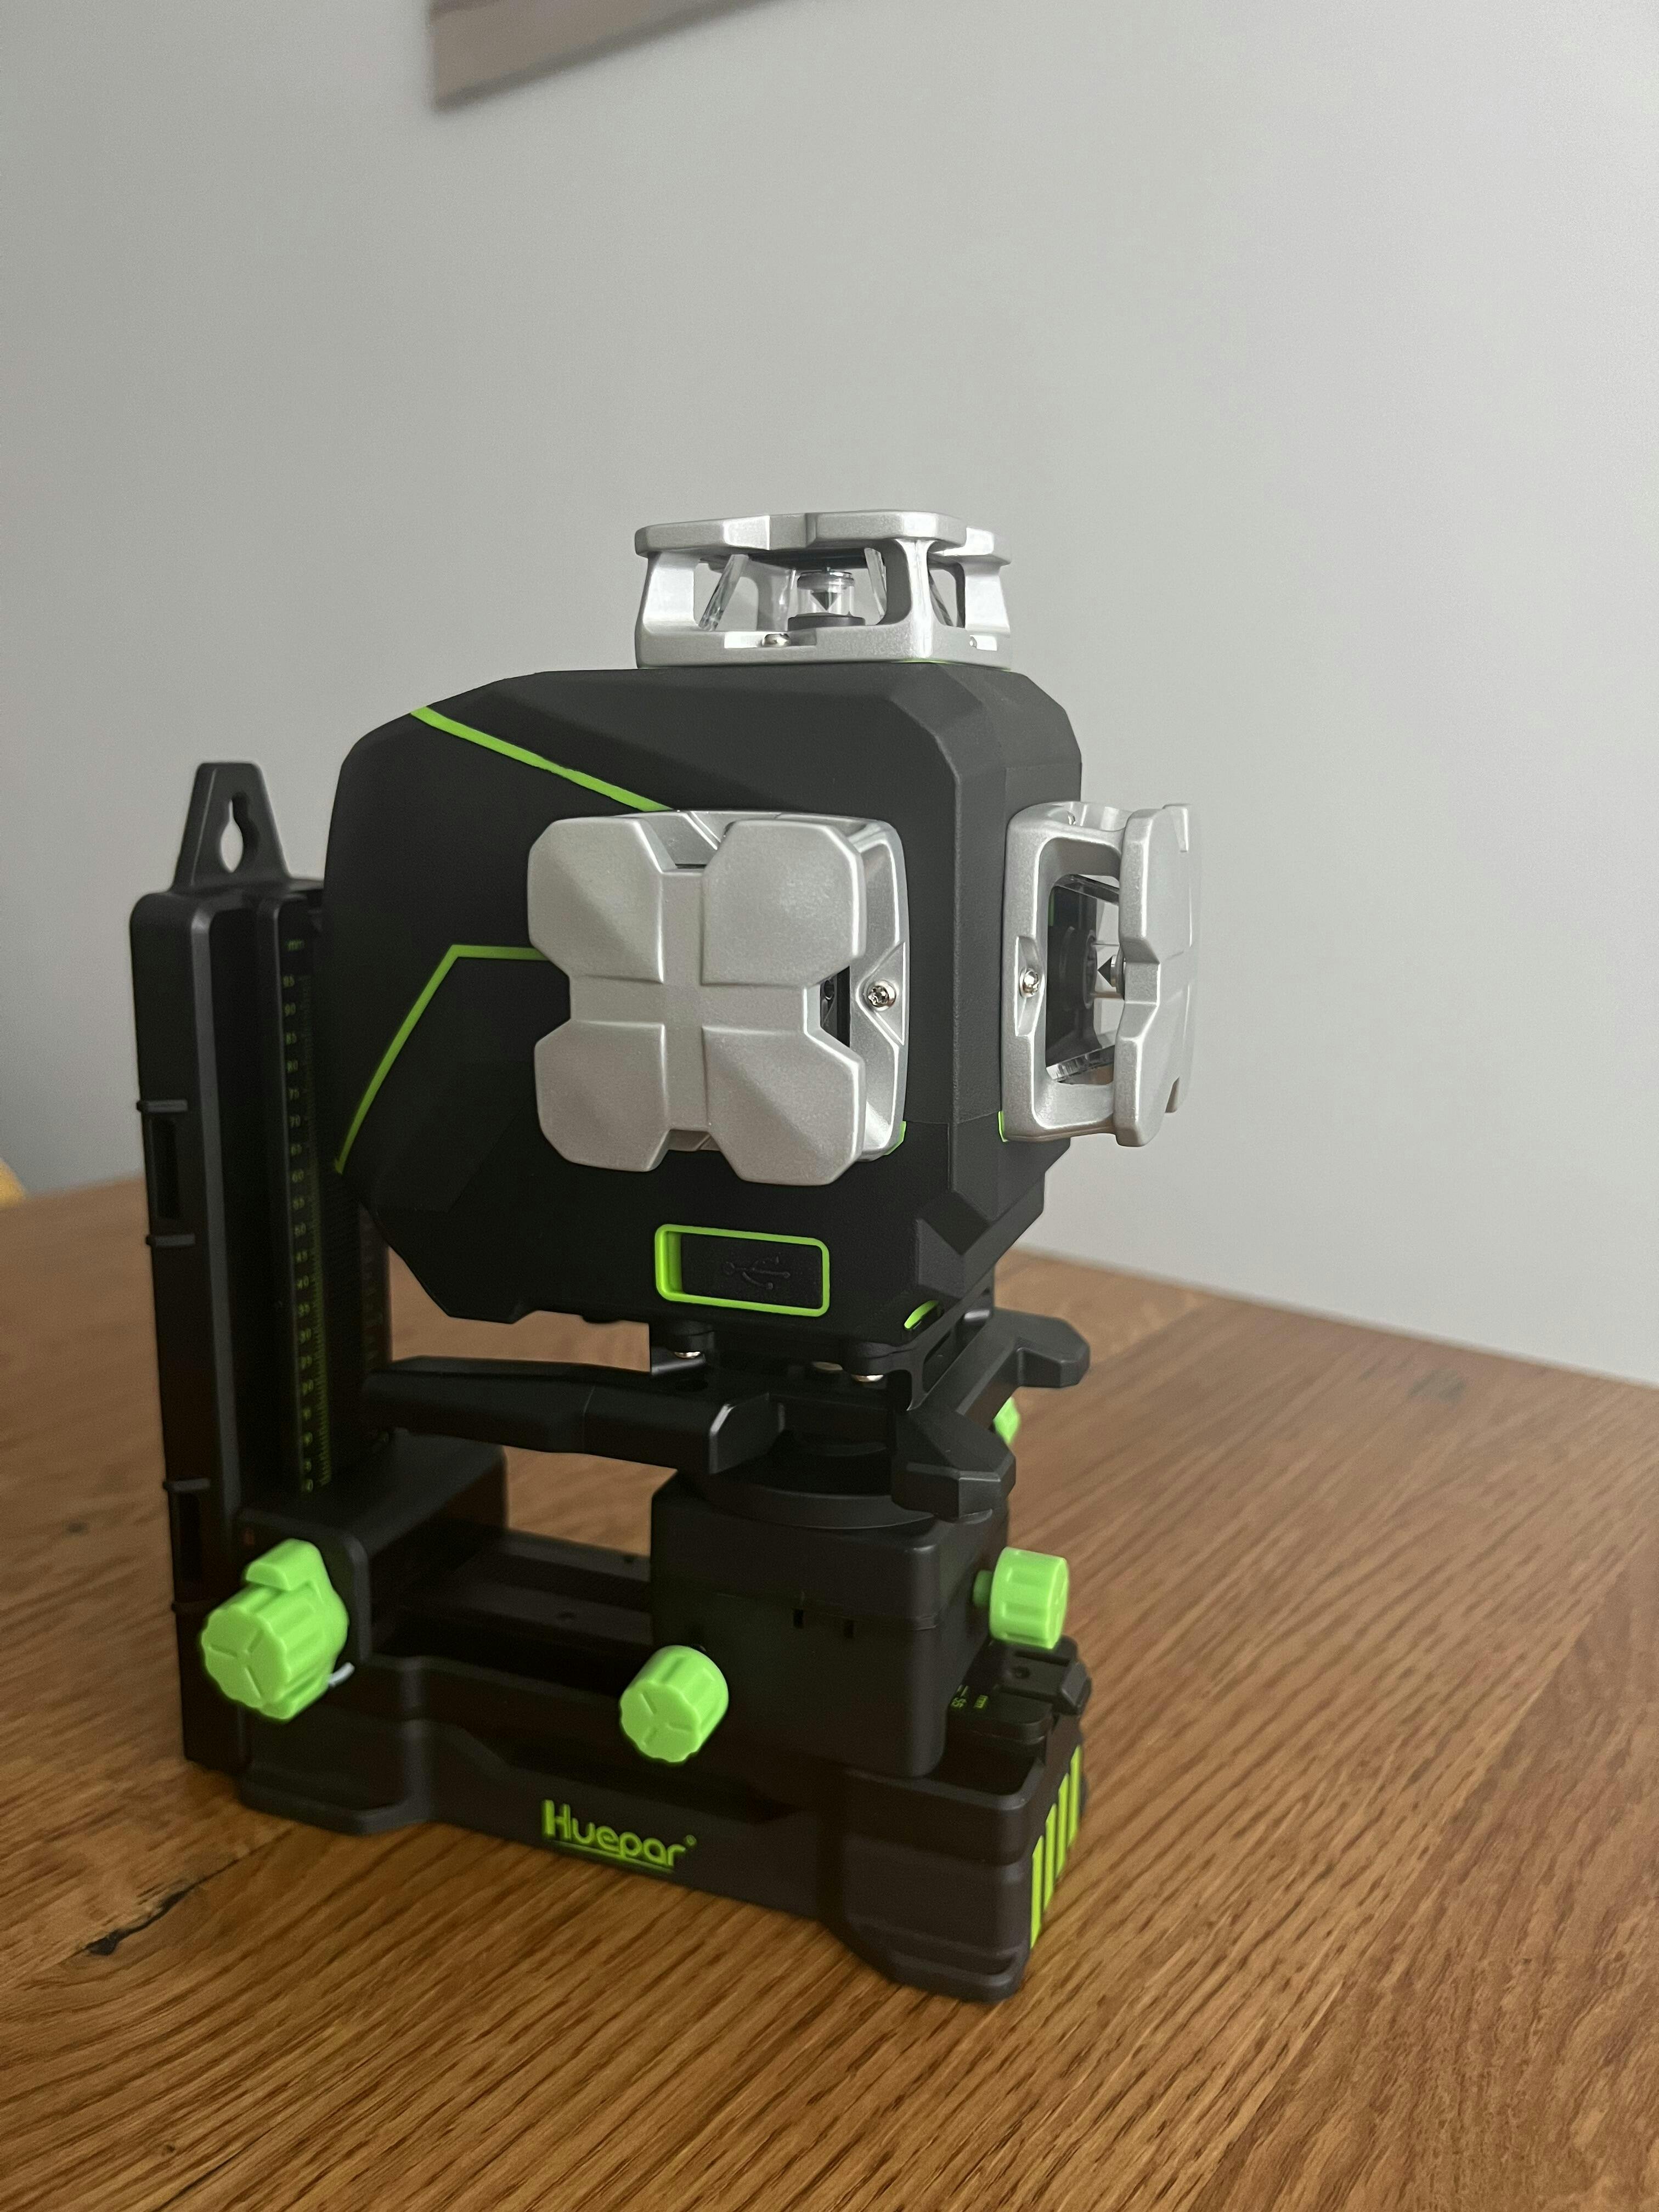
3d laser levels are tools for precise measurements. They use a laser beam to create 3D lines. Builders and engineers use them to guide work. These lines are seen as dots or lines on surfaces. The laser can be red or green. Green is clearer for indoor use. For outdoor use, a detector helps spot the red. You can use them on floors, walls, or ceilings. 3D levels make work fast and accurate. They are better than traditional tools. A good choice for professionals.

Comparing Cross Line and 4D Laser Levels
When choosing a laser level, the options can be overwhelming. Cross Line and 4D laser levels both offer unique benefits. Cross Line lasers project horizontal and vertical lines to aid simple installations and alignments. 4D lasers, however, offer a more comprehensive solution. They emit lines in 360 degrees, which allows for full-room layout with a single setup. This makes 4D lasers ideal for tasks needing meticulous details, like installing cabinetry or tiling floors. When comparing the two, consider the complexity and scale of your project.
Applications of 3D Laser Levels in Various Industries
Construction and Renovation Precision
3d laser levels have revolutionized the construction and renovation industries. They provide unmatched precision in projects that require meticulous alignment. Here's how they are used:
- Layout and Framing: Builders use 3D laser levels to lay out walls, floors, and ceilings straight and square. This reduces errors from the start.
- Foundation Aligning: When setting foundations, precision is key. 3D laser levels ensure footings are level before pouring concrete.
- Drywall and Trim: They help install drywall and trims with perfect horizontal and vertical alignment.
- Tile and Flooring: Precision is crucial for tile laying. 3D lasers ensure each tile lines up perfectly.
- Cabinetry and Countertop Installation: For cabinets and countertops, 3D lasers guarantee that surfaces are even and fixtures are accurately placed.
Manufacturing and Engineering Accuracy
The precision of 3d laser levels is vital in manufacturing and engineering settings. They ensure parts are made to exact standards. This avoids costly errors. In assembly lines, 3D lasers align components with great accuracy. They help engineers check machine calibration too. This keeps production running smoothly. Industries like aerospace benefit greatly from such precision. They use 3D laser levels for critical tasks in design and construction. On the whole, these tools are key for quality control in engineering projects.
Interior Design and Alignment Tasks
3d laser levels are a game-changer for interior designers. They help in precise alignment of wall art, furniture, and fixtures. Imagine hanging a series of frames perfectly straight, or ensuring that wallpaper patterns align seamlessly at corners. These lasers can project 360-degree lines across walls, floors, and ceilings. This makes decorating tasks more accurate and efficient. Interior design projects benefit from the precision that 3D laser levels offer, avoiding costly mistakes and rework.
Choosing the Right Laser Level for Your Needs
Features to Consider When Buying a Laser Level
When selecting a laser level, consider key features that match your tasks. Look for:
- Accuracy: Choose a model with high precision for reliable results.
- Range: Ensure it has a wide operating range suitable for your projects.
- Self-Leveling: Opt for self-leveling options to save time on setup.
- Durability: A robust design withstands tough work environments.
- Battery Life: Long battery life is essential for uninterrupted work.
- Mounting Options: Check if it can be securely attached to different surfaces.
- Laser Visibility: Bright lasers are easier to see in various light conditions.
- Additional Features: Some come with Bluetooth, remote control, or slope capability.
By focusing on these features, you'll find the right laser level for precise measurement and alignment tasks.
How to Set Up and Use a 3D Laser Level
Using a 3D laser level is simple if you follow these steps:
- Choose the Right Location: Pick a clear area to set up your laser level. Ensure it has a firm, flat surface.
- Mount the Laser Level: You can use a tripod or attach it to a wall or ceiling mount, depending on your project's needs.
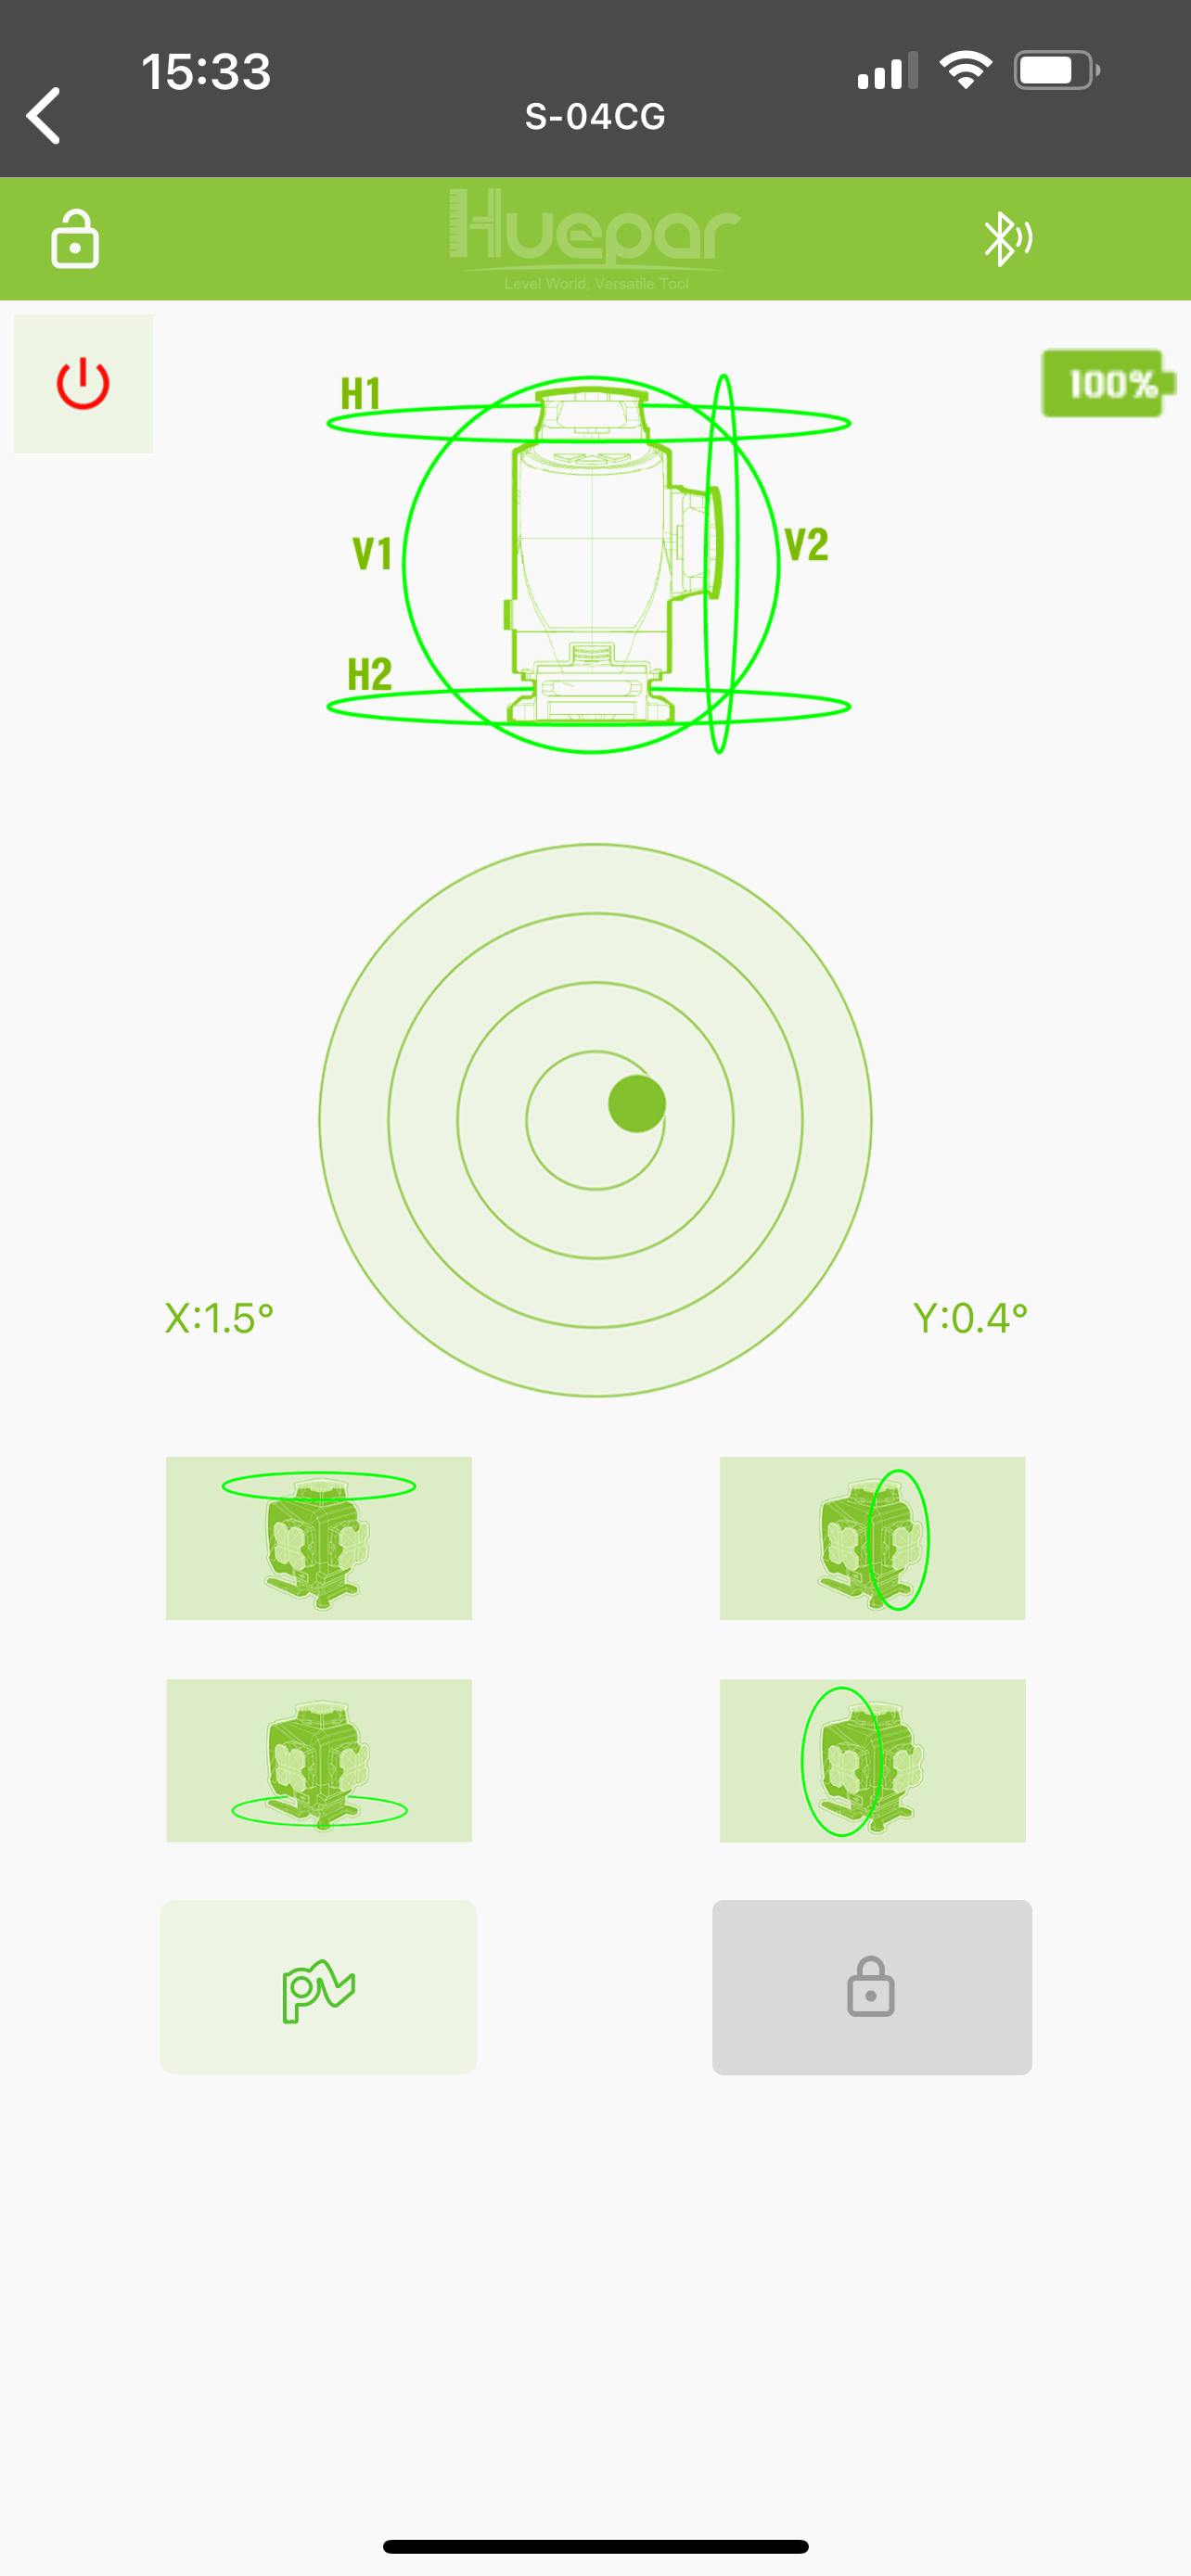
- Turn on the Laser: Power up the device to emit the laser lines. Wait for it to self-level; it may beep when ready.
- Adjust the Laser Lines: Use the device's buttons to align the laser lines where you need them. Make sure the lines are level and at the right angles.
- Lock the Laser Lines: Once in position, lock the lines to prevent them from moving. This ensures accurate measurements during work.
- Begin Your Task: With the laser lines as a guide, you can proceed with your installation or alignment job with confidence.
Remember to read the manual for specific instructions on your laser level model.
Maintenance and Safety Tips for Laser Levels
Keeping your 3D laser level in top shape is important. Here are key tips:
- Read the User Manual: Always start by reading the manual. It gives you vital info.
- Clean Regularly: Wipe the laser level with a soft cloth after each use. Keep it dust free.
- Check Calibration: Do regular checks to ensure your laser level is accurate.
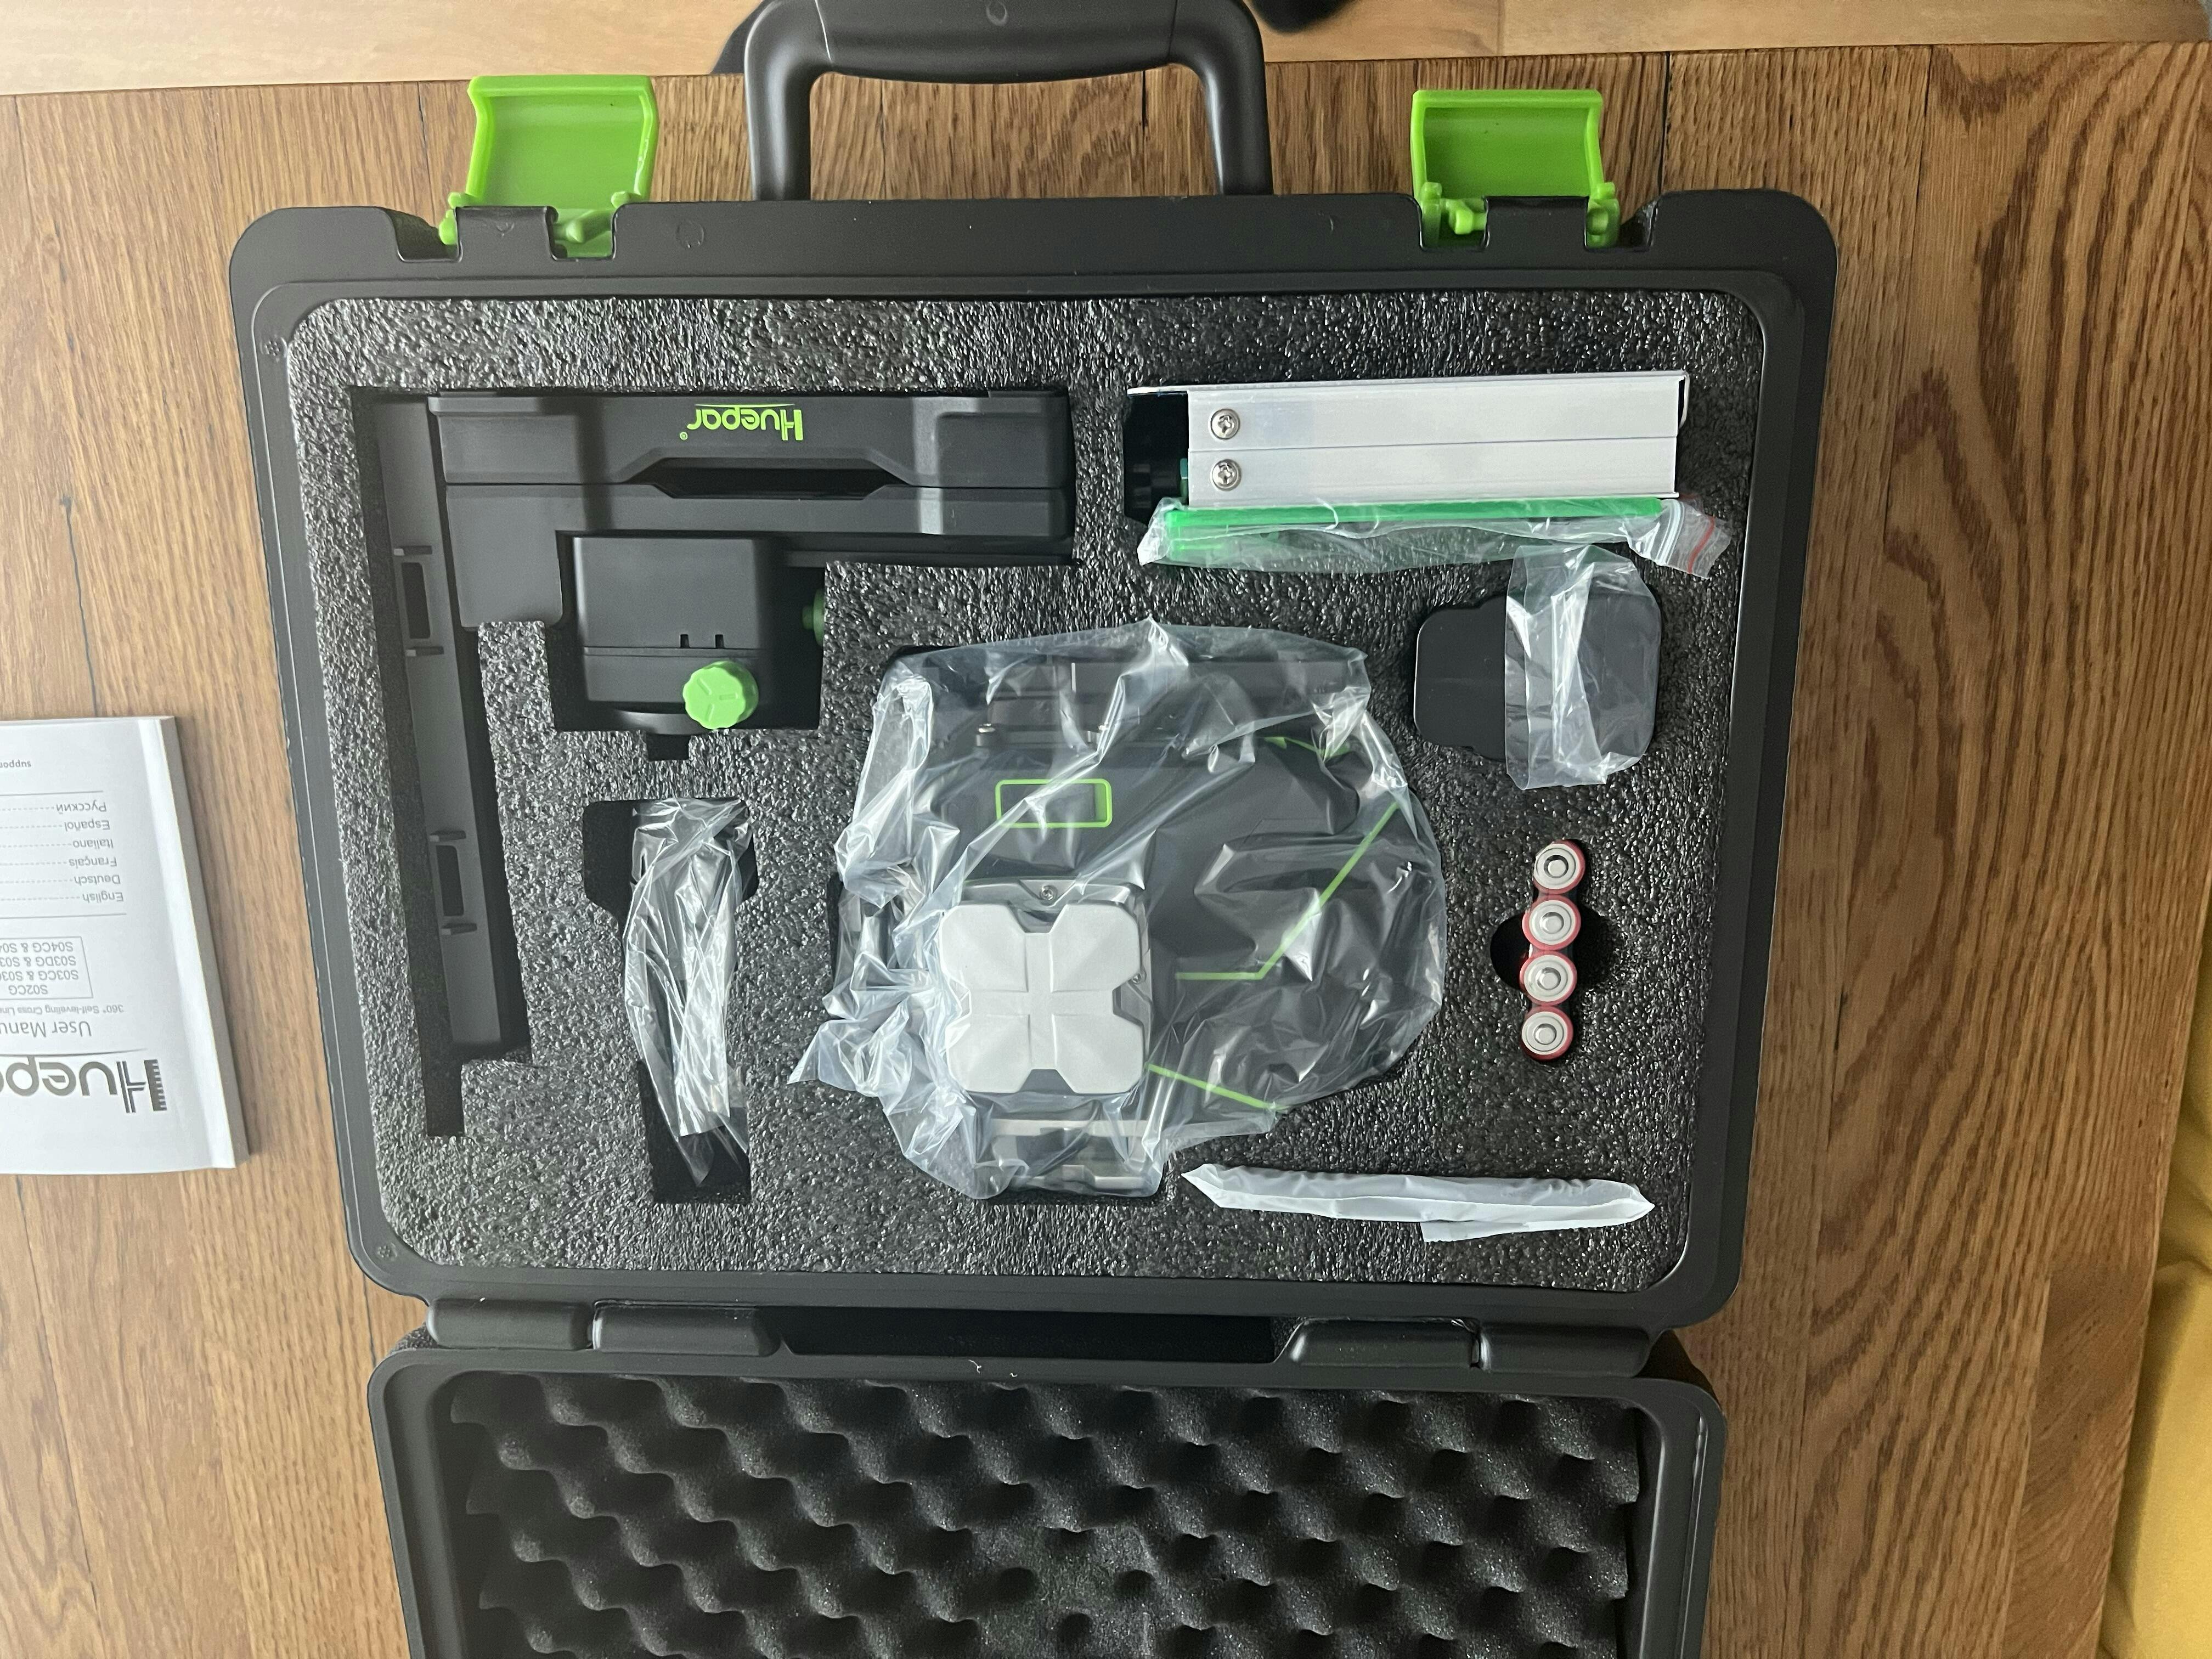
- Store Safely: Put your laser level in a padded case when not in use. This keeps it safe.
- Handle with Care: Be gentle. Rough handling can damage the laser and its precision.
- Avoid Water and Heat: Keep the laser level away from water and extreme heat.
- Battery Care: Change or charge batteries as needed. This prevents power issues.
Safety is also key. Wear safety glasses during use. Set up away from people. Secure it well. If it falls, get it checked before use again. Follow all safety rules in the manual. This keeps you and others safe.