
Understanding the Basics of Laser Levels
What Are Laser Levels?
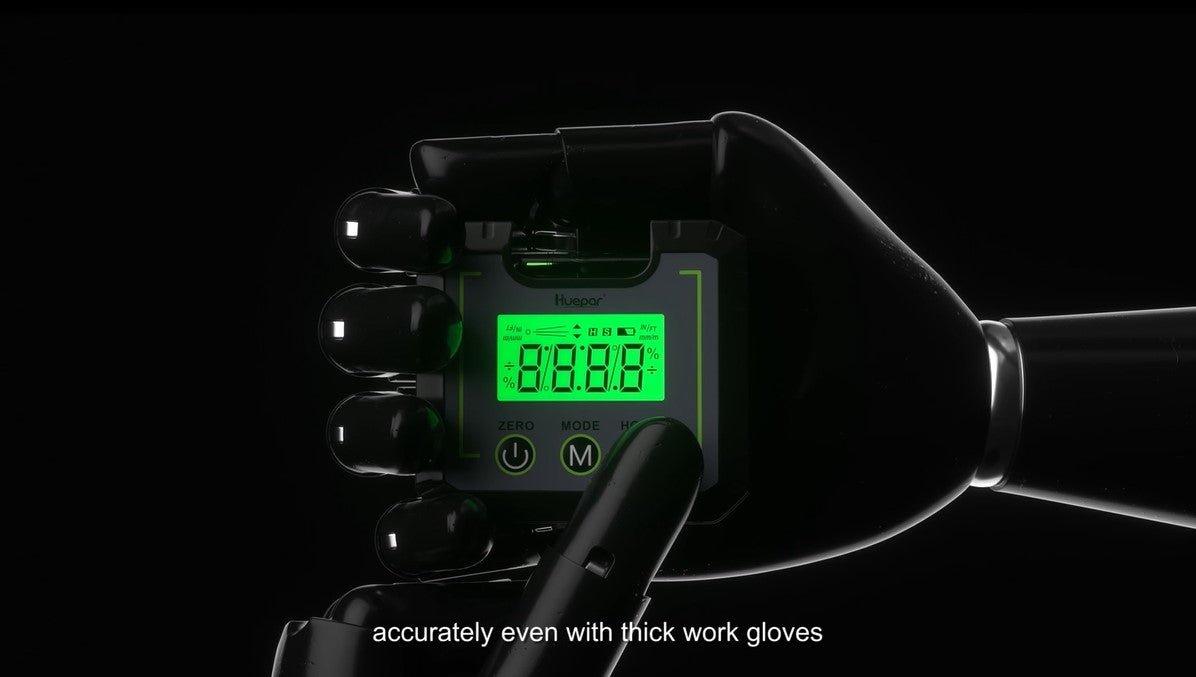
Laser levels are tools that emit a straight, fixed line onto a surface. They make sure lines are level or plumb. These tools are vital in construction and DIY projects. They work by projecting a beam of light that can be seen over long distances. This beam forms a 'laser line' on the surface. It is used for alignment tasks. This makes mounting things like tiles, frames, and shelves precise. More advanced levels can emit lines in multiple directions at once. This creates a 3D layout for complex projects. They're an upgrade from bubble or spirit levels. Using them speeds up work and boosts accuracy.

The Evolution of Laser Levels: From Traditional to 3D
The journey of laser levels from traditional spirit levels to 3D varieties is a testament to the progress in construction and surveying. Initially, hand-held spirit levels, with their liquid-filled vials, were the standard for determining straight lines and true planes. Then came laser levels, providing a laser beam as a visual straight line across a room. The breakthrough was the introduction of 3d laser levels, which not only cast lines along the horizontal and vertical axis but can also project a three-dimensional grid. This grid allows users to work with planes of light, making the process of leveling and alignment much more accurate and efficient. Today, 3D laser levels represent the forefront of leveling technology, catering to complex projects that demand the utmost precision.
Key Components of a Laser Level
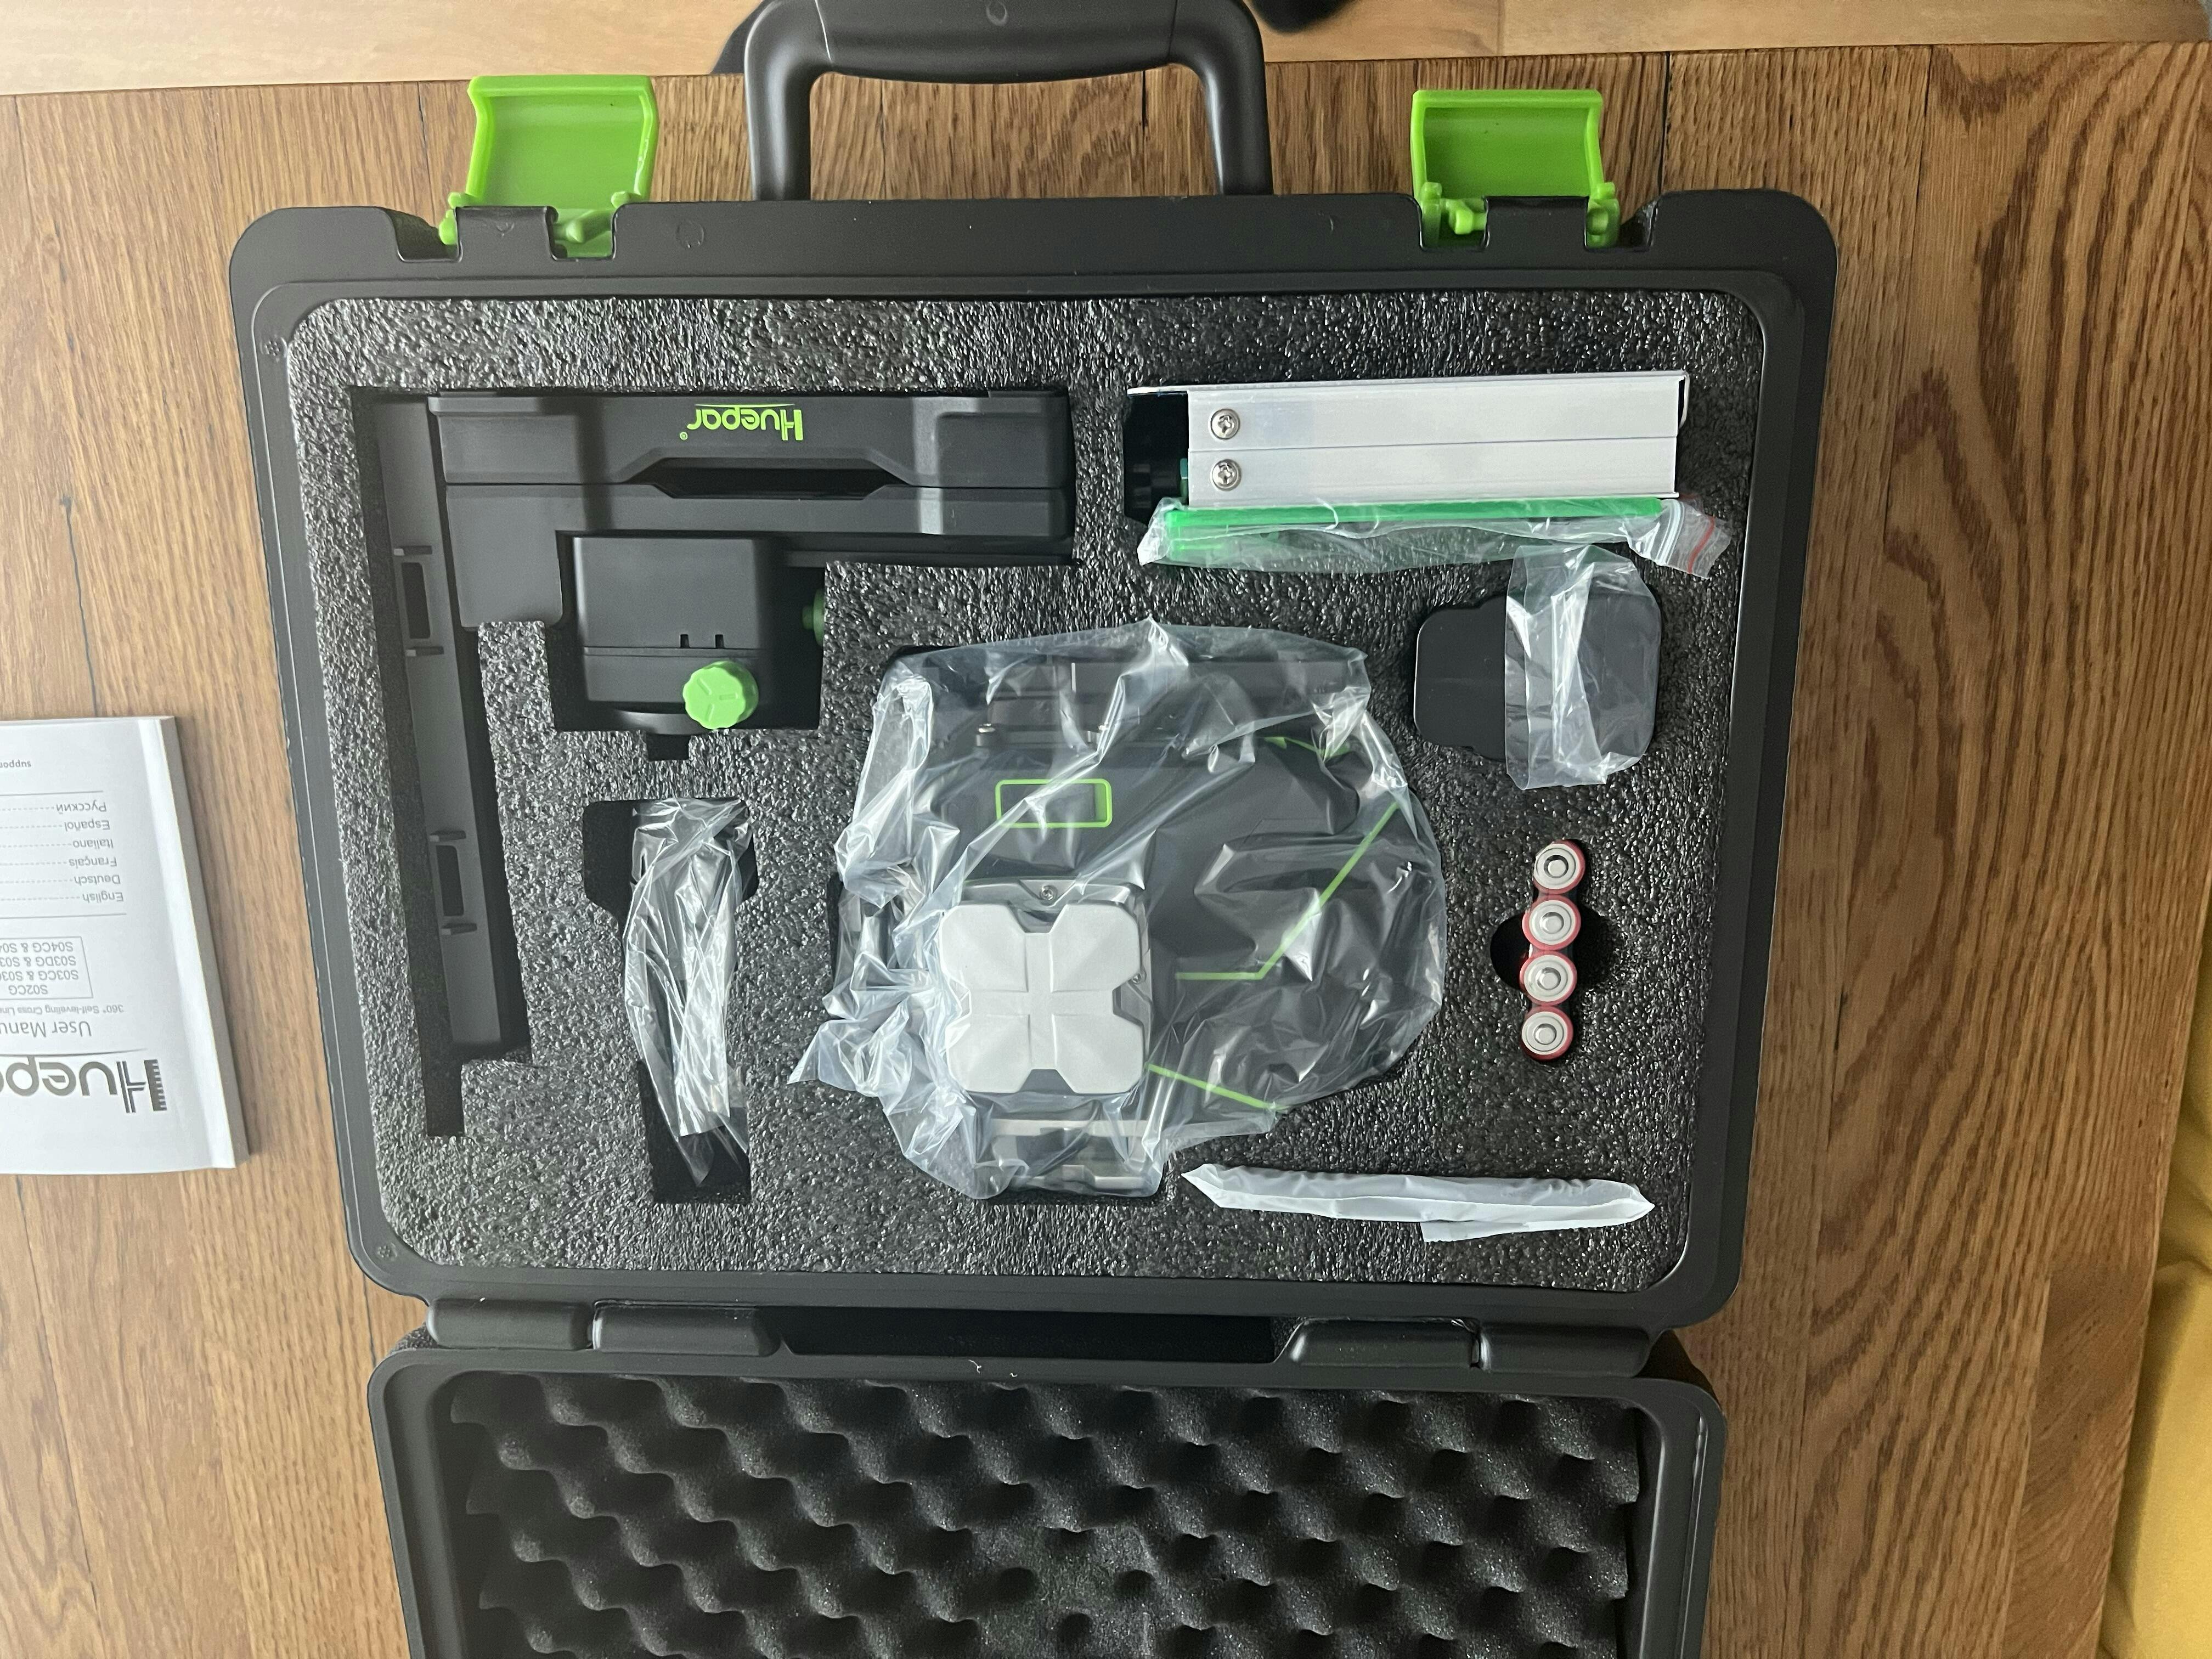
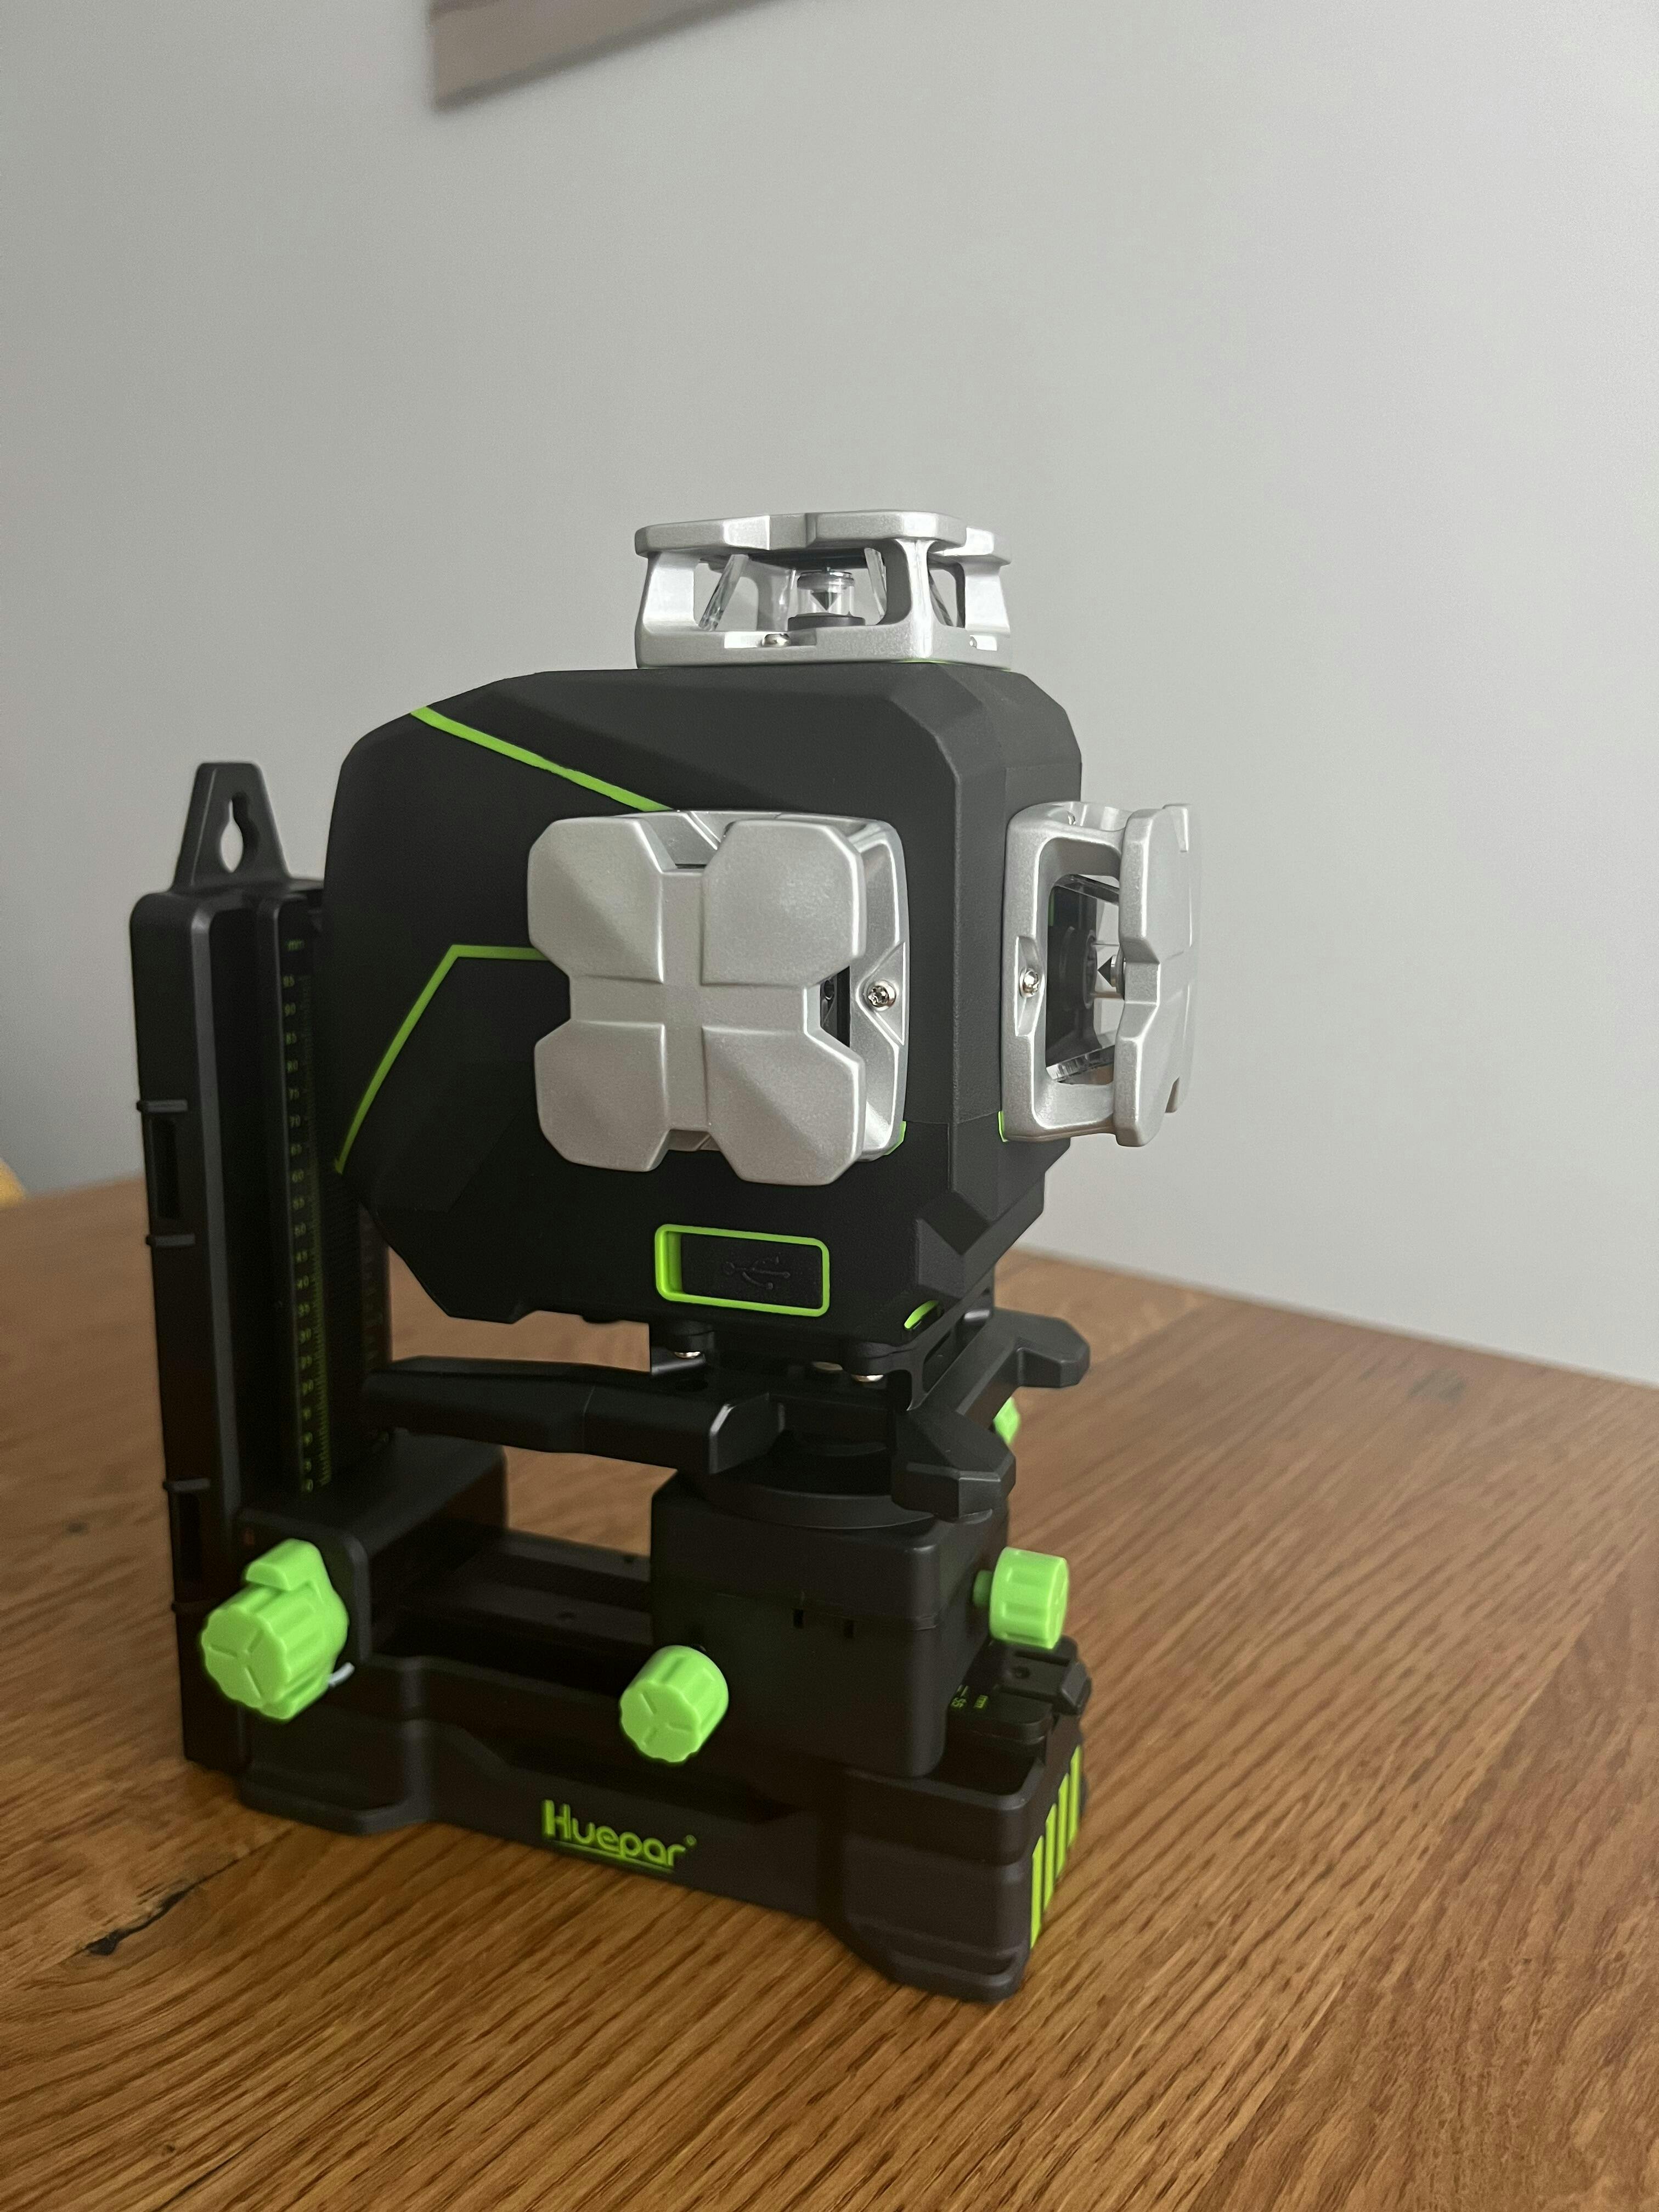
Laser levels are devices known for their precision in various projects. The key parts of a laser level include:
- Laser Diode: This is the heart of the device. It emits the laser beam.
- Leveling Base: It provides a steady platform and sometimes allows for fine adjustments.
- Pendulum: With a locking mechanism, it helps in self-leveling of the laser lines.
- Lens: It extends the range of the laser beam and defines its shape.
- Power Source: This is often a battery that powers the laser diode.
These components work together to deliver precise, straight lines for accurate measurements and alignments.
Types of Laser Levels Explained
3D Laser Levels: The Advanced Option for Precision
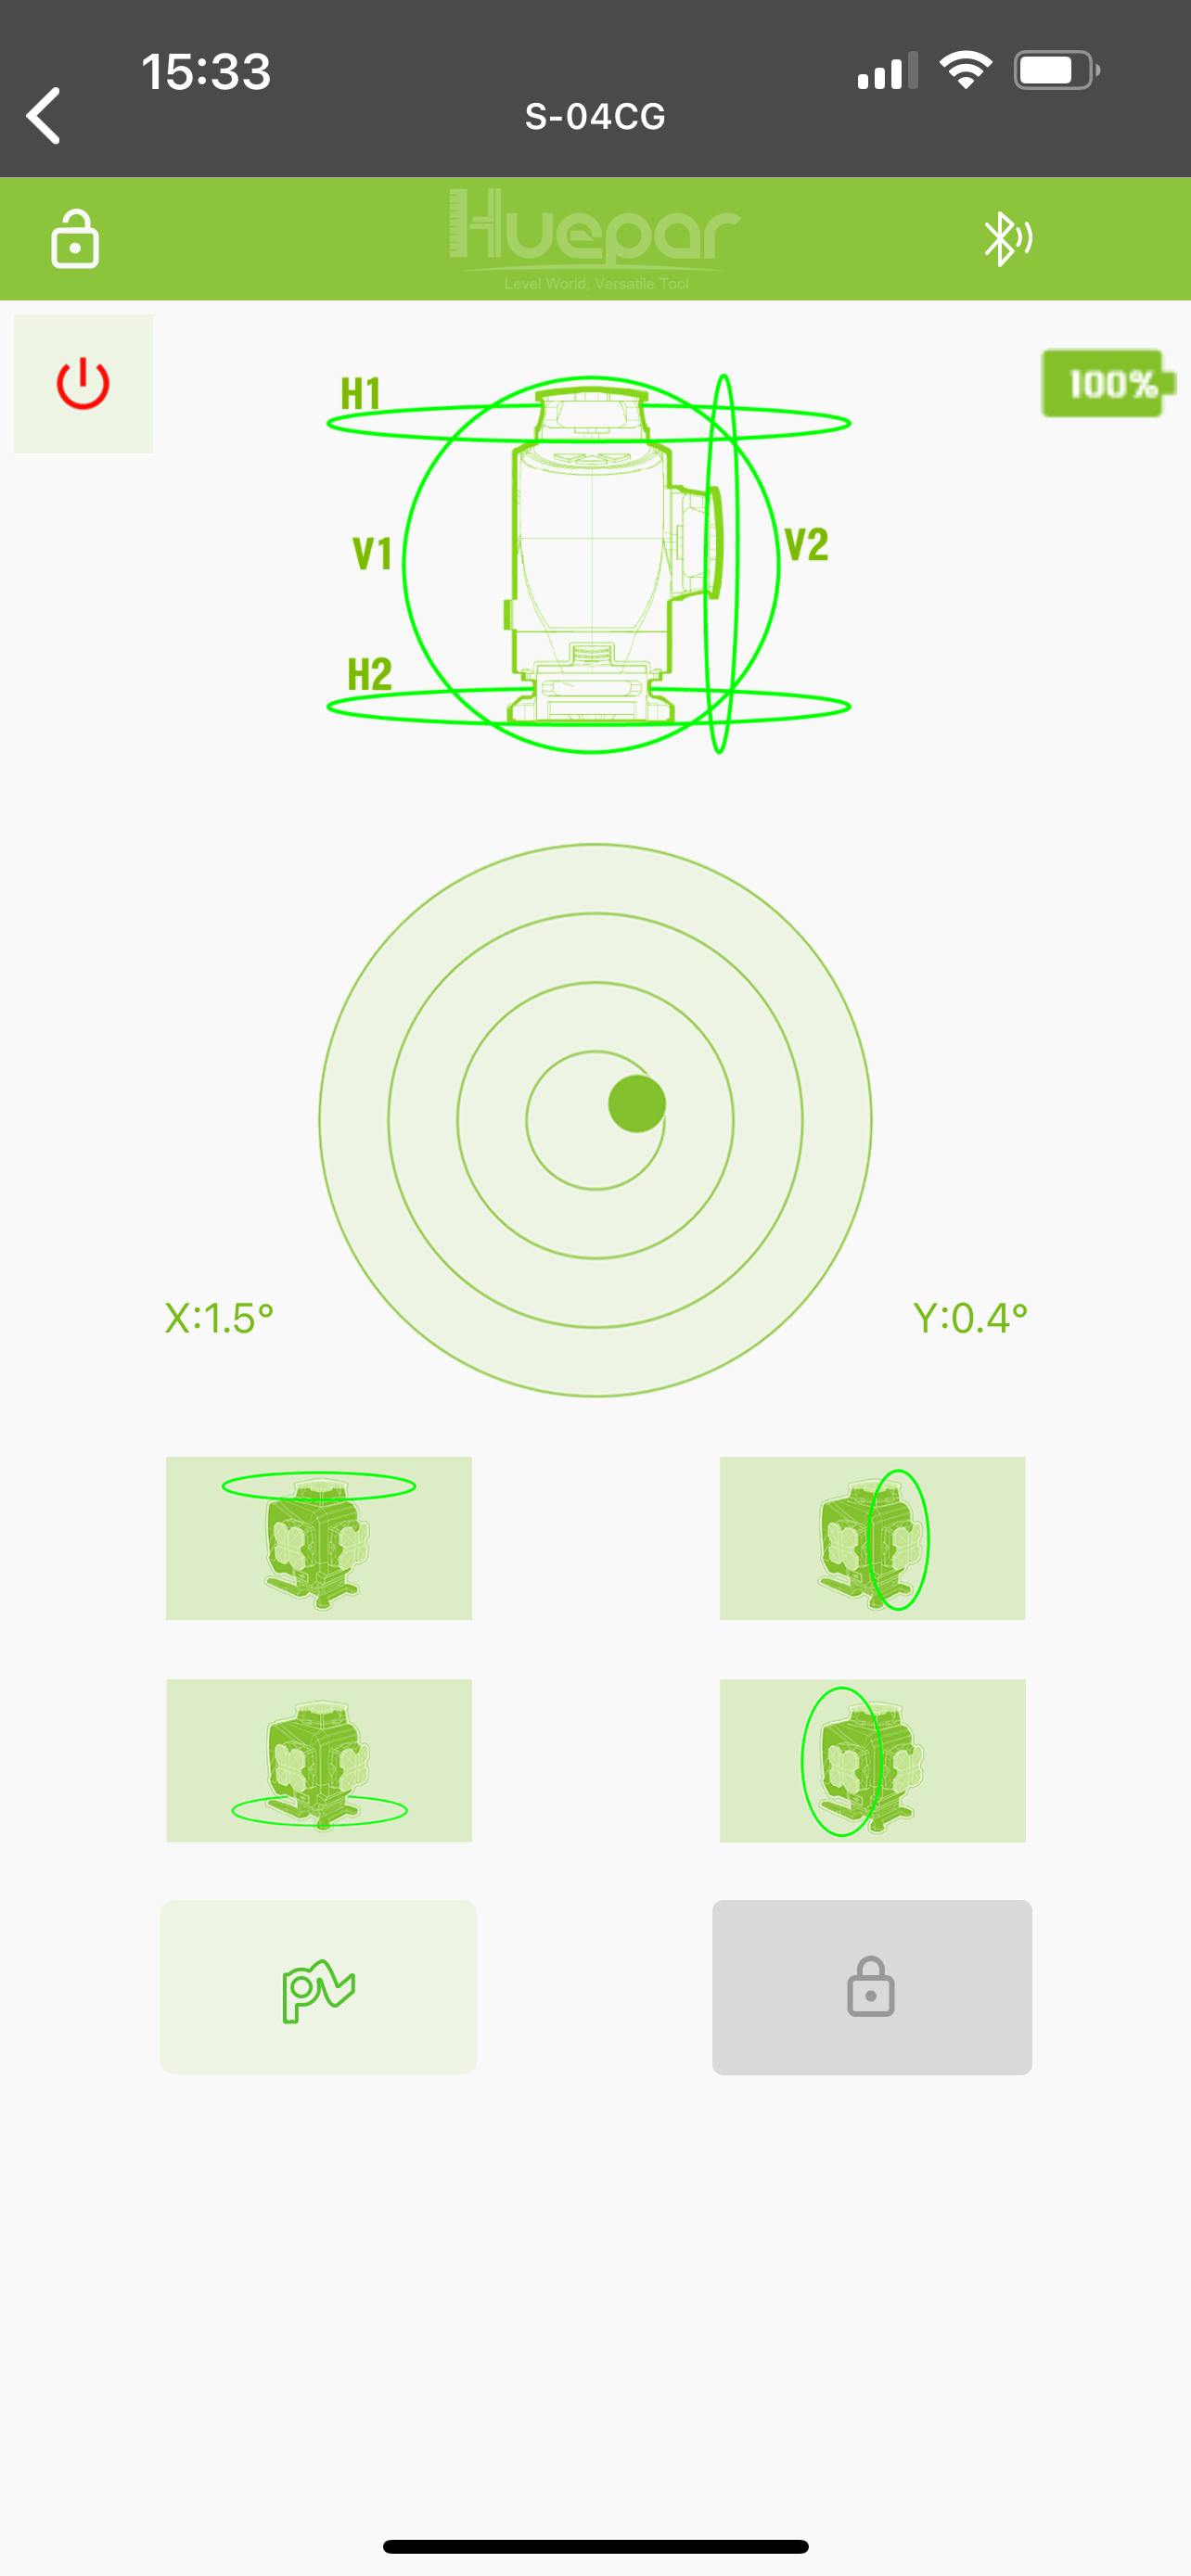
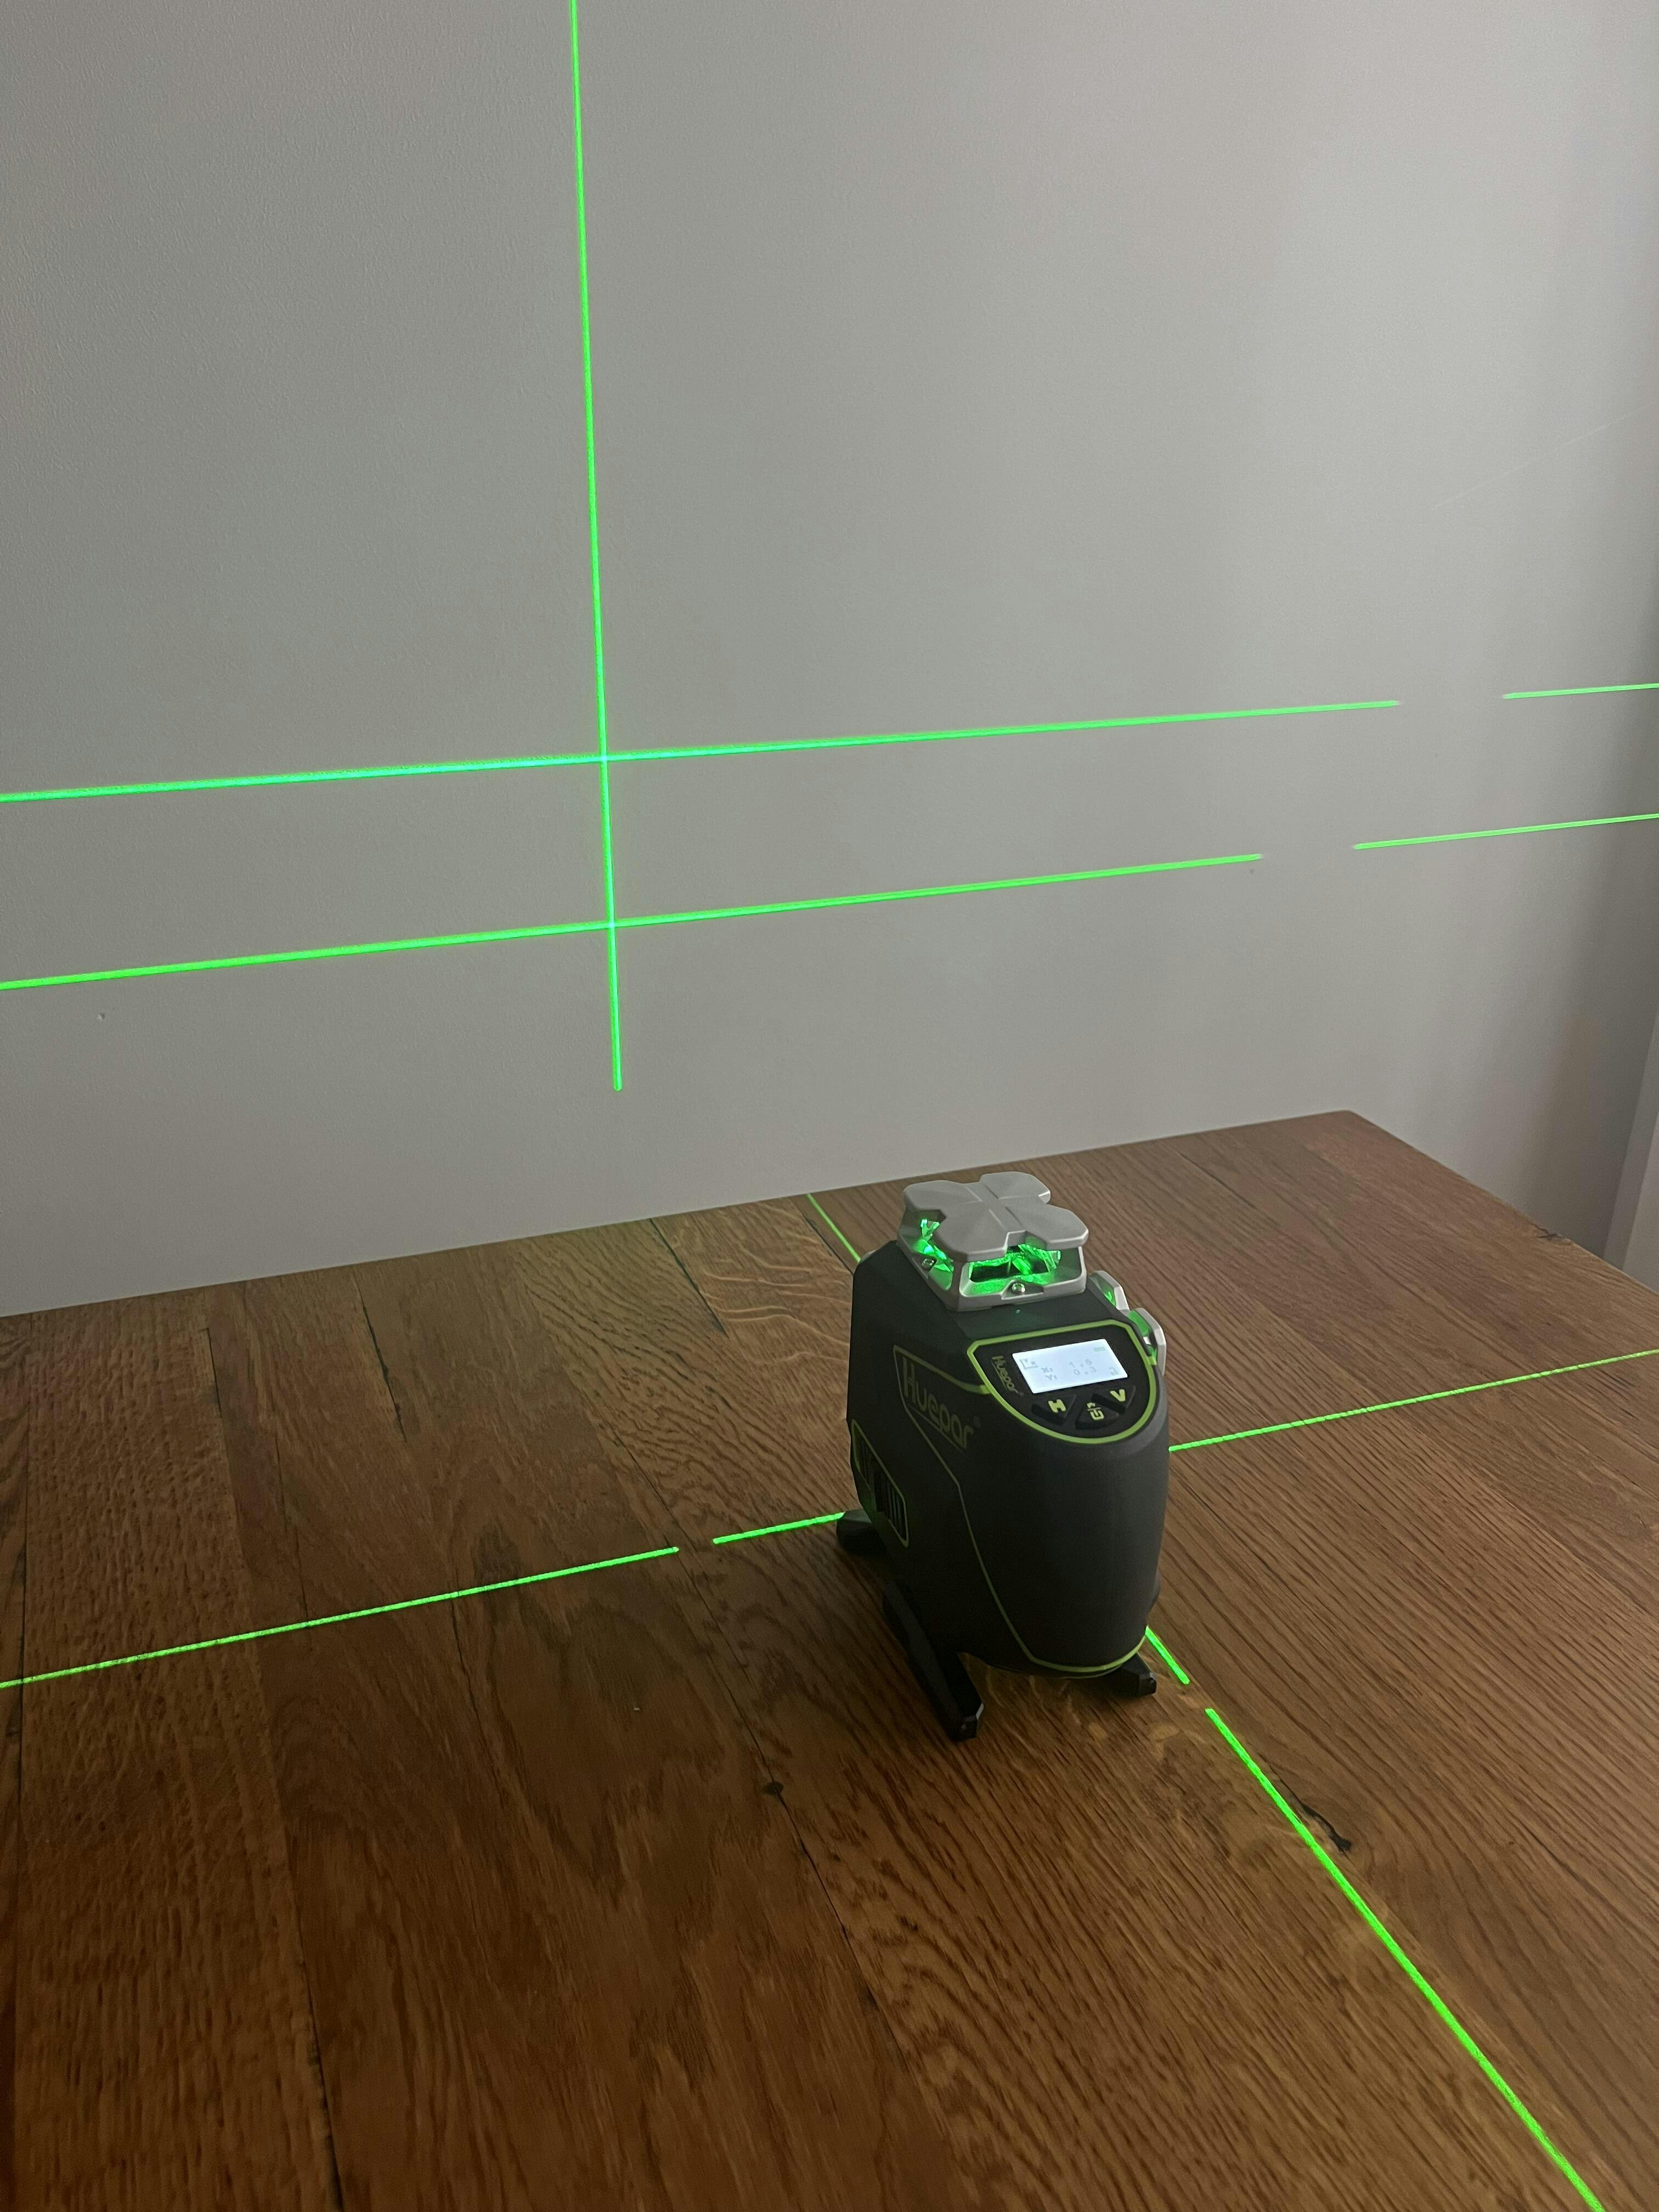
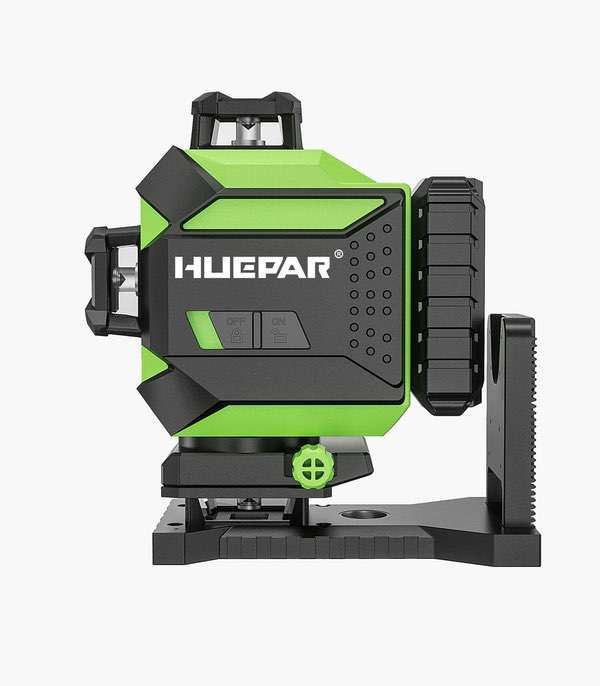
3d laser levels are the pinnacle of leveling technology, offering unmatched precision for complex projects. They project a grid of laser lines on all planes, providing a three-dimensional layout for tasks where accuracy is paramount. With 360-degree coverage, these tools simplify the process of setting up and transferring points in a space. This makes them perfect for jobs requiring precise measurements, such as cabinetry, tiling, and structural framing. Here are some key features:
- Projects horizontal and vertical lines to create a 3D grid
- Self-leveling capabilities for ease of use
- Suitable for indoor and outdoor use
- Various mounting options for flexibility
- Typically include receivers to detect laser lines over long distances
3d laser levels represent the blend of functionality and advanced technology, ideal for professionals who demand the highest standards in their work.
Cross Line Laser Levels: Ideal for Simple Setup
Cross Line Laser Levels are perfect for easy tasks. They project two lines: one vertical and one horizontal. These two lines cross at a 90-degree angle. This feature helps in various simple tasks like hanging pictures or installing shelves. They're easier to set up than 3D or 4D models. They are ideal for home users or small projects. They do not have the extra axes that more advanced levels offer. But their simplicity is a big plus for basic use.
4D Laser Levels: The Cutting-Edge Technology
4D laser levels are the latest innovation in leveling technology. They project lines in all directions, covering 360 degrees horizontally and vertically. This makes them ideal for tasks requiring the utmost accuracy, like complex layouts and installations. They often come with advanced features like Bluetooth connectivity, remote control, and rechargeable batteries. Though more expensive, 4D laser levels are a top choice for professionals needing precision and ease in their projects.
Choosing the Right Laser Level for Your Project
Factors to Consider When Selecting a Laser Level
Choosing the right laser level is key to project success. Here are factors to consider:
- Project Needs: Assess the scope and preciseness needed.
- Laser Type: Decide between 3D, cross-line, or 4D based on requires.
- Accuracy: Check level accuracy, a crucial factor for precision.
- Durability: Ensure it can handle the project's environment.
- Battery Life: Longer battery life means less downtime.
- Ease of Use: Look for user-friendly interfaces and features.
- Additional Features: Things like Bluetooth may add convenience.
- Price: Match with your budget without compromising on essentials.
- Warranty and Support: Consider after-purchase support and warranty length.
These factors guide you to the best laser level for your work.
Comparing Different Laser Level Models and Features
In the quest for the perfect laser level, comparing models is key. Look for features like:
- Range: How far the laser line goes.
- Accuracy: How precise the measurements are.
- Self-Leveling: If it adjusts itself to be level.
- Battery Life: How long it can work for.
- Durability: If it can handle tough sites.
- Visibility: How clear the laser is under bright light.
Each feature is vital for different jobs. Choose based on your work needs.
Tips for Using Laser Levels Effectively in Various Settings
- Read the manual: Get to know your tool. It'll save you time.
- Calibrate often: Regular checks keep accuracy high.
- Use indoors? Pick a highly visible laser.
- Outdoors? You'll need a receiver with your device.
- Mount securely: An unstable base leads to errors.
- Check battery: Always have spares for big jobs.
- Clean lenses: Dirt on them can mess your lines.
- Double-check: Make a habit of rechecking your work.
- Practice layouts: Get comfy with the tool before a real job.