
Laying floor tiles is one of the surprisingly simple tasks. Yes, it looks difficult and a bit overwhelming for a DIYer.
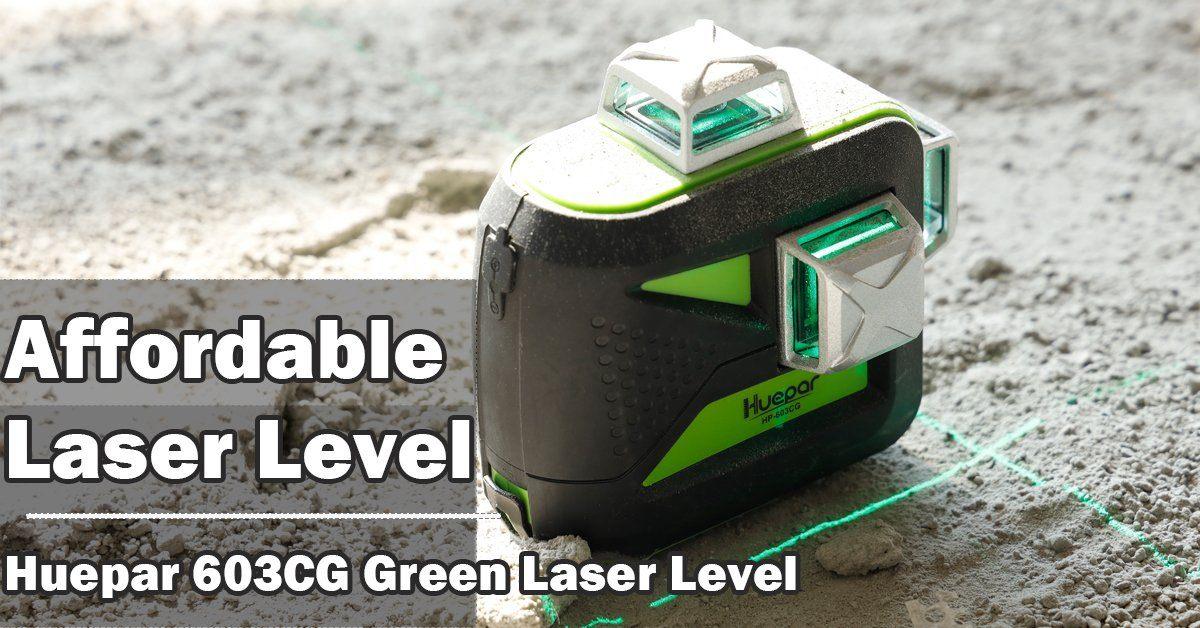
But if you follow the right steps and use the right tools, especially a laser square (or a tile laser), you can do it easily.
Now, before we move forward with the tile installation process, let's take a look at the necessary tools and materials needed to complete the task.
Steps to Install Floor Tiles
Step 1: Measure your floor
Step 2: Prepare your soil
Step 3 (optional): Install the cement backer board
Step 4: Undercut Door Jambs
Step 5: Mix thin-bed mortar
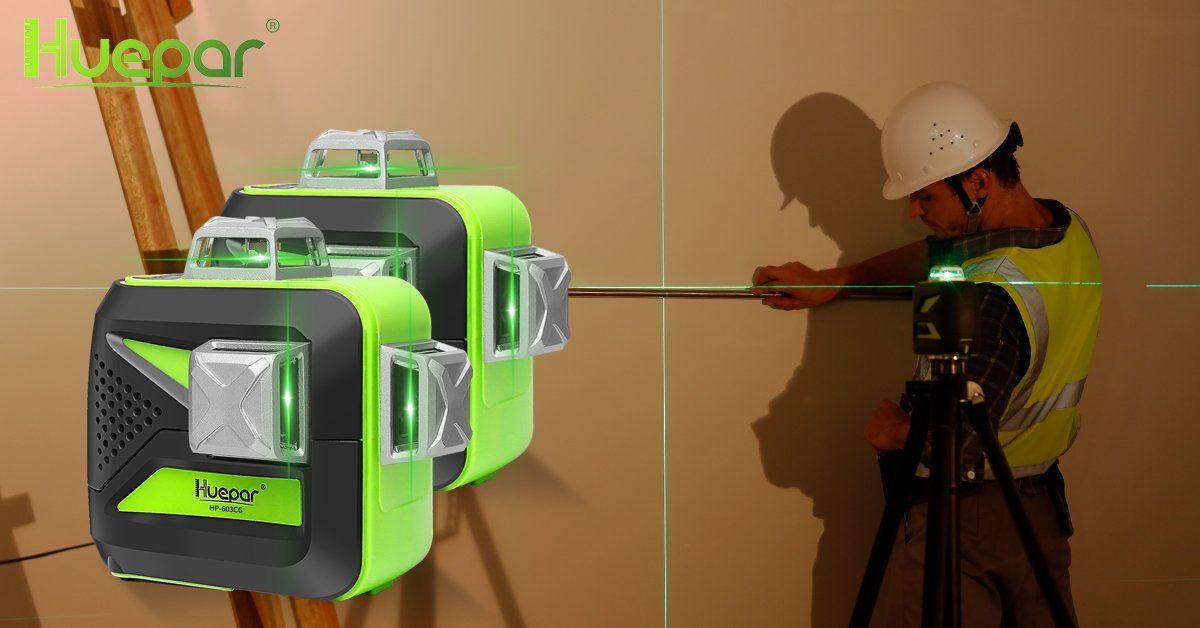
Step 6: Align tiles with a tile laser
Step 7: Install tiles along the wall
Step 8: Fill the joints with mortar
Step 9: Clean joints and apply joint sealer

Tips for laying tiles with a laser level
Some tips for laying tiles include:
Before you start tiling, you should do a test to find out the best layout. You can do this by placing tiles in the middle of the room. If you have some bold patterns in mind, this is the time to give it a try.
For safety reasons, you should choose floor tiles with a rough or textured surface, as the shinier ones can become slippery when wet.
Always buy more tiles than you need to cover up any breaks or mistakes. The general rule is: buy ten percent more tiles than necessary.
Always mark the border tiles after measuring to ensure you cut them correctly.
Tips for using a laser level for the tile laying process:
For best accuracy, you must ensure that the laser square is placed on a flat surface.
If you are working in a large room, you should move the laser square forward as you work.
As you may have noticed, my friend, laying floor tiles is a simple and straightforward job. However, you have to be patient and focused. Even a single misplaced tile can mess up the whole job.