What Are Laser Levels and How Do They Work?
Understanding the Basics of Laser Level Technology
Laser levels are devices that project visible beams of light. These beams are used to ensure alignment and levelness on work surfaces or at job sites. They work by projecting a dot or a line laser onto a surface. Inside the level, a laser diode emits a beam. This passes through a lens or is bounced off mirrors to give a straight line. Some laser levels use a pendulum system with internal magnets. These lock the pendulum in place to project accurate, level lines. This technology can help in jobs like installing floors or hanging pictures.

The Evolution of Laser Levels: From 1D to 4D
Laser levels have come a long way since their inception. The simplest type, 1D laser levels, projects a single line. They are great for basic tasks, like hanging pictures. Then came 2D laser levels, offering more features. They can shoot two lines at 90 degrees to each other, helping with tasks like tile alignment. The 3d laser levels are even better, projecting three planes for full room layout. This saves time and improves precision in complex projects. Lastly, the 4D laser levels have emerged. These high-tech tools project a laser grid in all directions, creating a 360-degree level line. It's perfect for detailed work in large spaces. Every version offers more options for pros at work.
Types of Laser Levels for Various Professional Needs
3D Laser Levels: Features and Applications
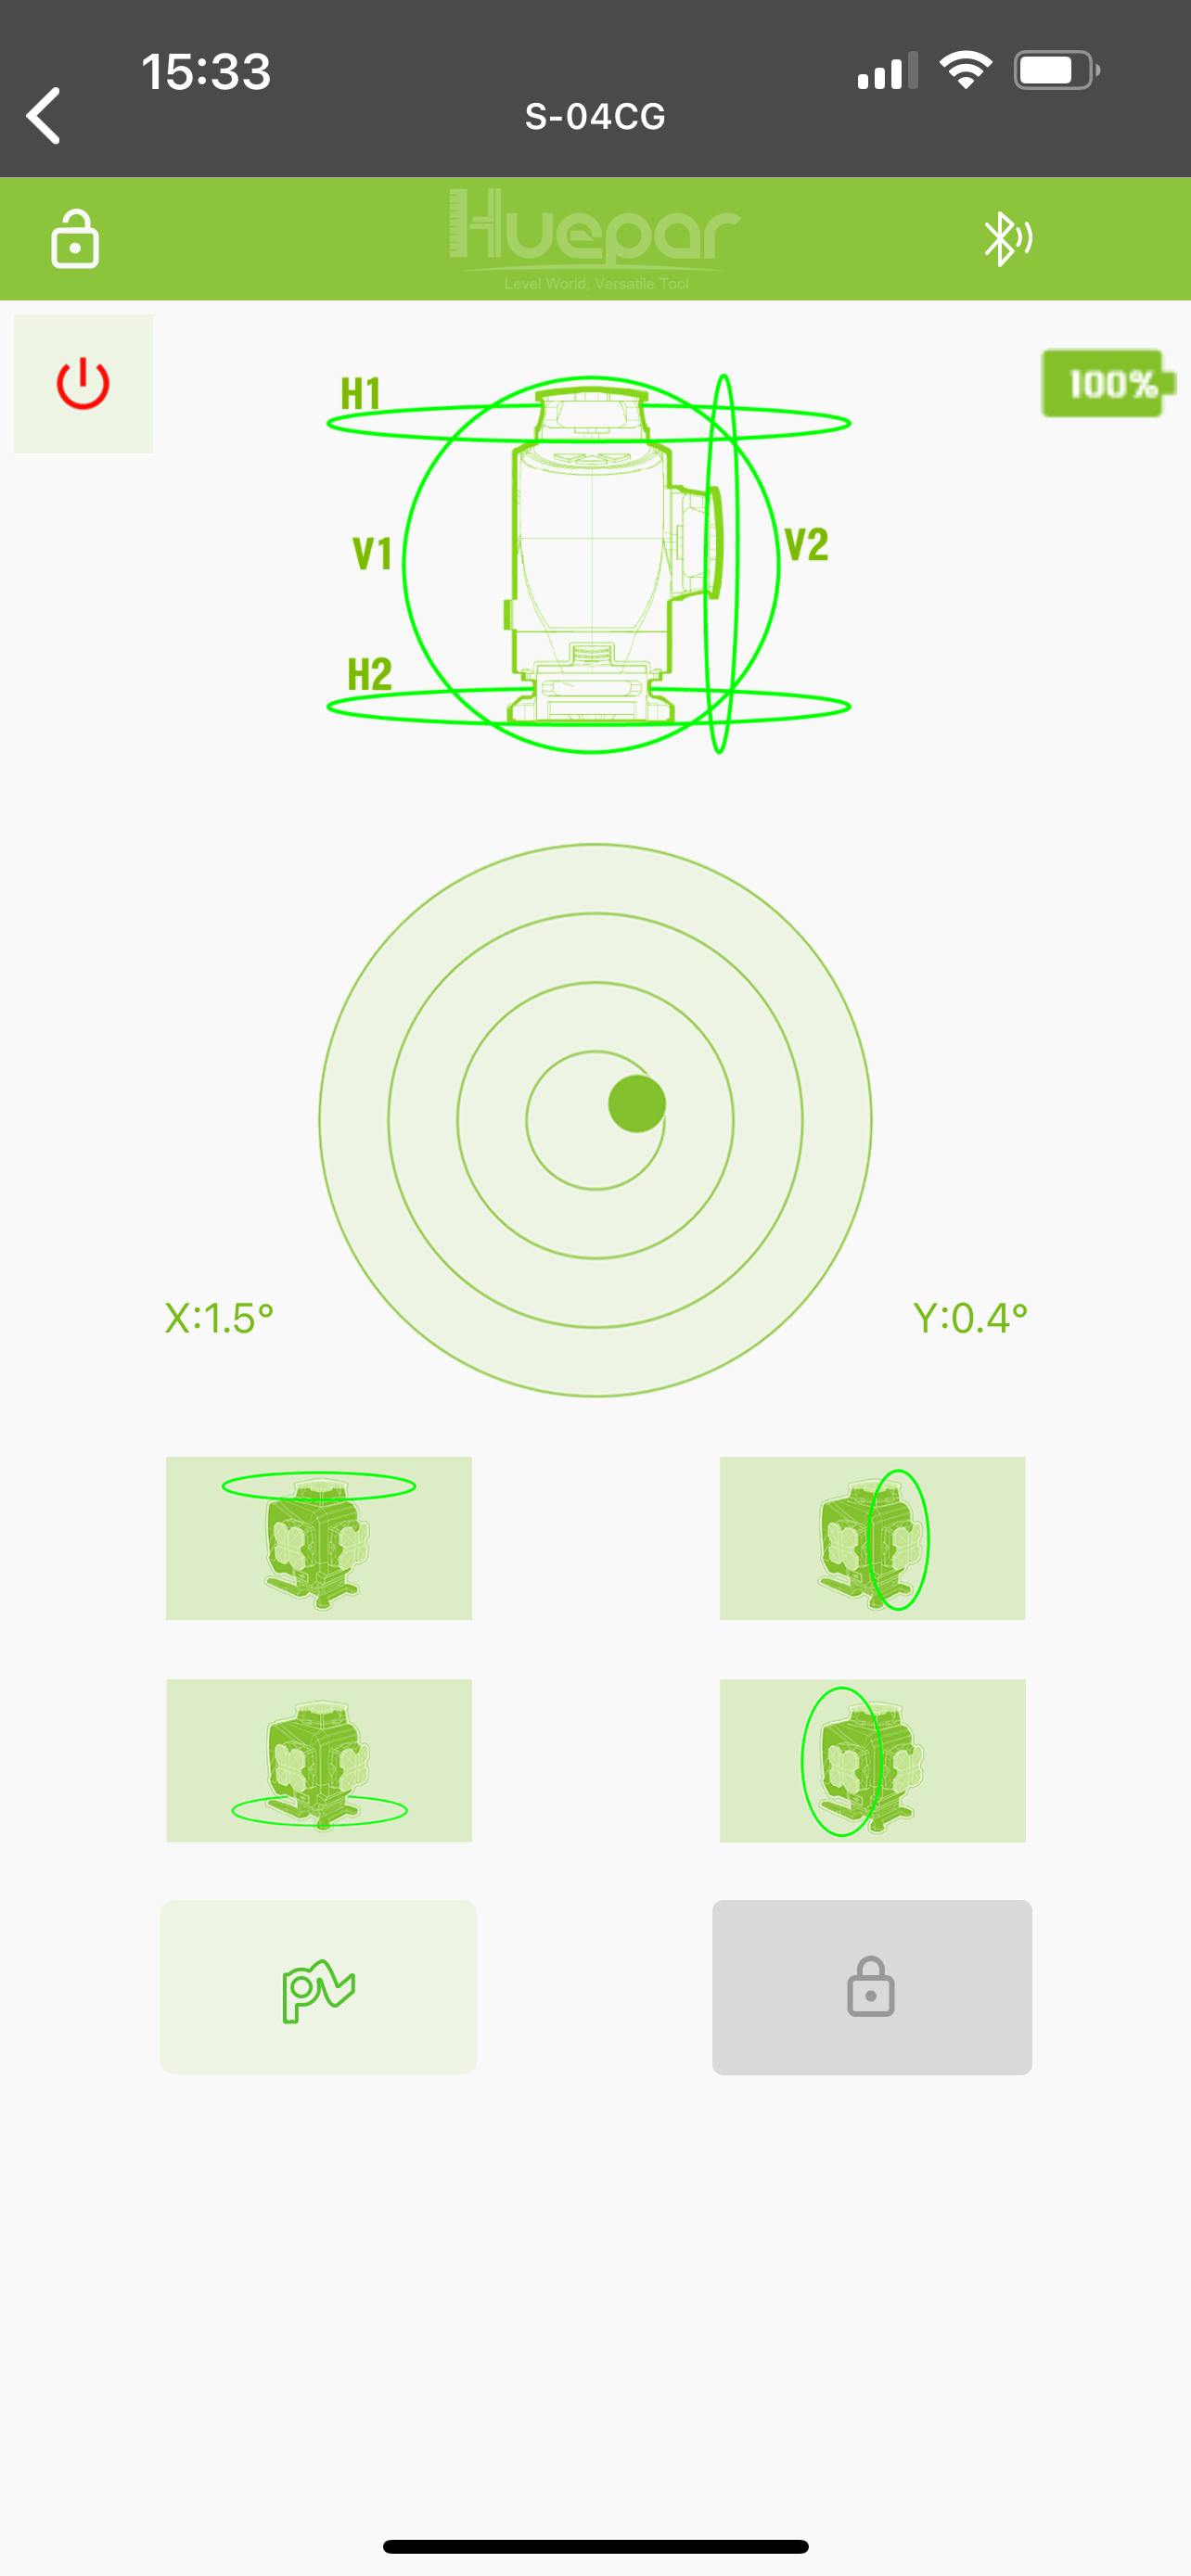
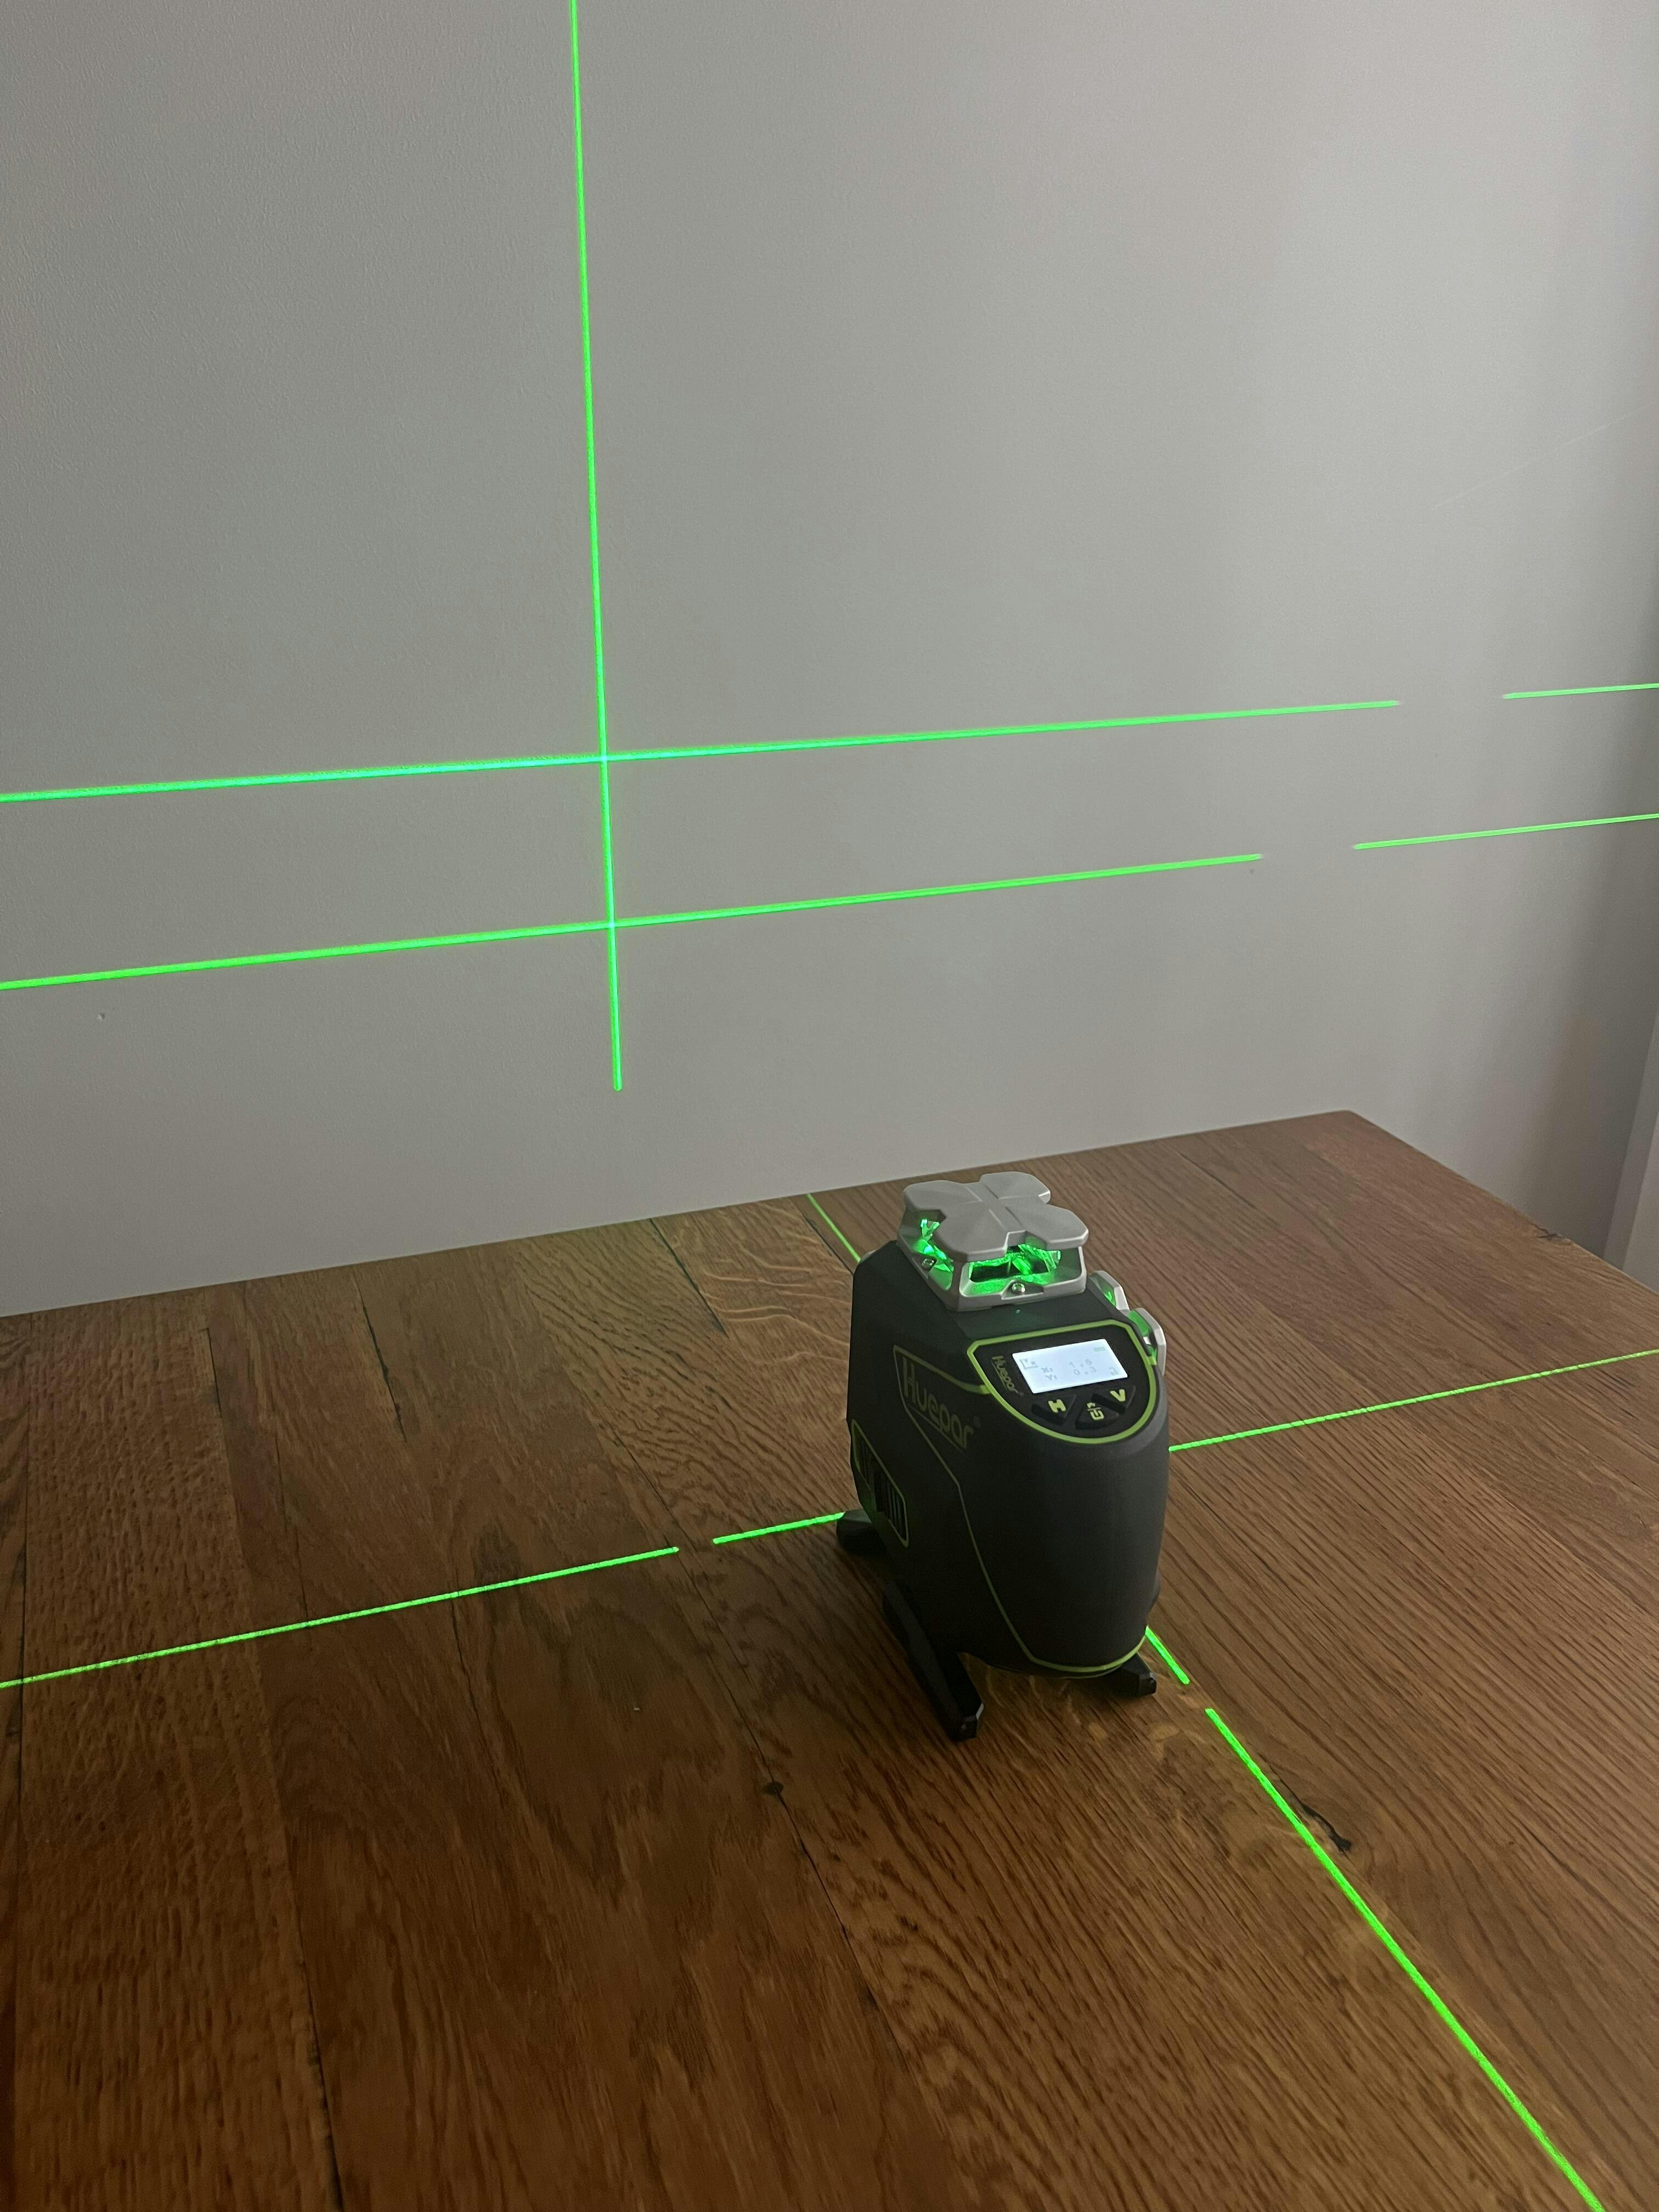
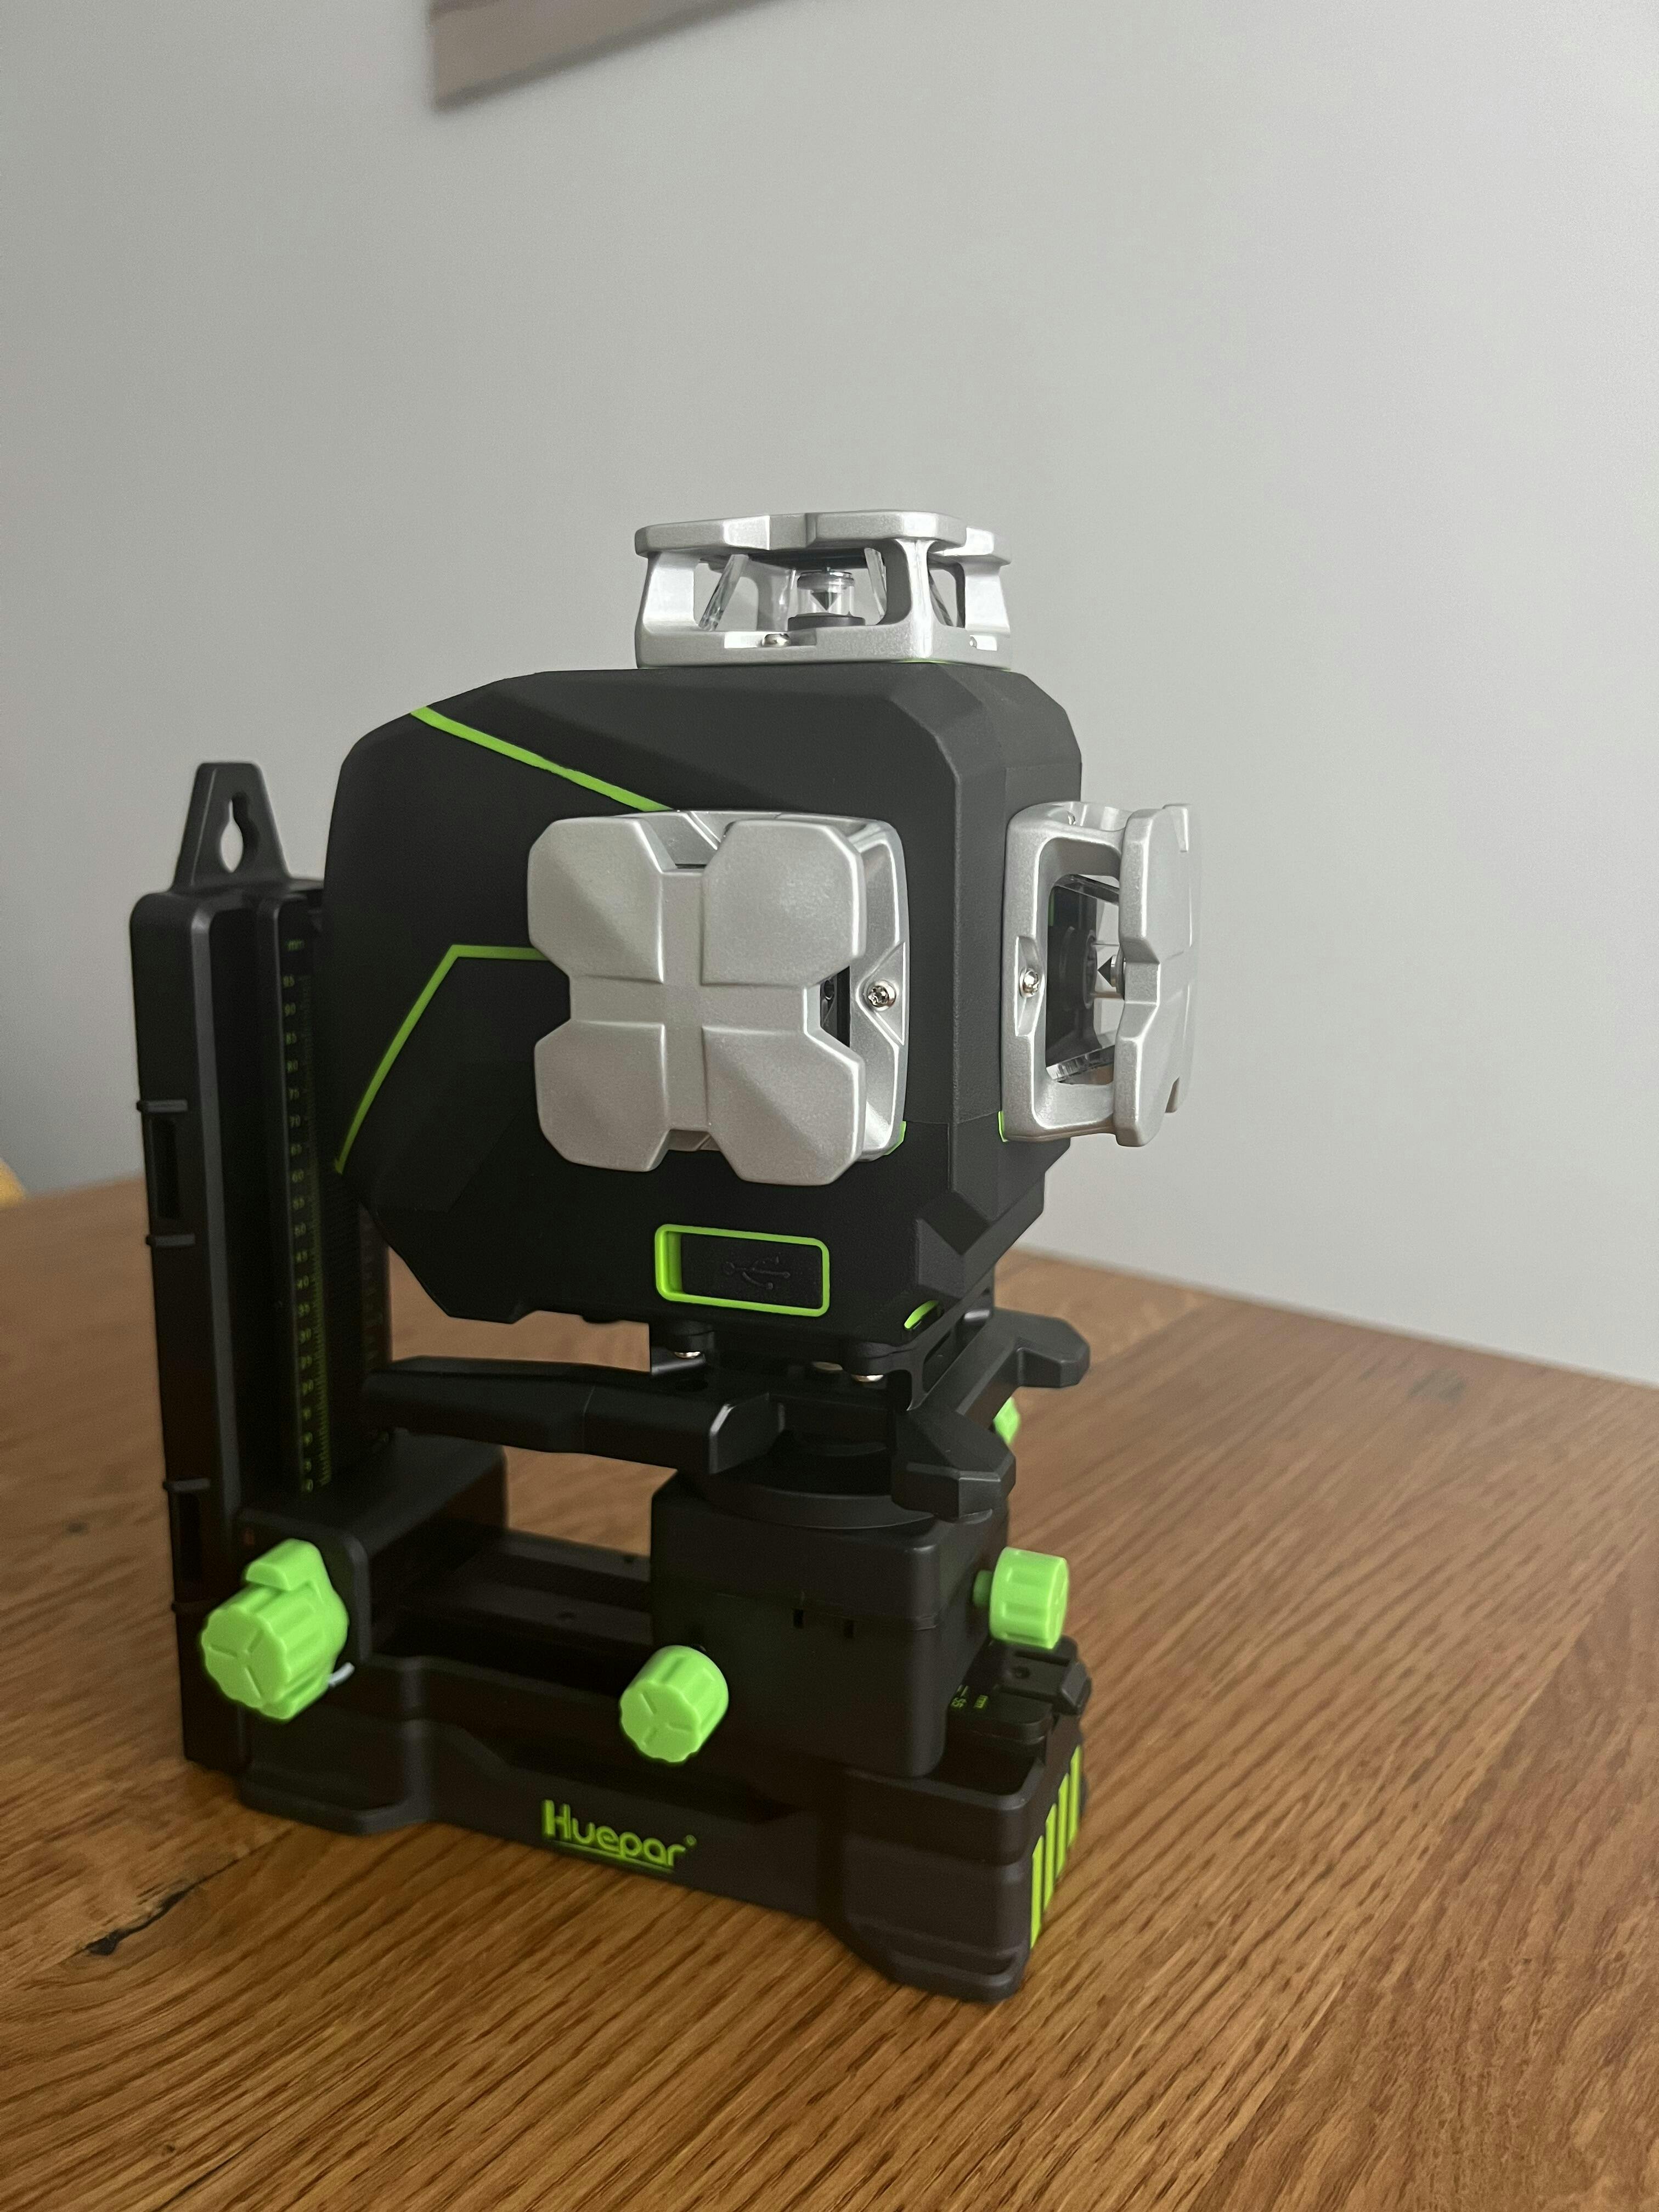
3d laser levels are high-tech tools that project beams on all axes. They create a three-dimensional layout for jobs requiring precise alignment. These levels are ideal for tasks such as installing cabinets, tiling, and complex carpentry. Key features include:
- Three planes of laser light: one horizontal and two verticals.
- 360-degree projection for full room coverage.
- Self-leveling function for accurate readings.
- Optional manual mode for angled lines.
Professionals use 3d laser levels for large-scale projects. These include mapping out electrical wiring, plumbing installation, and aligning architectural elements.
Cross Line Laser Levels: Pros and Cons
-
Pros of Cross Line Laser Levels:
- Simplicity: They are easy to operate, making them ideal for beginners.
- Affordability: Cross line lasers are often less expensive compared to more advanced levels.
- Versatility: Suitable for a range of tasks from hanging pictures to tiling.
- Enhanced Visibility: Typically offer clear, bright lines that are visible even in well-lit conditions.
-
Cons of Cross Line Laser Levels:
- Limited Range: These lasers may not be suitable for large-scale projects.
- Accuracy: While decent, they may not match the precision of higher-end models.
- Complexity in 3D tasks: Cross line lasers can be less effective for comprehensive 3D mapping or layout.
- Dependence on Light Conditions: Their visibility can be compromised in outdoor or bright environments.
4D Laser Levels: What Sets Them Apart?
4D laser levels stand out in the lineup of laser measuring tools. Unlike 3D levels, 4D units project lines in all directions. This means they cover all planes: up, down, left, right, forward, and backward. This full coverage is perfect for complex tasks. 4D levels give greater accuracy and control to users. They excel in detailed, precise work such as cabinetry or staircase building. They can be used indoors or outdoors. Their advanced tech often means they come with a higher price tag. But, many pros find the investment worth it for the level of detail they provide.
Choosing the Right Laser Level for Your Project
Factors to Consider When Selecting a Laser Level
- Accuracy and Precision: The level's accuracy is key. Check the spec for its leveling accuracy.
- Laser Range: Consider how far the laser can project. Different jobs need different ranges.
- Durability: Jobsites can be tough. Look for a robust level that can handle knocks and falls.
- Battery Life: Long battery life means less downtime. This is crucial in the middle of a task.
- Ease of Use: Some levels come with advanced features. But they must still be easy to operate.
- Self-Leveling Capability: Self-leveling models save time. They quickly adjust to level within a range.
- Visibility: Ensure the laser is visible enough for your project, even in bright conditions.
- Mounting Options: A good level should mount easily on various surfaces or stands.
- Price: Set a budget and weigh the level's features against its cost.
Best Practices for Using Laser Levels in Construction
- Understand the layout: Before using the laser level, visualize the project layout. This helps in aligning the laser correctly.
- Level calibration: Make sure the laser level is calibrated to ensure accuracy in your measurements.
- Stable setup: Always set the laser level on a stable surface or tripod to prevent movement that can affect precision.
- Optimal lighting: Use the laser level in lighting conditions that make the laser lines visible without straining your eyes.
- Regular checks: Periodically check the levels during your work to catch any discrepancies early on.
- Safety precautions: Wear safety goggles when operating the laser, and avoid direct eye exposure to the beam.
- Maintain your equipment: Keep the laser level clean and store it properly to extend its lifespan and performance quality.
- Refer to the manual: For specific operations and settings, consult the laser level's user manual.
Troubleshooting Common Issues with Laser Levels
Even with advanced laser levels, users can face issues. Here's a list of common problems and tips on fixing them:
- Accuracy Problems: Ensure the laser level is calibrated. Check the manufacturer’s guidelines for calibration processes.
- Power Issues: Replace the batteries or recharge the device if it has a built-in battery. For consistent power, keep spare batteries on hand.
- Visibility Troubles: In bright conditions, use a laser detector, or wait for lower light settings. Some models also offer stronger beams.
- Alignment Challenges: Reset the device on a stable surface. Make sure it’s level using the device’s bubble indicator or built-in self-leveling feature.
- Laser Beam Interruptions: Remove any obstructions in the laser line's path. Clean the laser level's lens with a soft, damp cloth.
- Operational Errors: Refer to the user manual. It often contains solutions for specific error codes or signals the device may show.
Following these tips can help resolve the common issues with laser levels, ensuring precise measurements.