
What Are 3D Laser Levels and How Do They Work?
Understanding the Basics of Laser Levels
Laser levels are cutting-edge tools used for precise alignments. They project straight lines onto surfaces at an exact level. These lines show where to hang pictures or put up a wall. 3d laser levels add more lines. They give one horizontal and two vertical lines to create a "3D" effect. This makes setting up a room's layout easy. You can see the lines from every angle. This makes jobs like tiling or framing much simpler. 3D laser levels are handy for both home DIY and big building projects. They work with a laser beam that is safe for eyes. The levels can stick to walls or sit on tripods. They spin to point lines in all directions. This way, you get a full room guide without moving the tool too much.

Differences Between 3D, Cross Line, and 4D Laser Levels
- 3D Laser Levels: Emit beams in three planes for full room coverage.
- Cross Line Laser Levels: Project two intersecting lines on the surface.
- 4D Laser Levels: Offer a 360-degree coverage by emitting beams in four planes.
The Technology Behind 3D Laser Levels
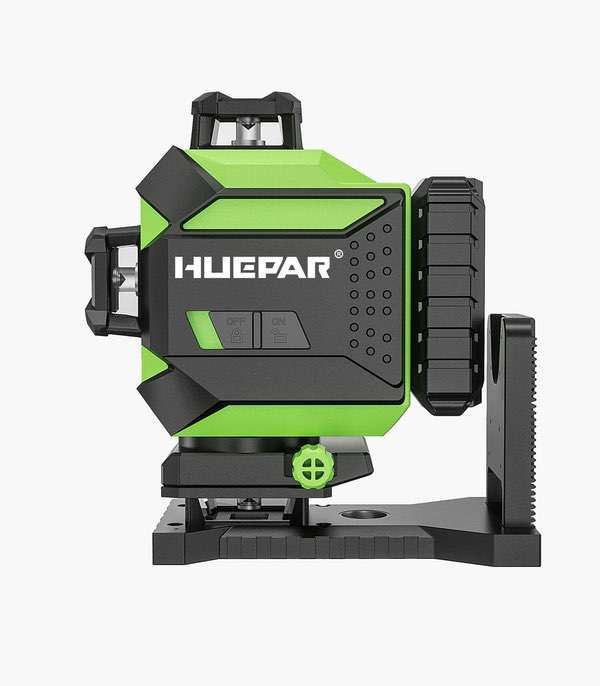
3d laser levels use cutting-edge tech to project lines with great precision. They have a 360-degree protractor that sends out laser beams. The beams form ‘planes’ of light. These can be horizontal, vertical, or both. These planes provide a 3D layout of the area. Advanced sensors make sure the beams stay level. Some models connect to apps for extra features. They use rechargeable batteries, often lithium-ion. This tech helps you work faster and more accurately.
The Benefits of Using 3D Laser Levels in Construction and DIY Projects
Enhanced Accuracy and Efficiency
3d laser levels have revolutionized the world of construction and DIY projects. With their precision, projects are completed with greater accuracy, reducing the chances of errors. They emit beams that form a three-dimensional layout on the work surface. This allows for simultaneous horizontal and vertical alignment without the need for constant repositioning. Using a 3D laser level means measurements are consistently level, even over long distances. This boosts efficiency, as one person can do the job of many, saving time and labor costs. Overall, the adoption of 3D laser levels in various projects leads to a significant enhancement in both accuracy and efficiency.
Applications in Various Industries
- Construction: Streamlines tasks like aligning walls, leveling floors, and installing ceiling fixtures.
- Carpentry: Ensures straight cuts, precise alignments of structures, and proper fitting of components.
- Electrical: Aids in the accurate installation of electrical conduits, lighting systems, and outlets.
- Plumbing: Helps in setting pipes straight and maintaining the correct slope for drainage.
- Landscaping: Useful for patio layout, fence alignment, and establishing grade levels.
- Interior Design: Assists in the placement of art pieces, furniture alignment, and creating balanced spaces.
These examples showcase the versatility of 3d laser levels across different trades and hobbies.
Comparing 3D Laser Levels With Traditional Leveling Tools
When stacking 3d laser levels against traditional tools, the difference is stark. Traditional bubble or spirit levels have been around for ages. They are simple and low-cost but require manual checking of the bubble's alignment. 3D laser levels, on the other hand, project precise lines on all planes. This means faster setup and no need to re-check or re-adjust. Imagine aligning multiple points across a room. A traditional level needs moving and leveling at each point. With a 3D laser level, you just set it up once. You'll save time and achieve higher accuracy. Professional projects often demand this level of precision, but DIY enthusiasts also benefit. From hanging pictures to installing complex cabinetry, 3D laser levels provide an edge. The upgrade from traditional tools to a 3D laser level is a step towards error-free results.
Choosing the Right 3D Laser Level for Your Needs
Key Features to Look for in a 3D Laser Level
When picking a 3D laser level, certain features matter most. Look for these key points:
- Accuracy: The most crucial aspect. It should offer precise lines.
- Self-Leveling: Saves time and ensures level lines automatically.
- Visibility: Bright, clear lasers that can be seen well, even in daylight.
- Battery Life: Long-lasting power is vital for extensive projects.
- Durability: A robust build that can withstand job site conditions.
- Range: How far the laser line can reach while staying accurate.
- Mounting Options: Versatile mounting means it can be used anywhere.
Choose wisely to boost your work's quality and efficiency.
Top Picks: Reviewing Popular 3D Laser Level Models
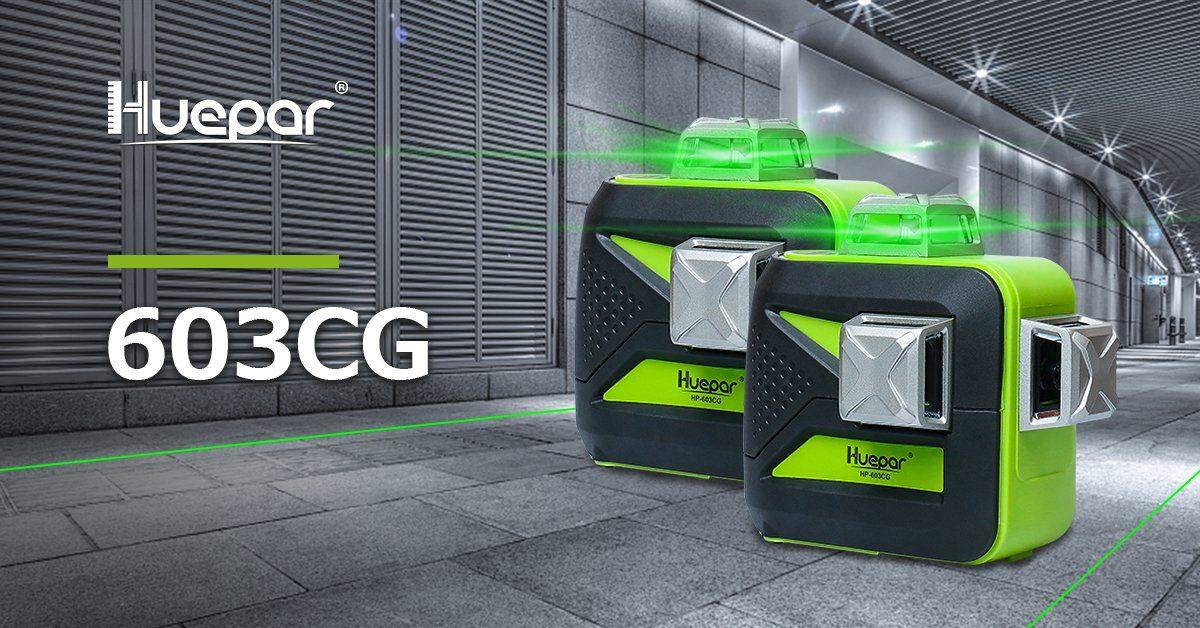
- Huepar Box-1G: This device offers a 360-degree horizontal line for full room coverage. It's ideal for interior work and mid-range outdoor use.
- DeWalt DW089LG: Known for its green laser, the DeWalt model ensures visibility even in bright conditions. It's sturdy, making it great for tough job sites.
- Bosch GLL3-330CG: Bosch's model shines with Bluetooth connectivity and app support. This allows for easy settings adjustments and remote control.
- Spectra Precision LT58G: The Spectra offers a green 3D laser system. It's designed for ceiling work and is easy to set on various surfaces.
- Tacklife SC-L01: Budget-friendly and reliable, the Tacklife has self-leveling features and a cross-line mode for a variety of projects.
Tips for Maintaining Your 3D Laser Level
To ensure your 3D laser level performs well over time, regular maintenance is key. Here are some tips to keep it in top condition:
- Store Properly: Keep your laser level in a protective case to avoid dust and damage.
- Clean Regularly: Gently wipe the laser windows with a soft, lint-free cloth to keep the beams clear.
- Check Calibration: Regularly check for accuracy and recalibrate if necessary. Follow the manufacturer's guide.
- Avoid Moisture: Protect your device from water and high humidity that can harm the electronics.
- Handle with Care: Be gentle when setting up and taking down the laser level to prevent misalignment.
- Battery Care: Replace batteries or recharge as indicated to ensure consistent performance.
- Firmware Updates: If your model allows for updates, keep the firmware current for optimal functionality.
By following these simple tips, you can prolong the life and enhance the reliability of your 3D laser level.