Introduction to Laser Levels
What Are Laser Levels?
Laser levels are tools that emit a straight, level line of light. They help users align and level objects with great precision. These devices project a dot or a line that can be horizontal, vertical, or both. People use laser levels in construction, carpentry, and DIY projects. By providing clear visual guides, they make tasks like hanging pictures or laying tiles easier and more accurate.

The Evolution of Laser Levels: From 2D to 4D
Laser levels have come a long way since their inception. We started with simple 2D laser levels. They projected lines along a single plane. It helped builders and DIYers with basic tasks. But as time went on, the need for more advanced tools grew. Enter the 3d laser levels. They can project lines on all three x, y, and z axes. This lets you tackle complex layouts with ease. And now, we're seeing the rise of 4D laser levels. These tools take it a step further. They offer more reference points and greater control. With these advances, achieving precision in construction and DIY projects has never been easier.
The Advantages of Using 3D Laser Levels in Construction and DIY
Enhanced Accuracy and Efficiency
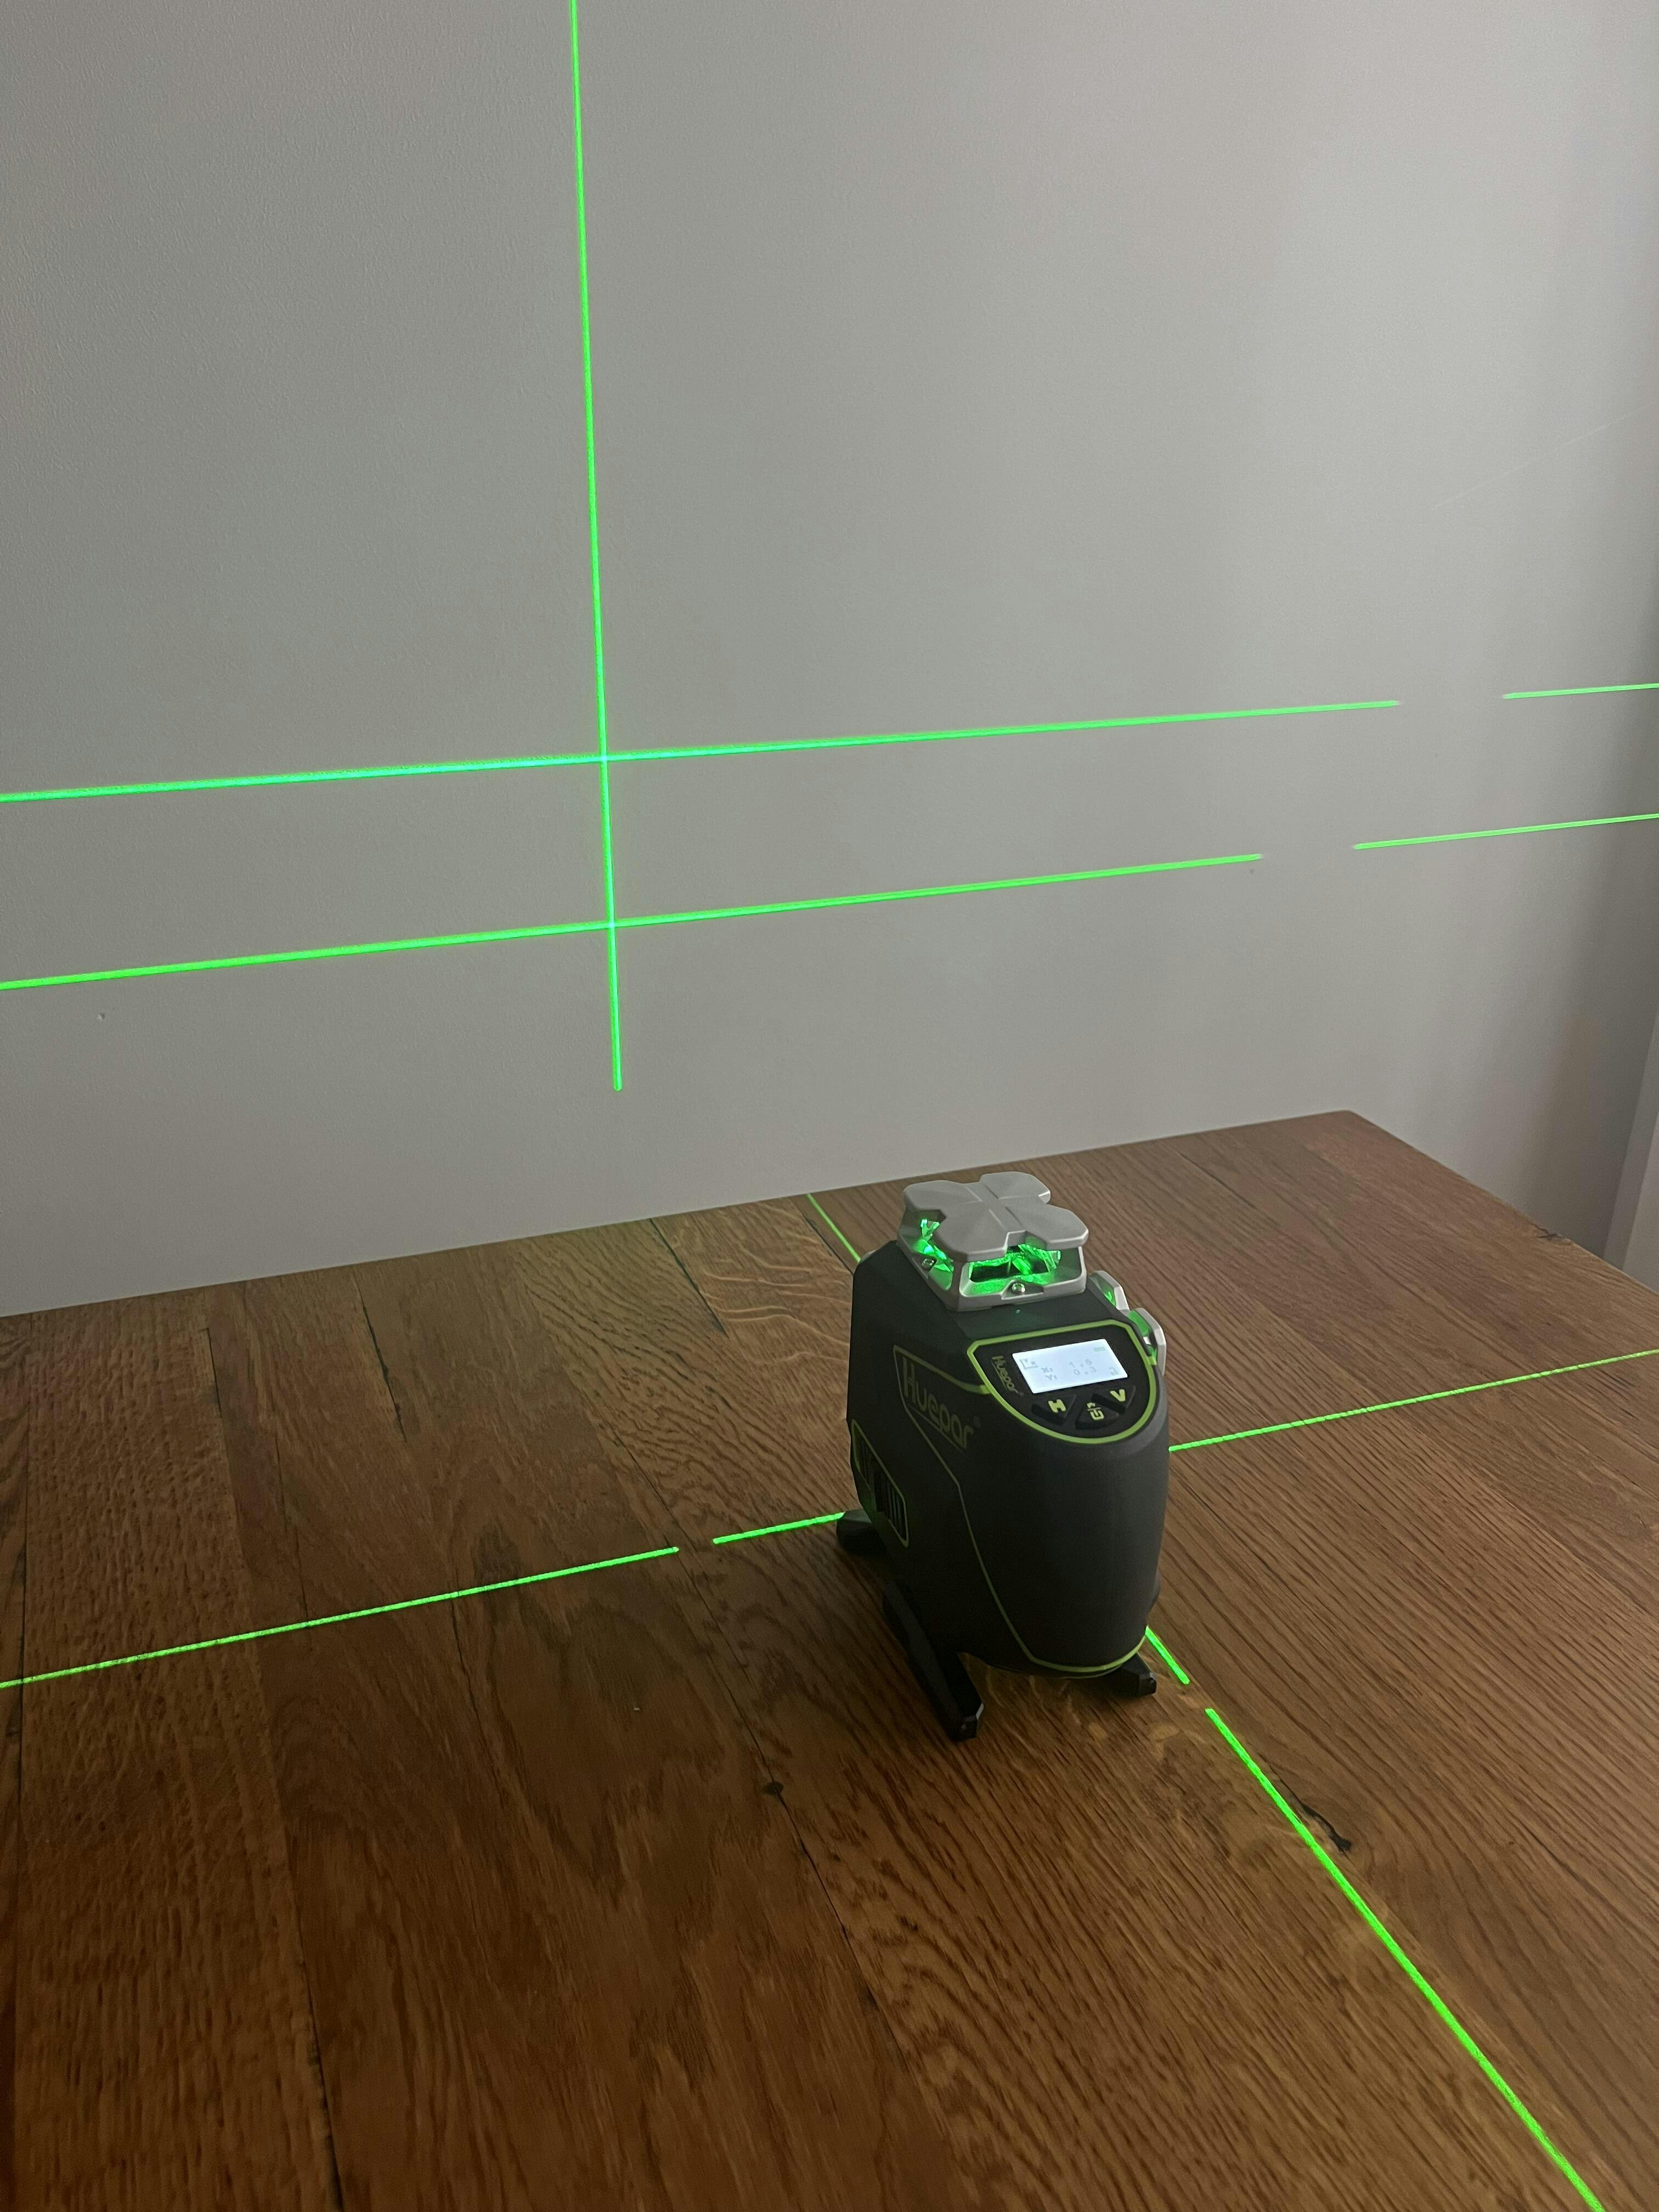
3d laser levels have transformed how we ensure precision in construction and DIY. They provide a clear visual guide with fewer errors and less rework. The bright, highly visible lines enable quick and precise alignments and measurements. With 3D lasers, you can project lines on all planes simultaneously. This is a step up from traditional tools that need more checks for accuracy. You save time and effort. Tasks like fitting tiles, hanging cabinets, or setting up frames become simpler. These laser levels also sync with other tech for even better results. In short, they make work faster, easier, and more accurate.
Versatility Across Different Projects
3d laser levels are a game-changer in the world of construction and home projects. Unlike standard lasers, they project three planes of light. This makes them perfect for various tasks. You can use them for laying tiles, framing, and cabinetry. They are also great for hanging wallpaper or installing ceilings and lights. Their ability to stick to a surface hands-free adds to their flexibility. You can work alone, without needing extra hands. This tool can adapt to indoor and outdoor settings. This means more uses with just one tool. It's the kind of versatility that both pros and DIYers value.
Comparing 3D to Cross Line and 4D Laser Levels
When deciding on a laser level, understanding the difference between 3D, Cross Line, and 4D models is key.
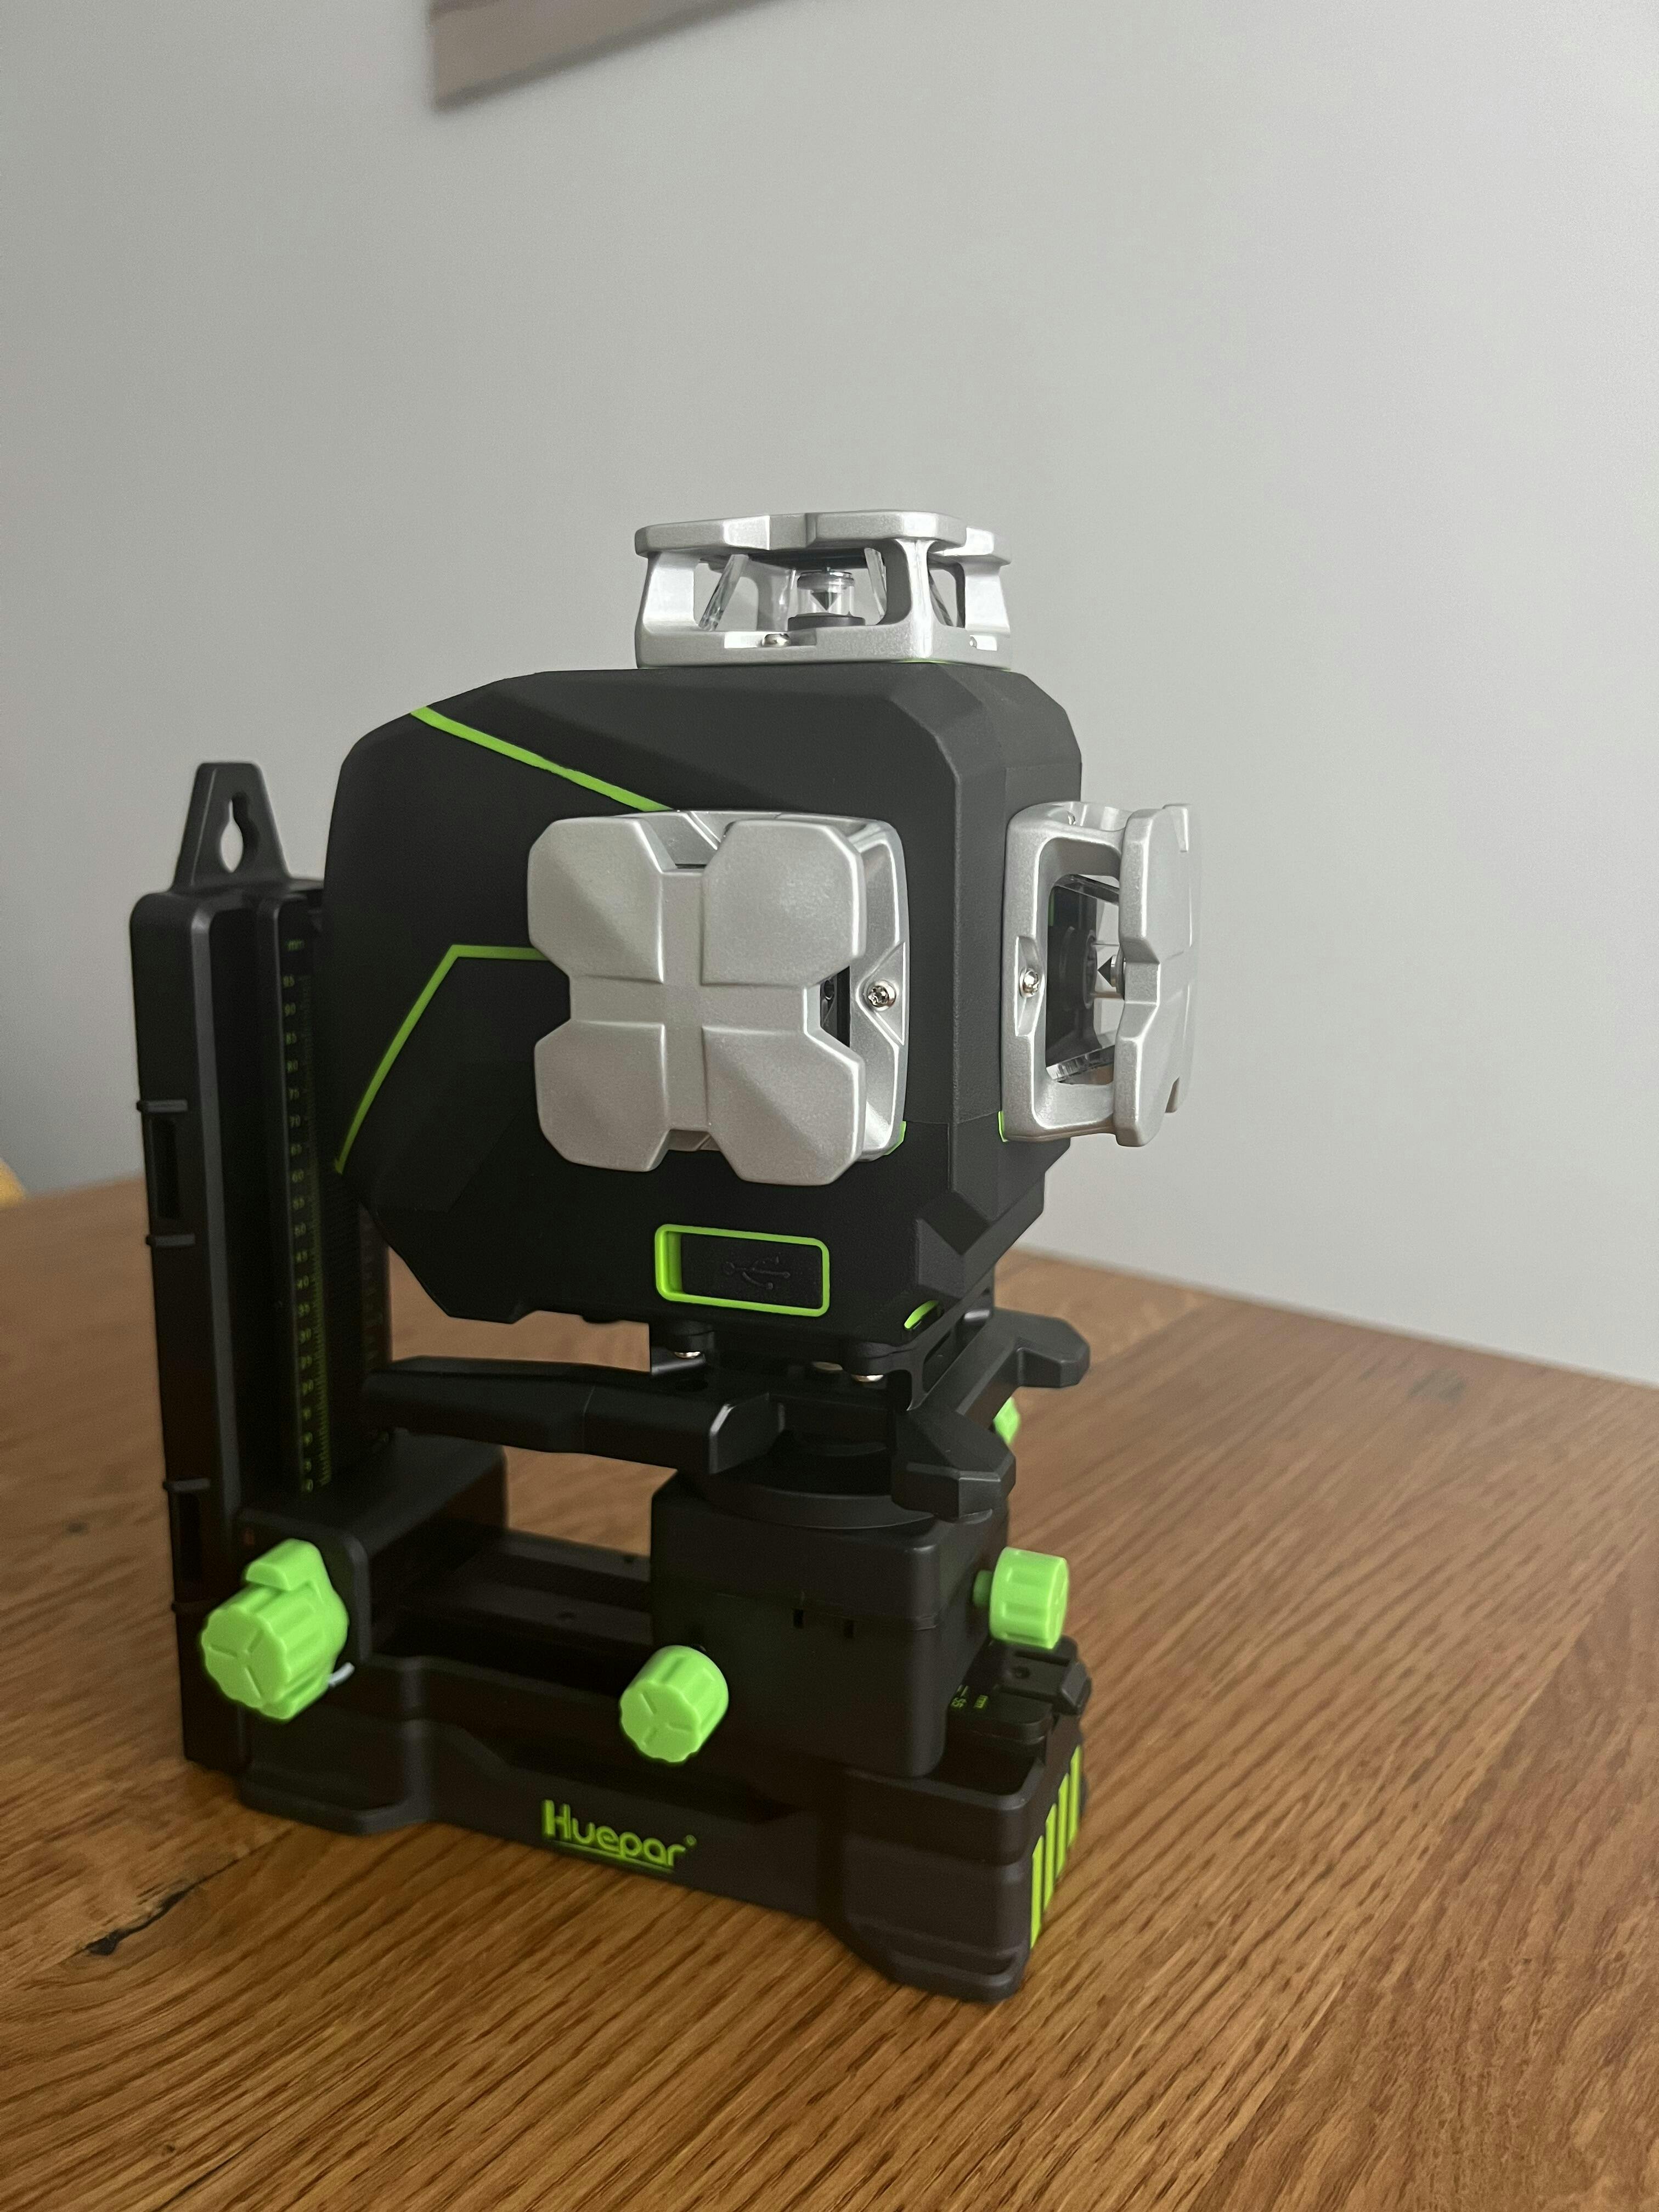
3D Laser Levels project beams in three planes: X, Y, and vertical (Z), making them ideal for tasks requiring full-room layout.
Cross Line Laser Levels emit intersecting horizontal and vertical lines. They are simple to use and good for wall work.
4D Laser Levels offer an added plane. They cover all directions for complex projects.
Here is a quick comparison:
- 3D levels give 360-degree coverage in a space.
- Cross Line models are cost-effective and suited for simpler tasks.
- 4D levels provide all-around coverage and are best for intricate designs.
Choosing the right type depends on your project's complexity and precision needs.
Practical Applications of 3D Laser Levels
Installation and Calibration Best Practices
To harness the full potential of 3d laser levels in your projects, correct installation and calibration are critical. Here is a simplified guide to ensure optimal performance:
- Choose the Right Location: Start by finding a stable surface. Make sure it's level to avoid errors.
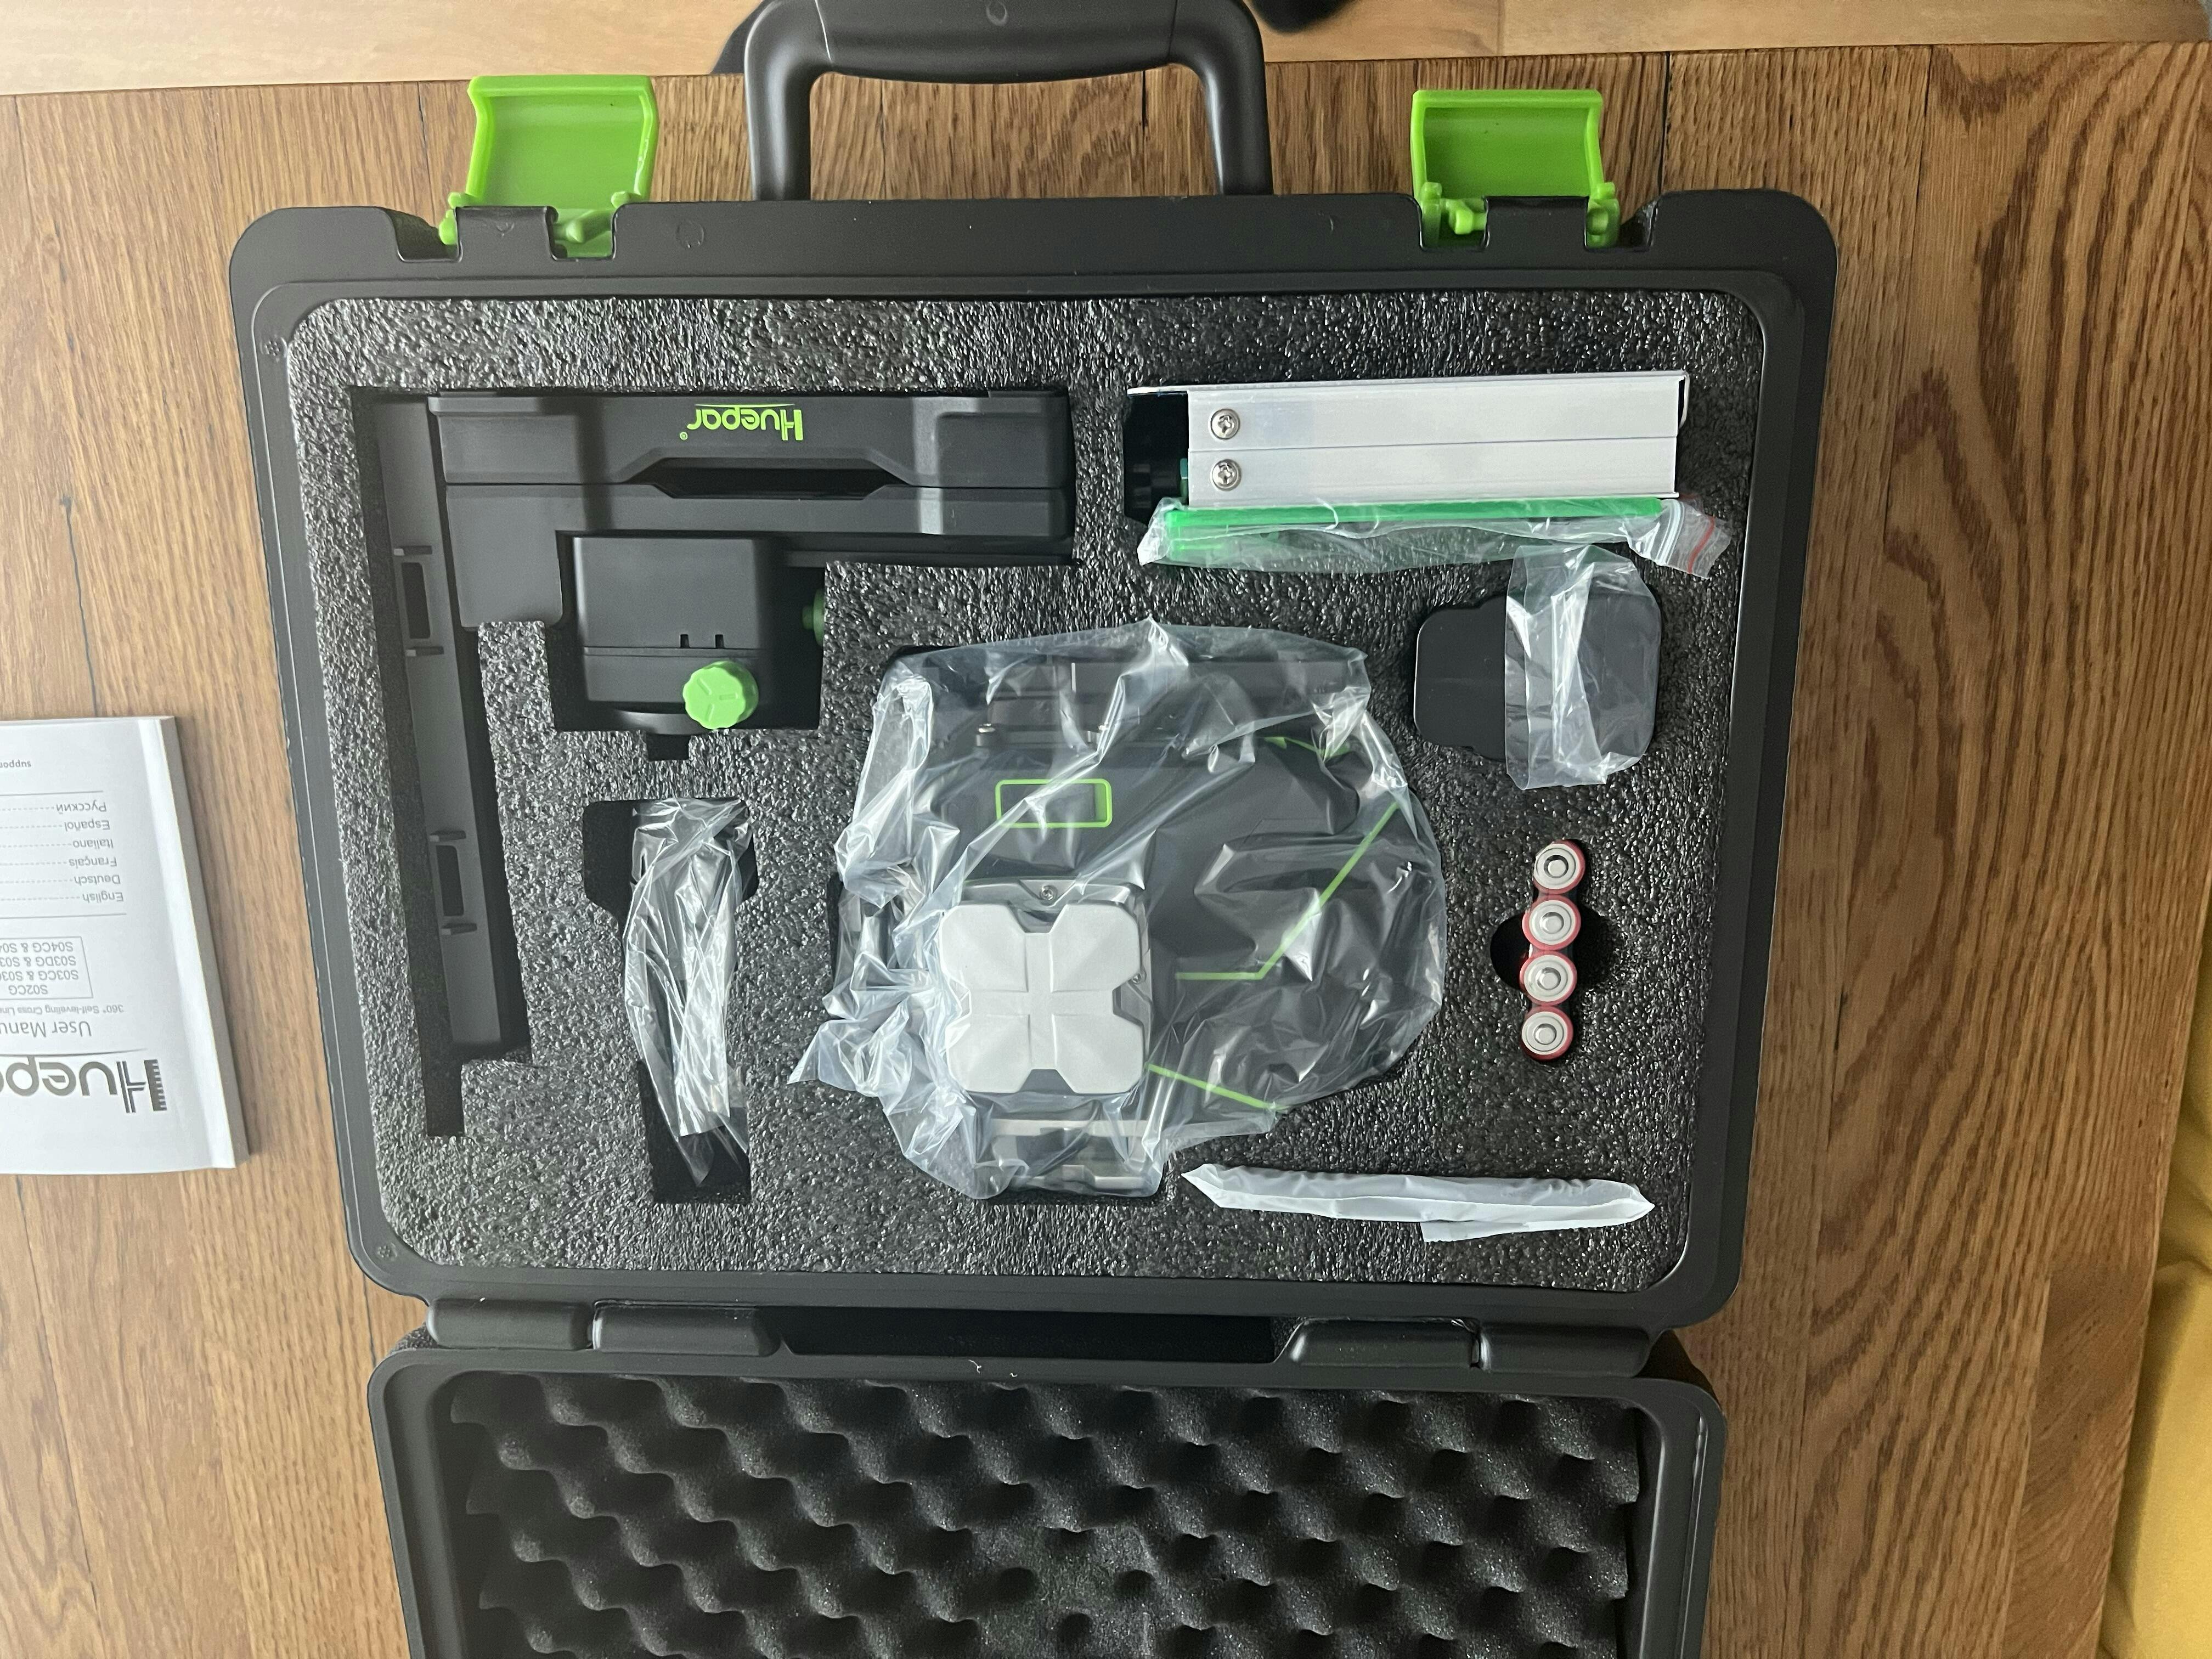
- Mounting the Device: Secure the 3D laser level to a tripod or wall mount for steady projections.
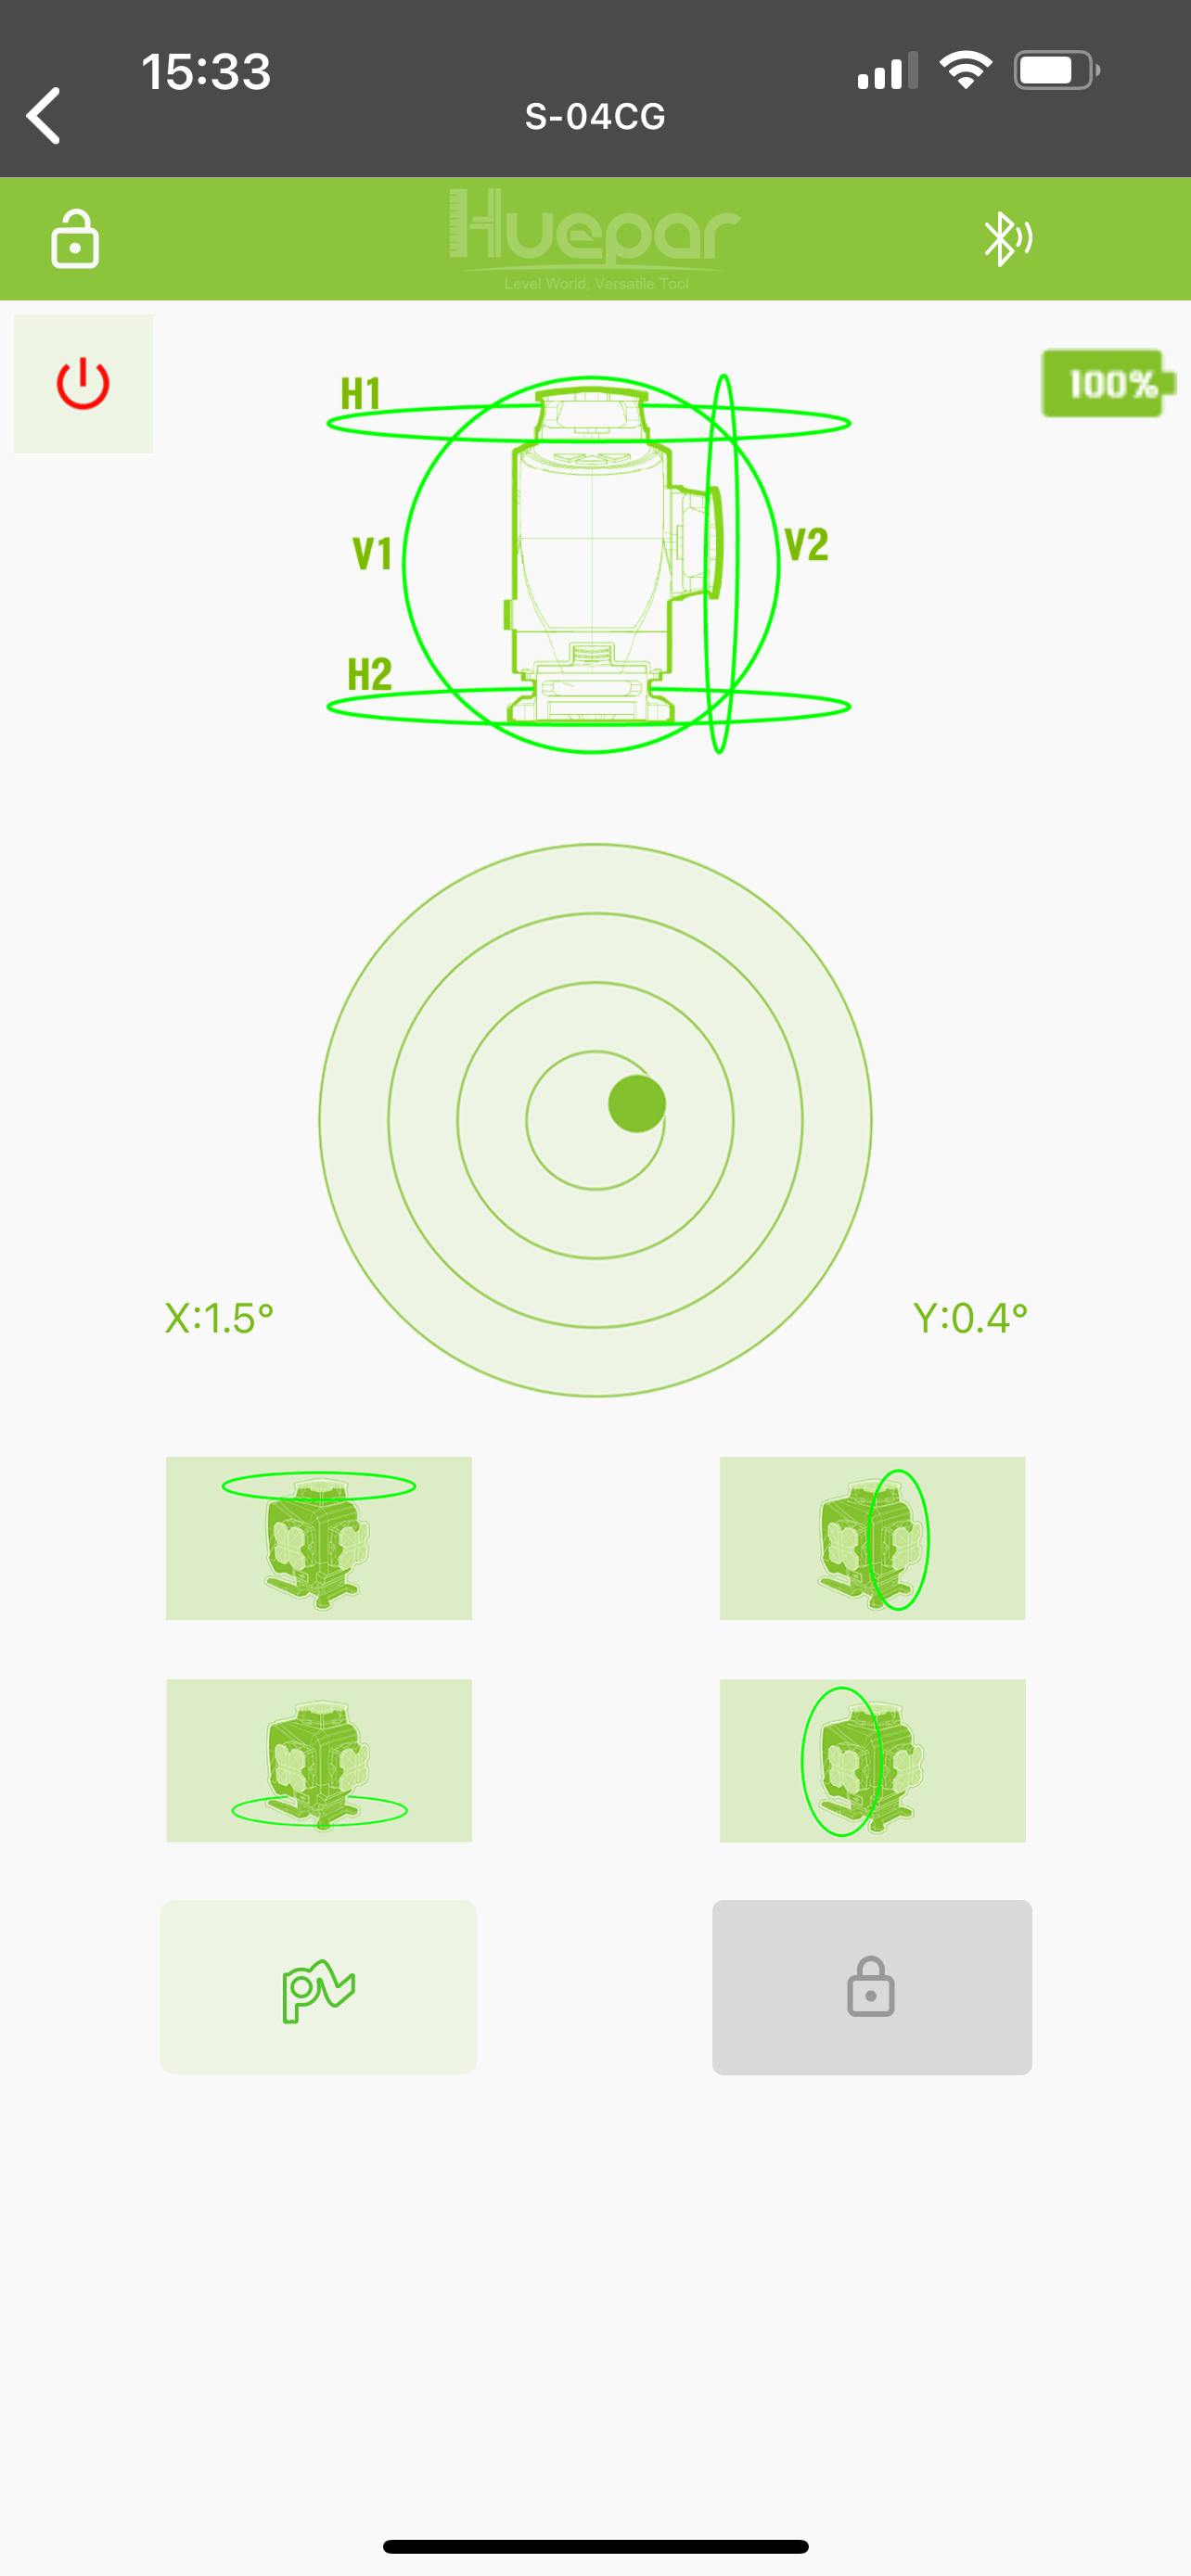
- Power On and Initial Setup: Turn the device on and let it self-level if it has an automatic leveling feature. If not, manually adjust it until it's level.
- Calibration Check: Follow the manufacturer's instructions to check and adjust the calibration. This ensures accuracy.
- Test Before Use: Once set, run a quick test to confirm the laser lines are true to your measurements.
- Regular Maintenance: Clean lenses and check calibration regularly. This maintains precision.
By following these steps, you ensure the laser level is correctly set up to deliver accurate alignments for any project.
Case Studies: Real-Life Construction and DIY Scenarios
- In a home renovation project, a 3D laser level ensured that wall tiles were perfectly aligned, avoiding costly mistakes.
- A landscaping company used a 3D laser level to quickly set out level ground for a new garden, saving hours of manual measuring.
- During the construction of a custom staircase, contractors employed a 3D laser level to guarantee precise riser and tread placement.
- A DIY enthusiast used a 3D laser level when installing cabinets to make sure they were all at the same height and perfectly square.
- A team building an outdoor deck relied on a 3D laser level to align posts and beams accurately, leading to a sturdy, well-balanced structure.
Safety Tips When Using Laser Levels
When using 3d laser levels, one must always prioritize safety to prevent accidents and ensure a secure work environment. Here are some essential safety tips:
- Read the Manual: Before using a 3D laser level, thoroughly read the manufacturer's instructions.
- Wear Protective Eyewear: Protect your eyes from laser exposure by wearing proper safety glasses.
- Avoid Direct Eye Exposure: Never look directly into the laser beam or point it at others.
- Be Cautious with Heights: When using a laser level at heights, secure it firmly to prevent falls.
- Check for Trip Hazards: Keep the area clear of loose cables or equipment that could cause trips.
- Use with Proper Lighting: Operate the laser level in well-lit areas to easily see the beams and avoid accidents.
- Stay Alert: Remain aware of your surroundings to avoid distracting others or disrupting the laser's path.
- Regular Maintenance: Keep the laser level in good condition with regular checks and cleanings.
- Handle with Care: Treat the laser level gently to avoid damaging the delicate optics and mechanisms.
By adhering to these tips, you can safely utilize 3d laser levels for all your construction and DIY needs.