
Introduction to Laser Levels
The Evolution of Laser Levels
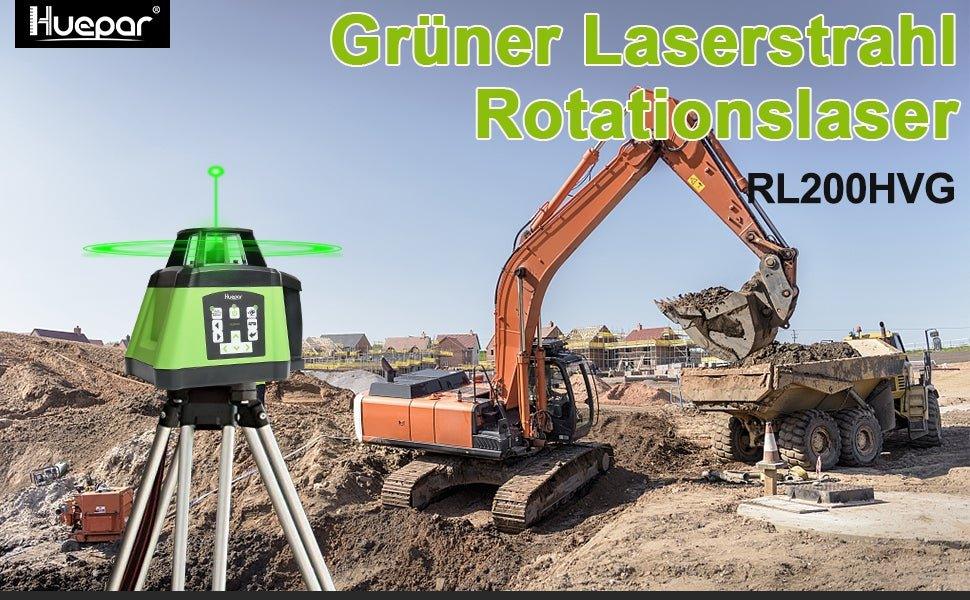
The journey of laser levels started with simple manual tools. Over the years, they became more advanced. Early versions had to be carefully adjusted by hand. Now, we have self-leveling laser levels. These use gravity and magnets to keep lines straight. They save time and boost accuracy. Today's 3d laser levels offer a new level of precision. They can project lines on all surfaces around them. This tech helps in complex layouts and checking 3D objects. As tech gets better, laser levels become more user-friendly and exact.

Understanding the Basics of 3D Laser Levels
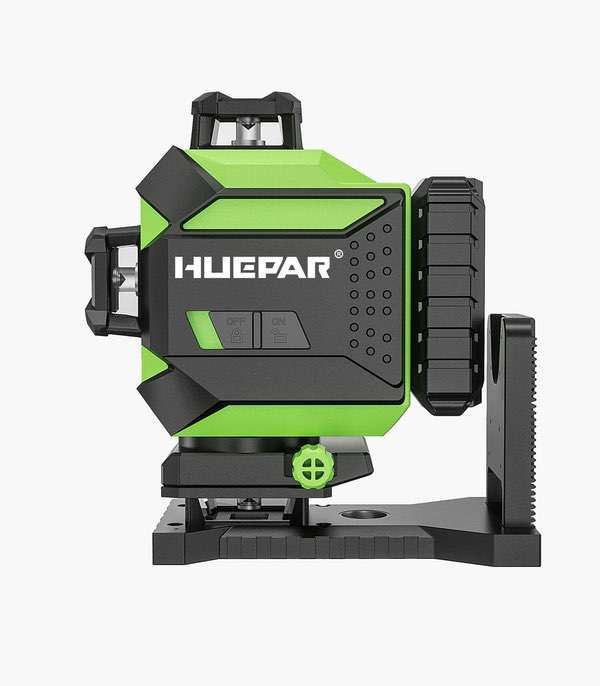
3d laser levels are a game-changer in precise alignment tasks. They project laser lines on all three planes. This means you get vertical and horizontal lines at the same time. As a result, aligning and leveling across a room becomes faster and more accurate. These levels are a top pick for jobs needing both hands free. They are perfect for tasks like tile alignment, framing, or cabinetry installation. With a 3D laser level, professionals and DIY enthusiasts can achieve professional-grade results with less effort.
Advantages of Using Laser Levels in Construction and DIY Projects
Laser levels have revolutionized the way we build and create. Here are some key benefits:
- Accuracy & Precision: A laser level ensures straight and perfectly aligned lines with pinpoint accuracy, reducing the chance for errors.
- Efficiency: Save time with quick setup and faster project completion. You don’t have to keep checking a bubble level.
- Ease of Use: They are user-friendly. Even beginners to DIY can use them with ease.
- Versatility: Use them indoors or outdoors, for hanging pictures or laying foundation.
- Safety: Reduce the risk of accidents from using ladders to check levels at heights.
Laser levels are a game-changer for anyone wishing to up their construction or DIY game.
Types of Laser Levels
Cross Line Laser Level: Benefits for Precision Alignment
Cross Line Laser Levels are key for tasks that require exact alignment. They project two lines that cross at a 90-degree angle. This makes setting out right angles easy and quick. They are perfect for tasks such as tiling, hanging cabinets, or installing trim. With Cross Line Lasers, you can work faster and make fewer mistakes. This boosts productivity and ensures high-quality results every time. They are a must-have tool for pros and DIY fans alike. The benefits of Cross Line Laser Levels make them a top pick for precision tasks.
Comparing 3D and 4D Laser Levels: What Sets Them Apart?
When it comes to precision tools like laser levels, details matter. Both 3D and 4D laser levels have their unique features, but what exactly sets them apart?
- 3D Laser Levels: Typically, a 3D laser level projects three planes of light. It creates one horizontal and two vertical lines, intersecting at 90 degrees. This allows users to cover all three dimensions of a space with a single tool.
- 4D Laser Levels: The 4D laser levels, on the other hand, emit an additional plane. This means they provide an extra vertical line compared to 3D models, creating two horizontal and two vertical lines. The additional line offers more reference points, which can be crucial for complex projects requiring high levels of accuracy.
Understanding these differences is key when choosing the right tool for your project. Whether you're working on simple home renovations or complex construction tasks, knowing the capabilities of your laser level can save time and boost precision.
Selecting the Right Laser Level for Your Project Needs
Selecting the right laser level is key to success in any project. When choosing a laser level, consider the following:
- Project Size: A 3D laser level is perfect for large-scale projects. It offers full-room coverage.
- Precision Needed: For tasks needing high precision, like cabinetry, a cross line laser level is ideal.
- Complexity of Tasks: If the work involves complex angles and planes, a 4D level may be better.
- Ease of Use: Some models have user-friendly features that suit DIY enthusiasts.
- Durability: Be sure your choice can handle the work area’s conditions.
- Budget: Costs vary widely. Balance your needs with how much you can spend.
Matching the right tool to your project's needs will ensure accurate and efficient results.
Practical Applications and User Guidance
Setting Up Your 3D Laser Level for Optimum Results
To get the best out of your 3D laser level, follow these steps:
- Choose a stable surface to prevent any movement during use.
- Check the level's calibration before starting your project.
- Set up the tripod and make sure it's level using the built-in spirit levels.
- Attach the laser level to the tripod securely.
- Turn on the laser level and allow it to self-level if it has an automatic leveling feature.
- Adjust the laser lines to match your project layout. You may need to use targeting accessories.
- Confirm the lines or points are accurate with a ruler or measuring tape.
- Lock the laser position if your model allows it, to avoid accidental shifts.
By following these steps, you can ensure your projects are precise and accurate.
Common Applications of 3D Laser Levels in Various Industries
3d laser levels are revolutionizing precision tasks across various industries. Here are some common uses:
- Construction: Ensuring level floors, aligned walls, and precise installation of fixtures.
- Manufacturing: Aligning machinery, calibrating equipment, and setting up production lines.
- Architecture and Design: Accurately translating designs from plans to physical spaces.
- Civil Engineering: Aligning structures like bridges and monitoring building shift or tilt.
- Interior Decorating: Hanging pictures, installing cabinets, and laying tiles evenly.
- Landscaping: Leveling ground, setting slopes, and planning drainage systems.
These versatile tools have become indispensable for projects where accuracy is key.
Tips and Tricks for Using Laser Levels Effectively
To get the best from your laser level, follow these tips:
- Read the Manual: Start by reading your laser level's manual. It will guide you on how to use it right.
- Stable Setup: Make sure your laser level is on a stable surface. This will help avoid errors.
- Check Calibration: Regularly check if your laser level is calibrated. This ensures accuracy.
- Clear Line of Sight: Ensure nothing blocks the laser beam's path for a clear line of sight.
- Use in Proper Lighting: Use your laser level in proper lighting conditions to see the beams well.
- Battery Life: Check the batteries before starting. This avoids power loss mid-task.
These simple steps will help you use laser levels with good results. They are easy to follow for all users.
Conclusion
The Future of Laser Level Technology
As we look forward, the future of laser level technology is bright. Advancements are on the horizon. We can expect smarter, more connected tools. They will help with complex layouts and ensure pinpoint accuracy. Many models will become easier to use. They will also sync with digital plans through apps. This will drive efficiency on job sites. We may also see extended battery life and improved durability. Ultimately, laser levels will keep getting better. This will change how professionals approach precision tasks.
Why Professionals Prefer Advanced Laser Levels
Professionals often opt for advanced laser levels due to their precision. These levels project lines that are crisp and clear. This helps in making accurate measurements for complex tasks. They also save time on job sites by reducing the need for manual checks. User-friendly features make work easy for pros. Advanced levels are durable, which is crucial in tough conditions. They offer good value over time, despite their higher cost. That's why experts trust them for quality results.