What Are 3D Laser Levels?
Understanding 3D Laser Technology
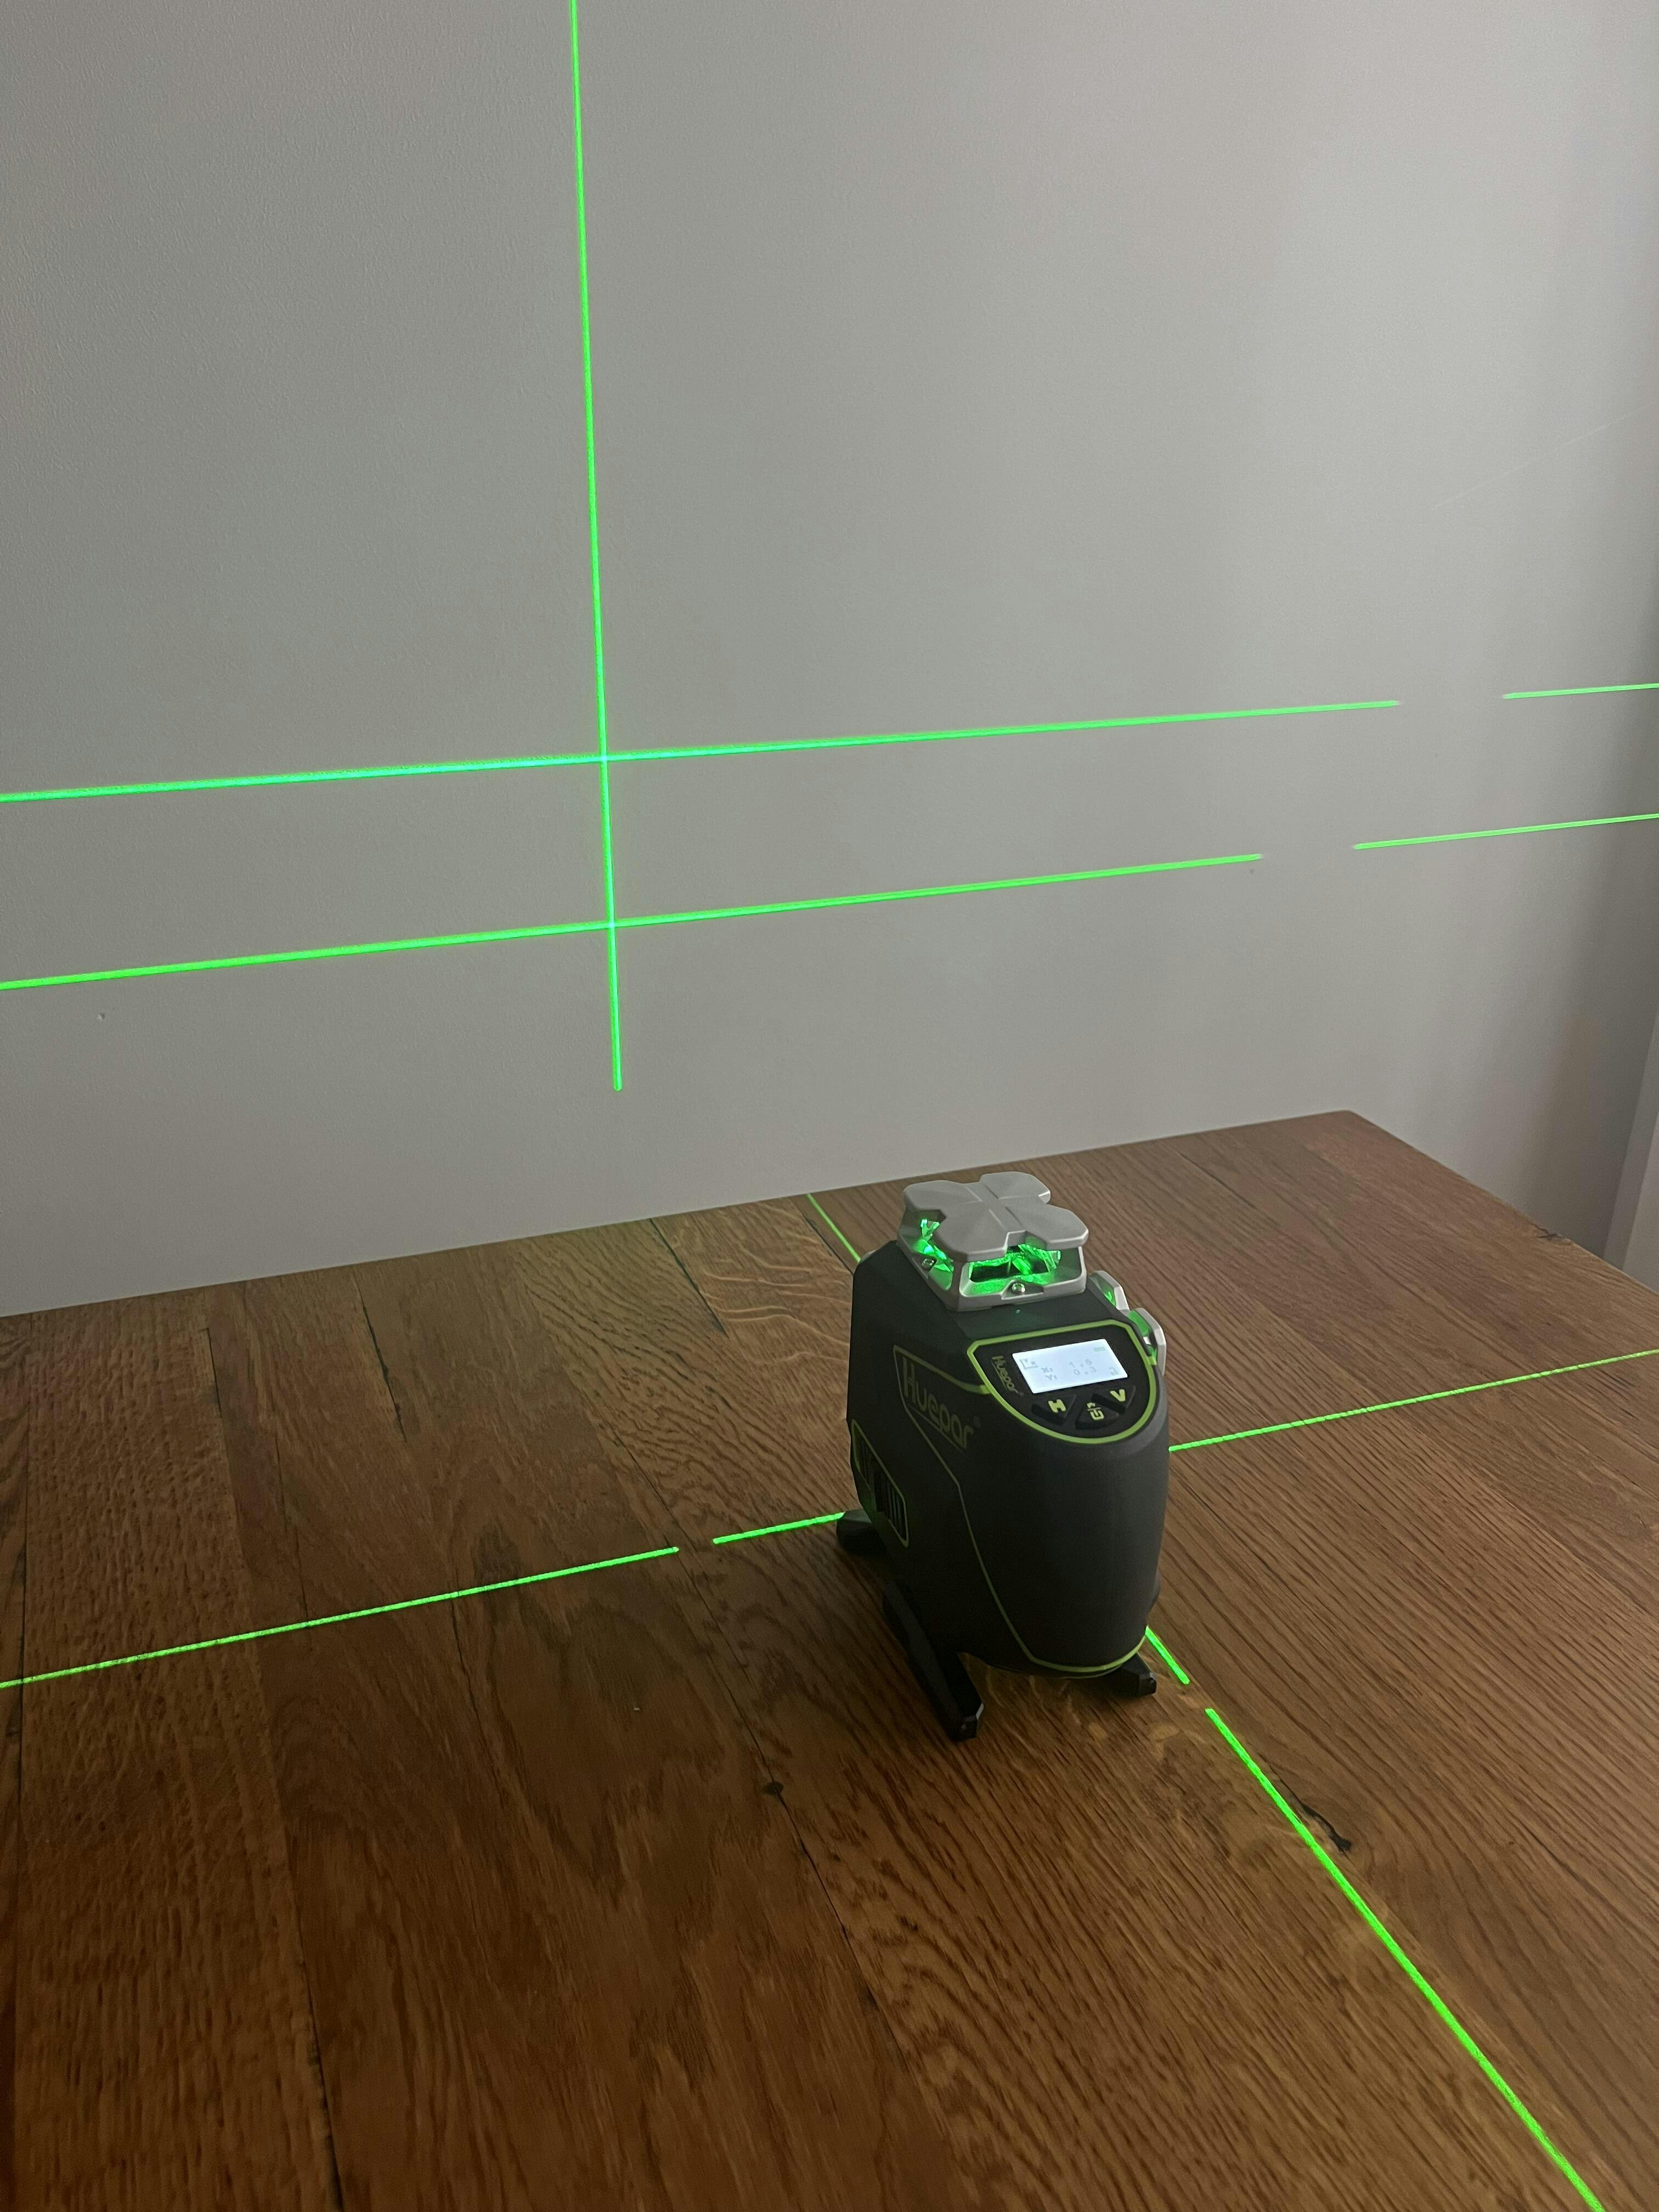
3d laser levels project lines onto surfaces in three dimensions. You can see lines on walls, floors, and ceilings. This is helpful for leveling and alignment tasks in building projects. With 3D laser technology, it's easier to map out plans. Carpenters, masons, and other pros use these tools for precise work. These levels ensure that structures are built straight and true.

Applications and Uses of 3D Laser Levels
3d laser levels are vital tools in construction and renovation. They give precise alignment for tasks like tiling, framing, and hanging fixtures. Here's how they help in different fields:
- In construction: Ensure level floors, straight walls, and even ceilings.
- For electricians: Align electrical outlets and fixtures accurately.
- In carpentry: Aid in cabinet and shelf installation.
- For decorators: Hang pictures and artwork evenly.
- In landscaping: Level ground and set up patios or decks.
3d laser levels save time and boost accuracy for pros and DIY fans.
Comparing 3D with Traditional Laser Levels
Comparing 3d laser levels with traditional laser levels involves looking at precision, complexity, and versatility. Traditional laser levels project lines on one plane, usually horizontal or vertical, and are great for simple tasks like hanging pictures or installing wainscoting. Meanwhile, 3D laser levels emit lines on three planes simultaneously. This makes them ideal for more complex projects, like full-room leveling, plumbing, and installation of electrical systems. A 3D laser level allows for faster and more accurate work, as measurements can be taken from floor to ceiling without moving the tool. While 3D levels are more advanced, they also tend to be more expensive, making it important to consider the project requirements before deciding which tool to use.
Choosing the Right 3D Laser Level for Your Project
Features to Consider
Selecting the right 3D laser level involves considering several key features:
- Accuracy: The level's precision is critical for quality work.
- Range: Ensure the device covers the area you need.
- Self-Leveling: A self-leveling feature saves time.
- Battery Life: Longer battery life means less downtime.
- Durability: Look for robust construction to withstand job sites.
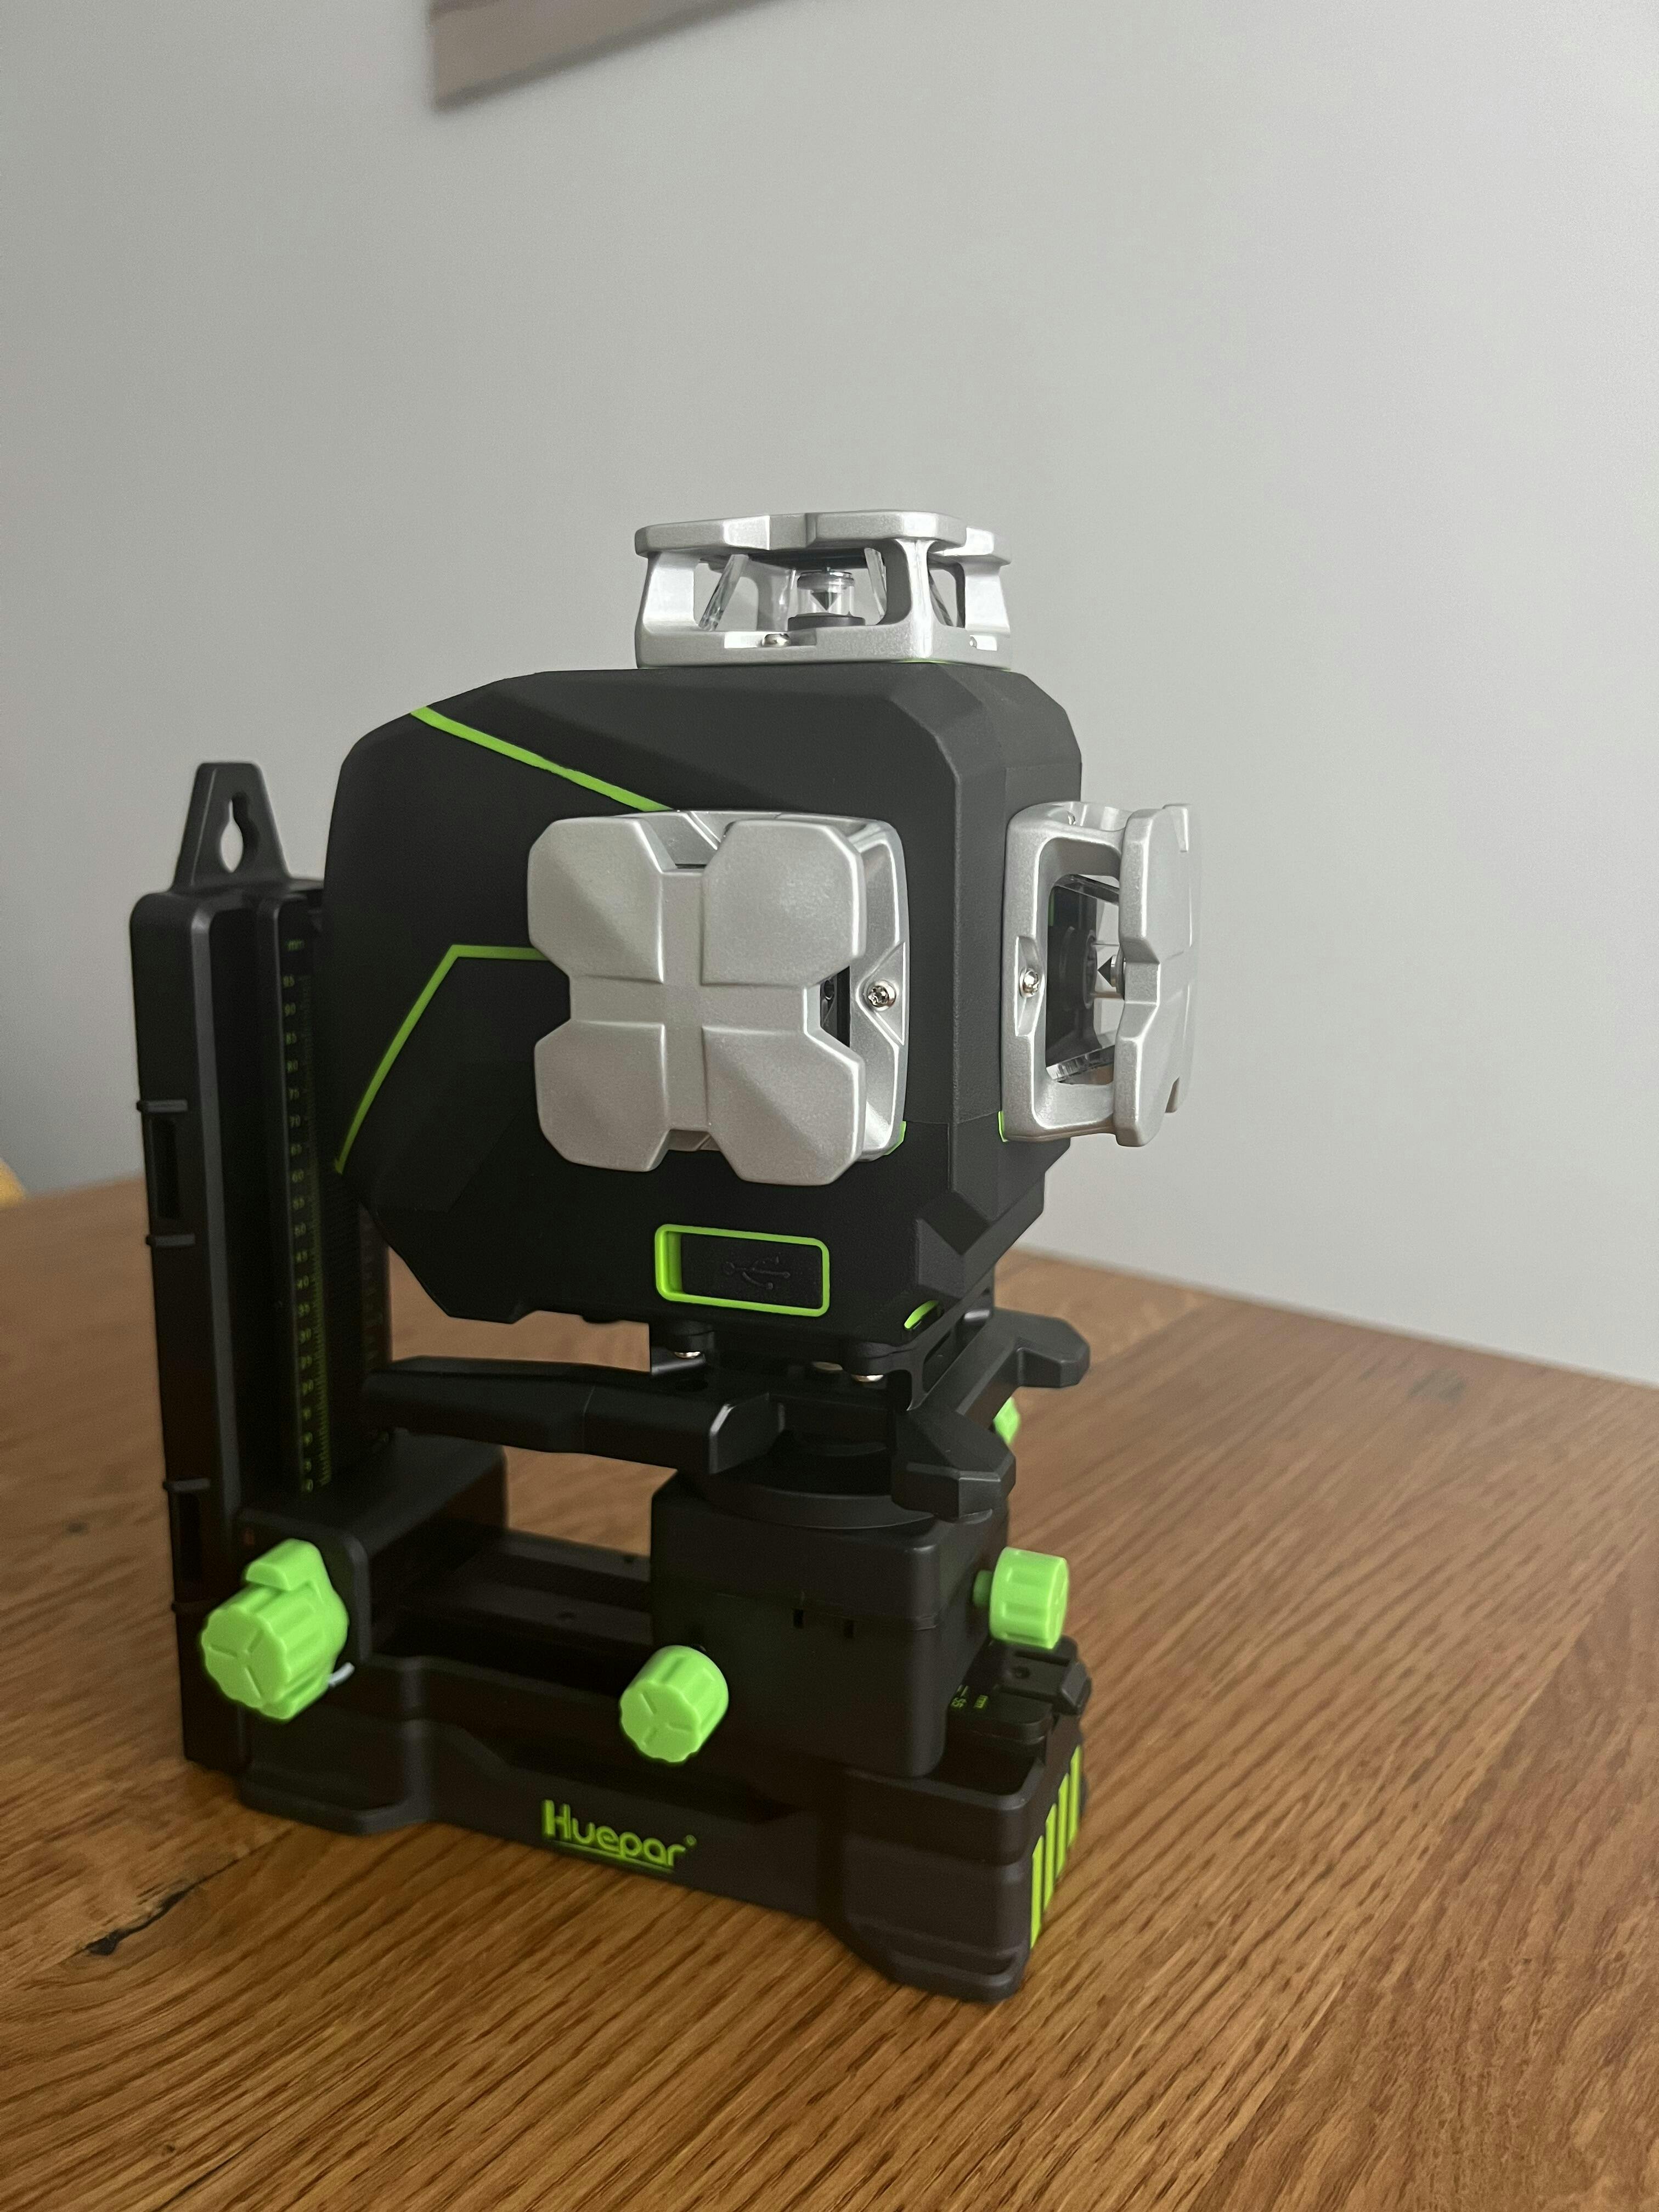
- Mounting Options: Versatile mounting adds convenience.
- Ease of Use: Simple controls are important for efficiency.
- Visibility: Bright lasers are easier to see under various conditions.
- Warranty: A good warranty can provide peace of mind.
Take time to check these features against your project needs. This will help you find the best fit for your tasks.
Cross Line Laser Level Vs. 3D Laser Level
When selecting a laser level, you may wonder about the difference between Cross Line and 3d laser levels. Cross Line Laser Levels project intersecting horizontal and vertical lines. They are great for tasks like installing shelves or hanging pictures. On the other hand, 3D Laser Levels cast lines along three planes. This means you get a 360-degree layout without moving the tool. They suit more complex projects like cabinetry or full room layouts. Choose a Cross Line for simple tasks or a 3D Laser Level for full-room coverage.
Top Brands and Models in the Market
When shopping for a 3D laser level, the brand and model can make a big difference. Here are top picks:
- Bosch GTL3: Praised for accuracy and durability, it's great for pros.
- DeWalt DW089LG: Known for its green laser, best for visibility.
- Spectra Precision LT58G: Offers a 360-degree coverage, good for large spaces.
- Leica Lino L2G+: Combines precision with user-friendly features.
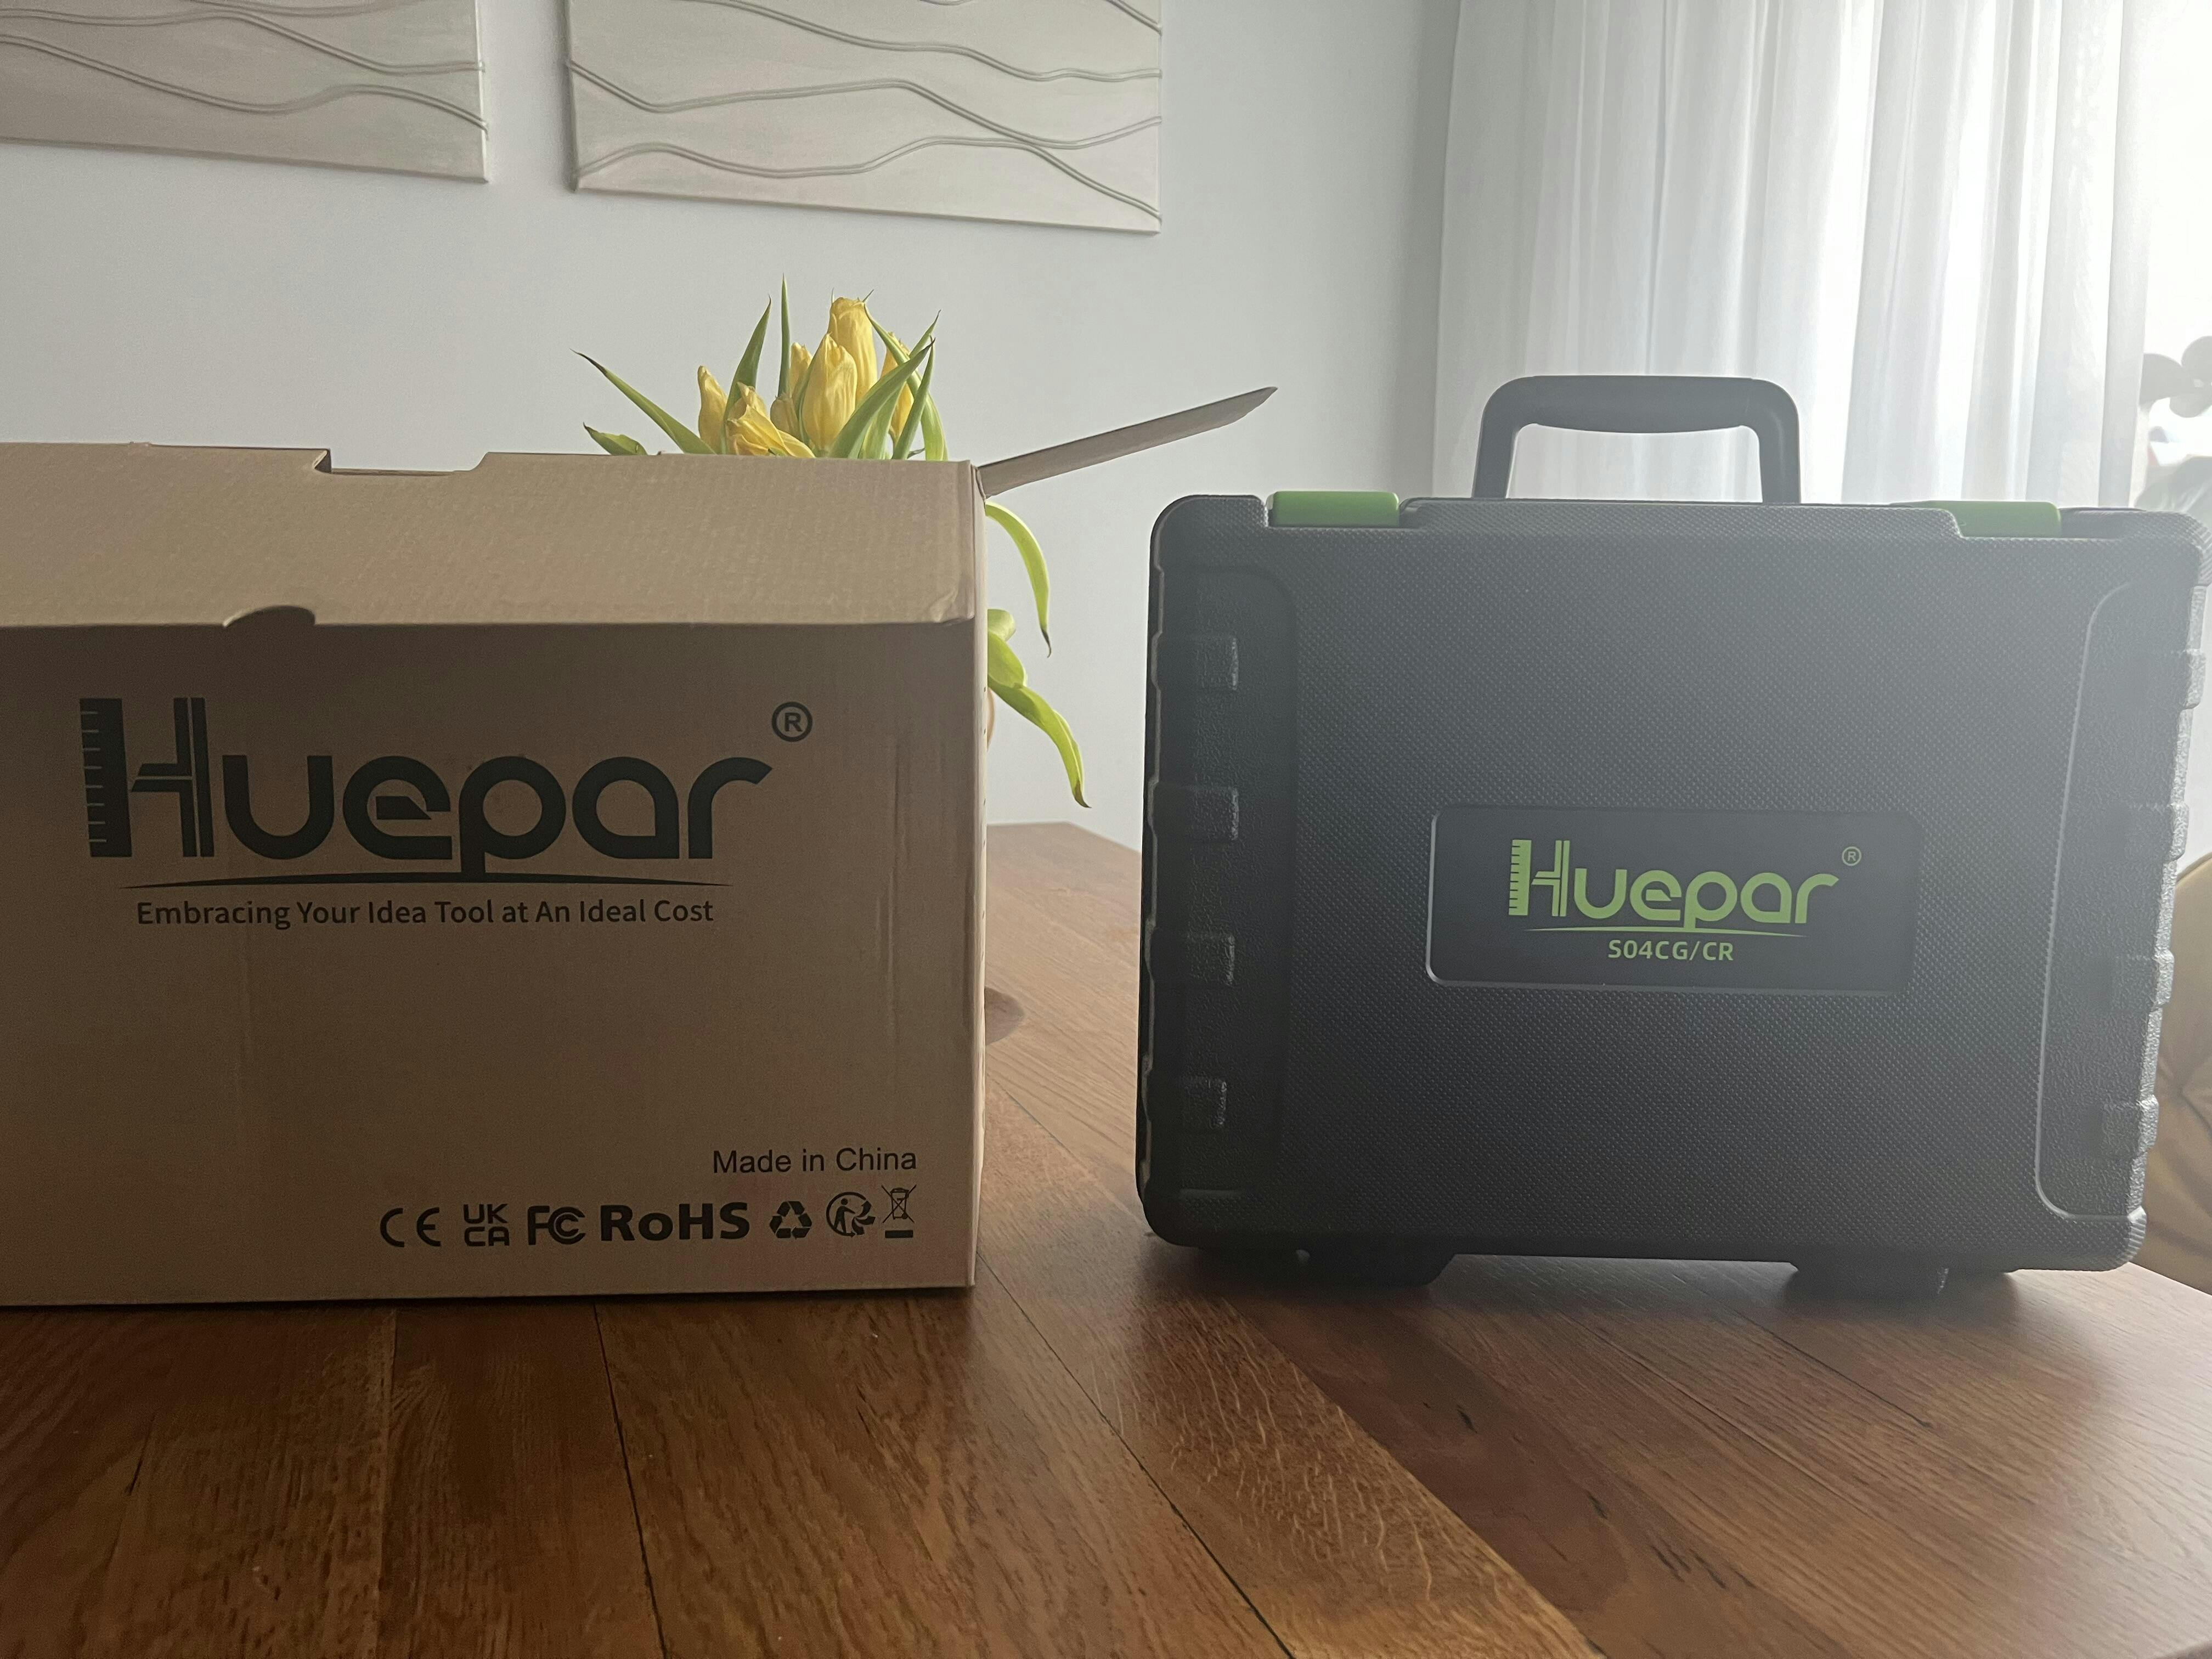
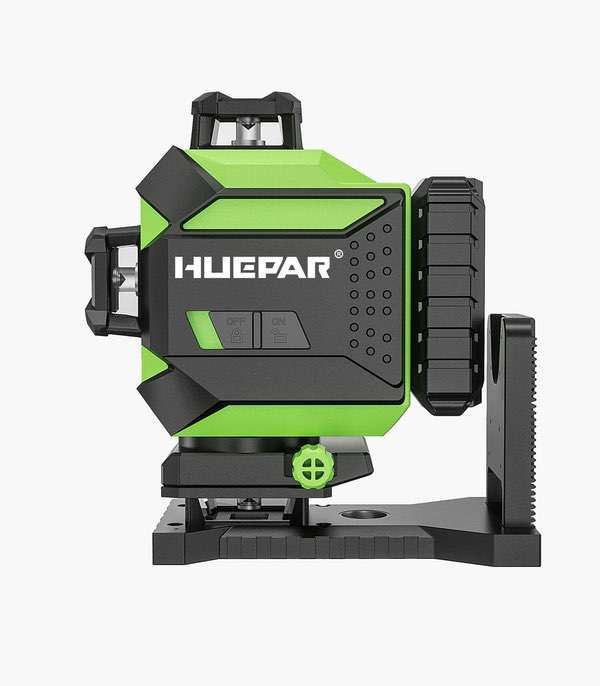
- Huepar 603CG: A budget-friendly option with reliable performance.
Always check for warranty and customer reviews before purchasing.
Working with 3D Laser Levels
How to Set Up and Use a 3D Laser Level
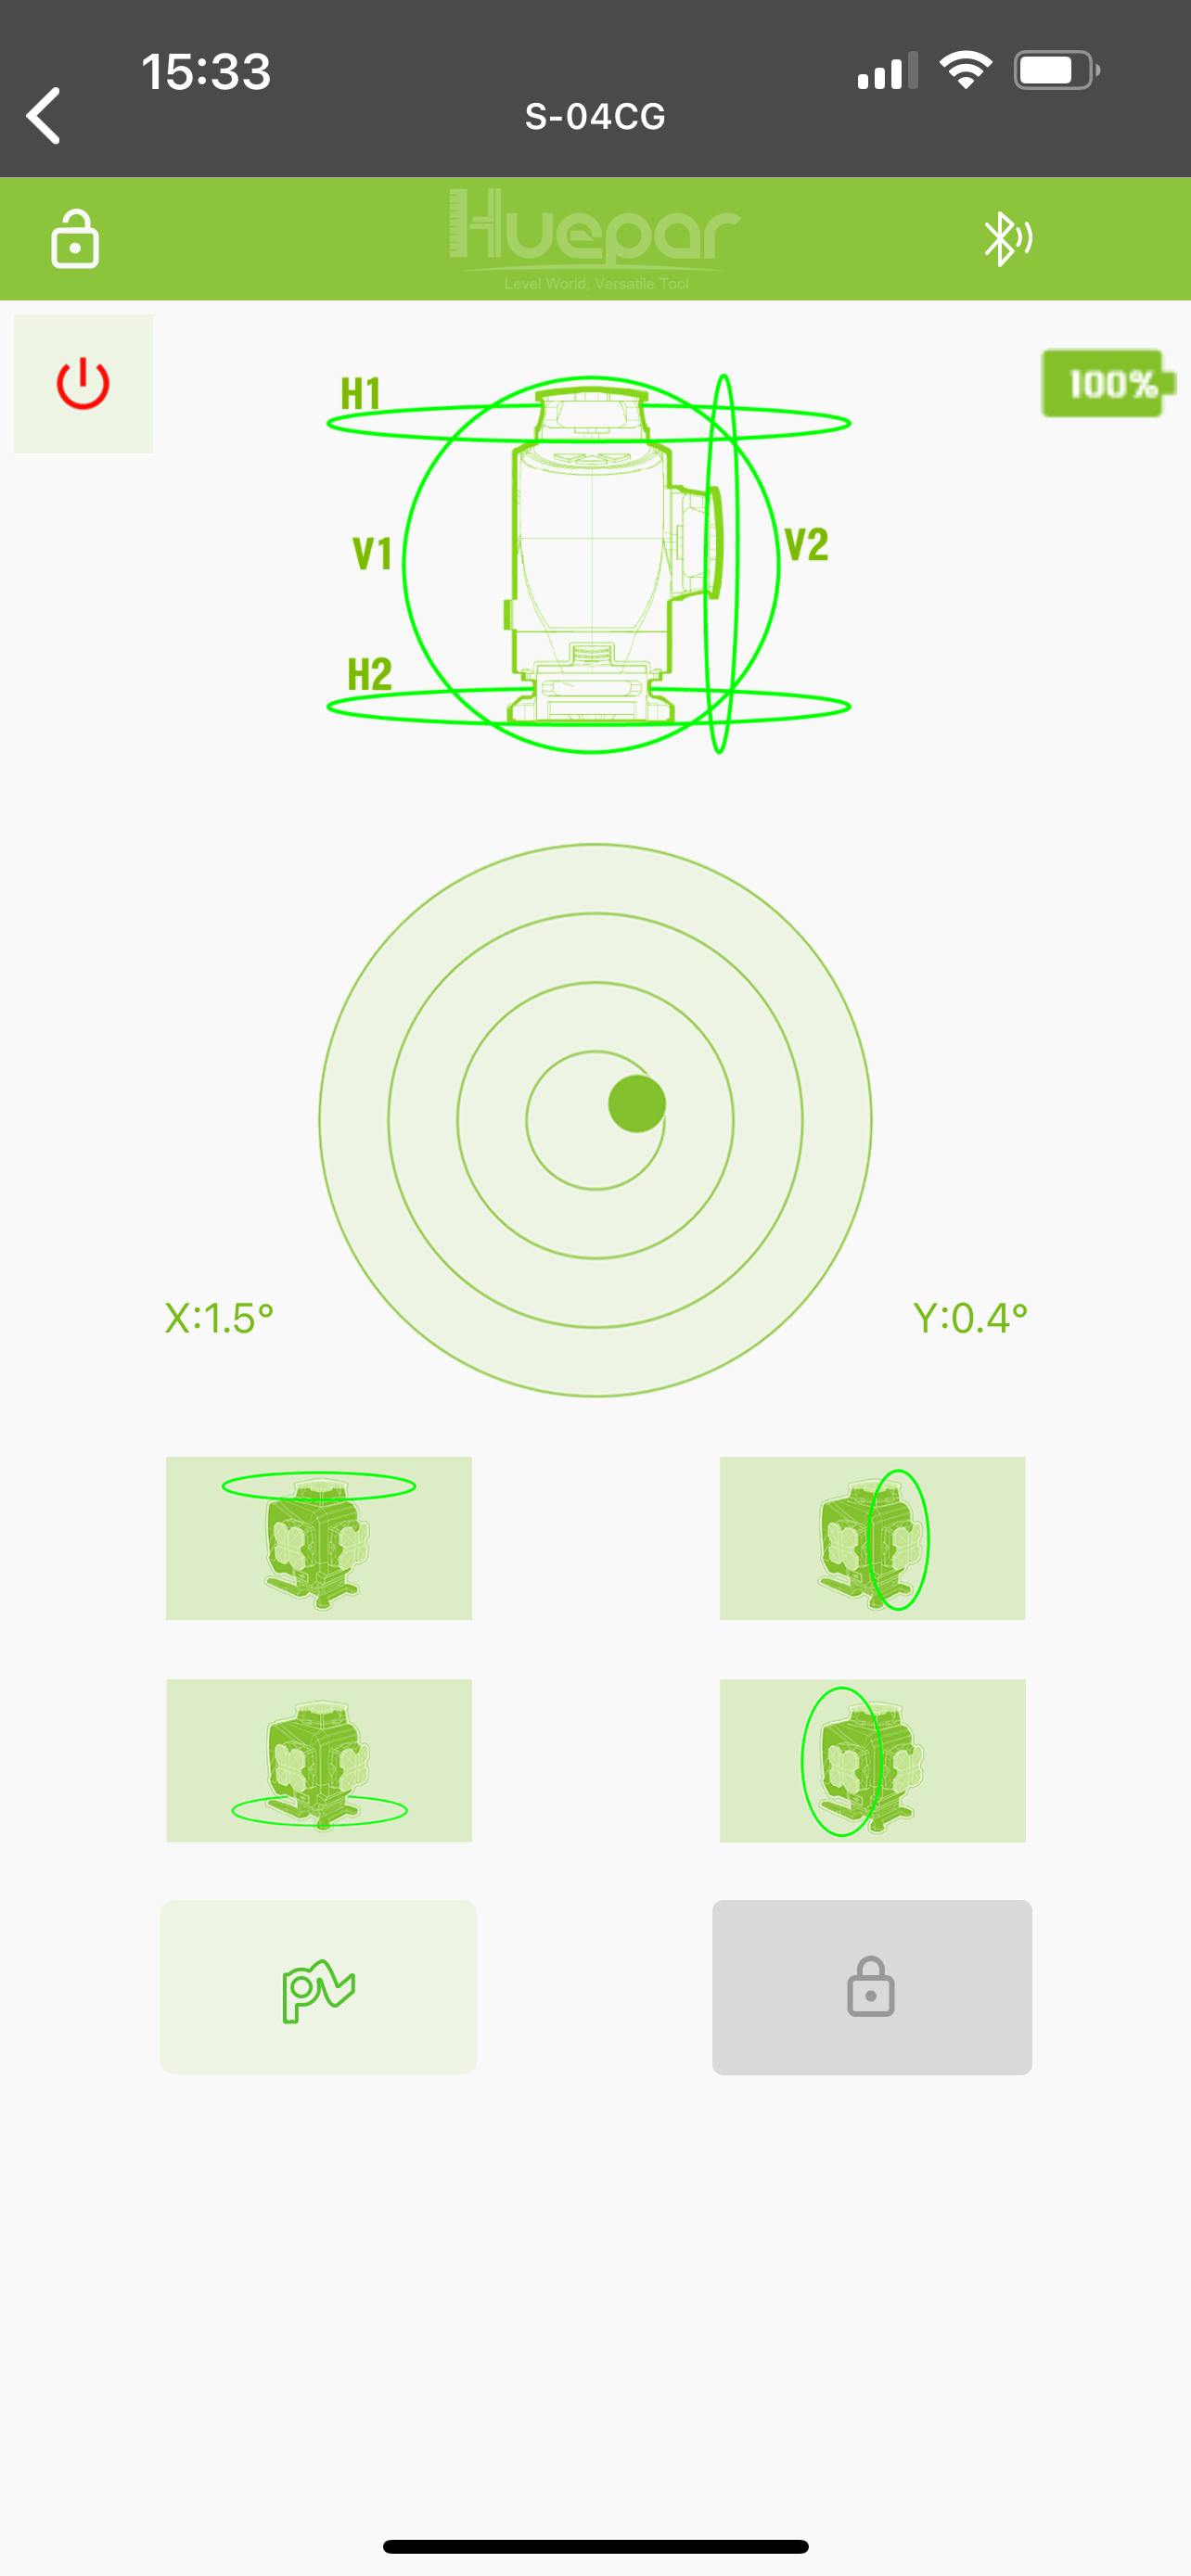
Setting up a 3D laser level is straightforward. First, place it on a flat surface or tripod. Then, turn it on. The device will self-level if it has this feature. Next, point the laser towards the area you want to measure or align. To use, simply move it to different spots needed for your project. Align the beam with the marks or points you have for accurate leveling. Secure it in place to ensure it stays level. Always check the device's calibration before starting.
Tips for Maintenance and Care
To keep your 3D laser level in top condition, follow these tips:
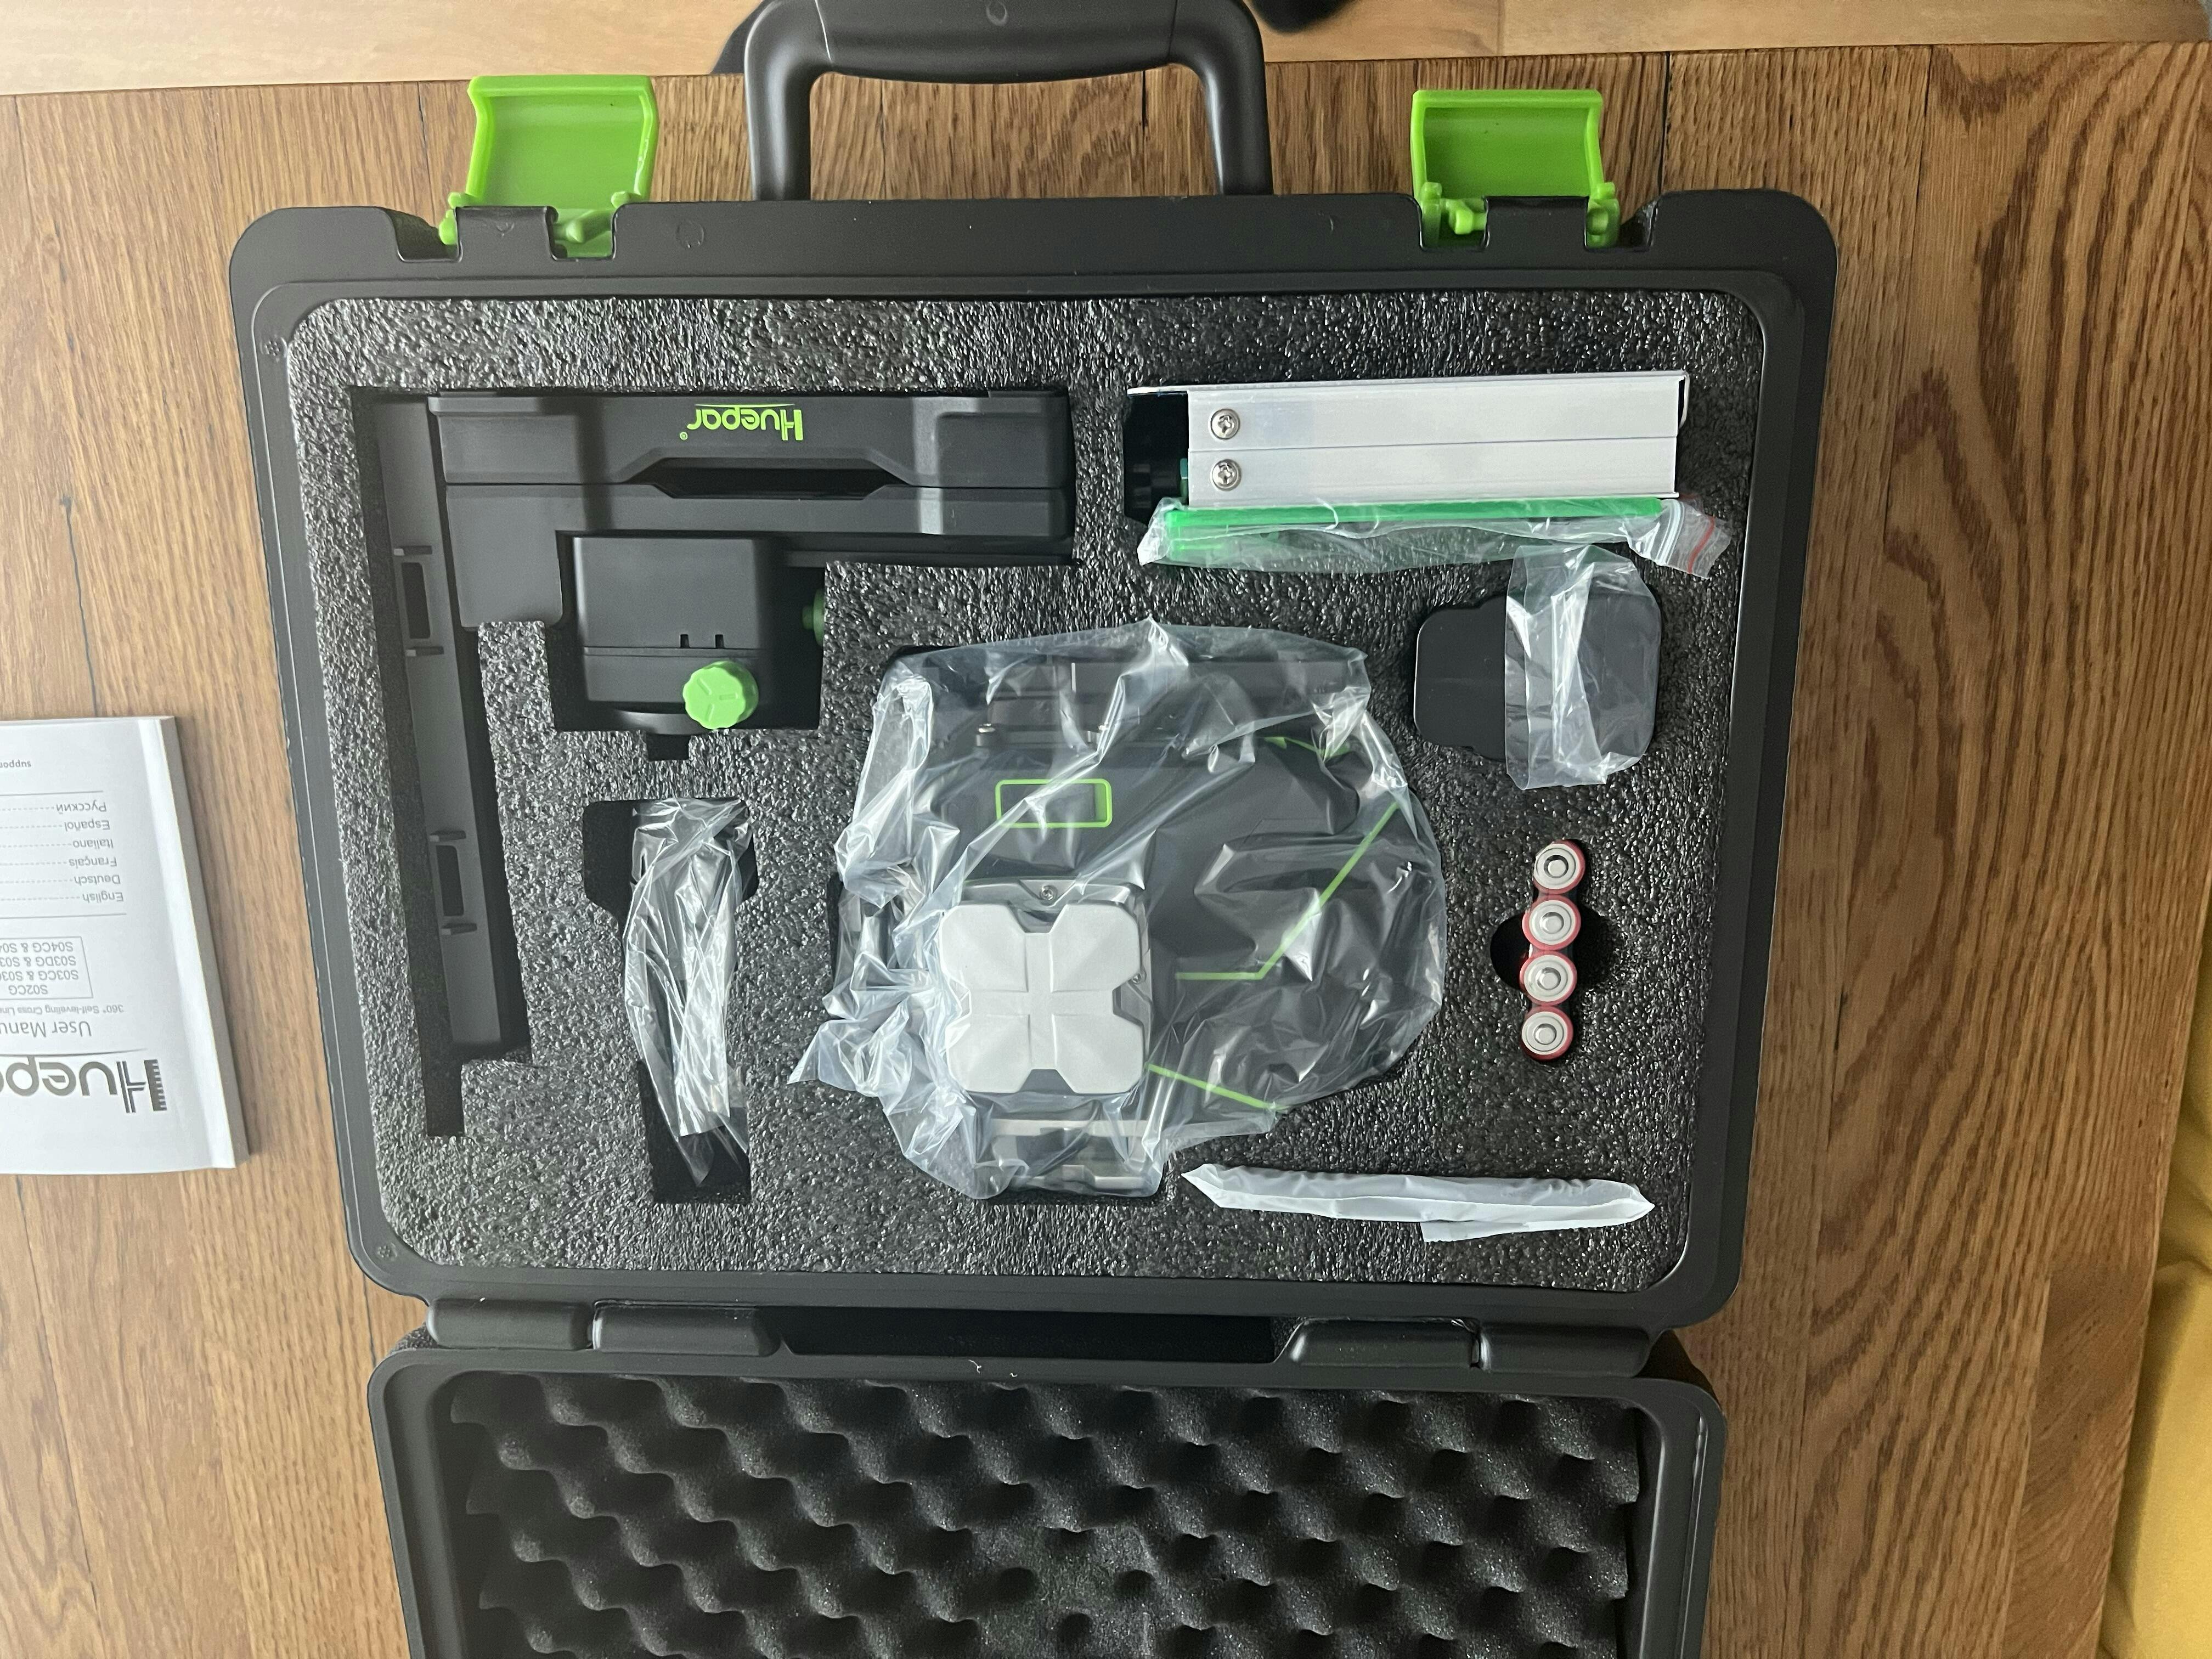
- Store Properly: Keep it in its case, away from dirt and moisture.
- Clean Lenses: Gently wipe the lenses with a soft cloth to avoid scratches.
- Check Calibration: Regular calibration ensures accuracy. If it's off, recalibrate or seek professional help.
- Battery Care: Always remove batteries before storage to prevent corrosion.
- Avoid Drops: Handle with care to prevent drops that can misalign internal components.
- Follow Manufacturer Instructions: Adhere to the user manual for specific maintenance advice for your model.
Understanding the Differences: 4D Laser Levels Explained
The term '4D laser levels' might confuse some. It's a step up from 3D levels. These tools cast lines in 360 degrees vertically and horizontally. This creates a 'fourth dimension' for advanced tasks. Let's break down their unique features:
- 360-Degree Projection: They cast continuous lines around a room.
- Simultaneous Line Display: Show all lines at once for complex layouts.
- Enhanced Accuracy: Ideal for detailed projects that need precise leveling.
- Time-Saving: Reduce setup time by projecting all lines at once.
Using these advanced levels requires a bit more know-how. Yet, they provide efficiency for big projects.